Greetings dear readers! We’re back home after a wonderful trip! I’ve always enjoyed the different sights, new information on history, culture, geology, etc., change of routine and meeting new people that traveling offers. Today’s post is mostly photos from the first half of our trip. Many were posted on my Instagram site so if you’ve already seen them, you can either enjoy them again 😊 or skip through them.
We flew to Las Vegas, rented a car, and drove straight to Zion National Park in Utah. – our third time there (last time 29 years ago!) and one of our favorites. The landscape is stunning and we were able to do some hiking.


This next photo is not edited at all – many of the rocky cliffs look golden at sunset:


Our second destination was Flagstaff, AZ, mainly to see the south rim of the Grand Canyon. I’d seen the north rim twice but never the south. On our way there we stopped to see the ruins of the Wupatki Pueblo which was inhabited a millennium ago with a thriving Native American community. No one is quite sure why this and similar other sires were abandoned- ? Drought or famine, ? conflict.


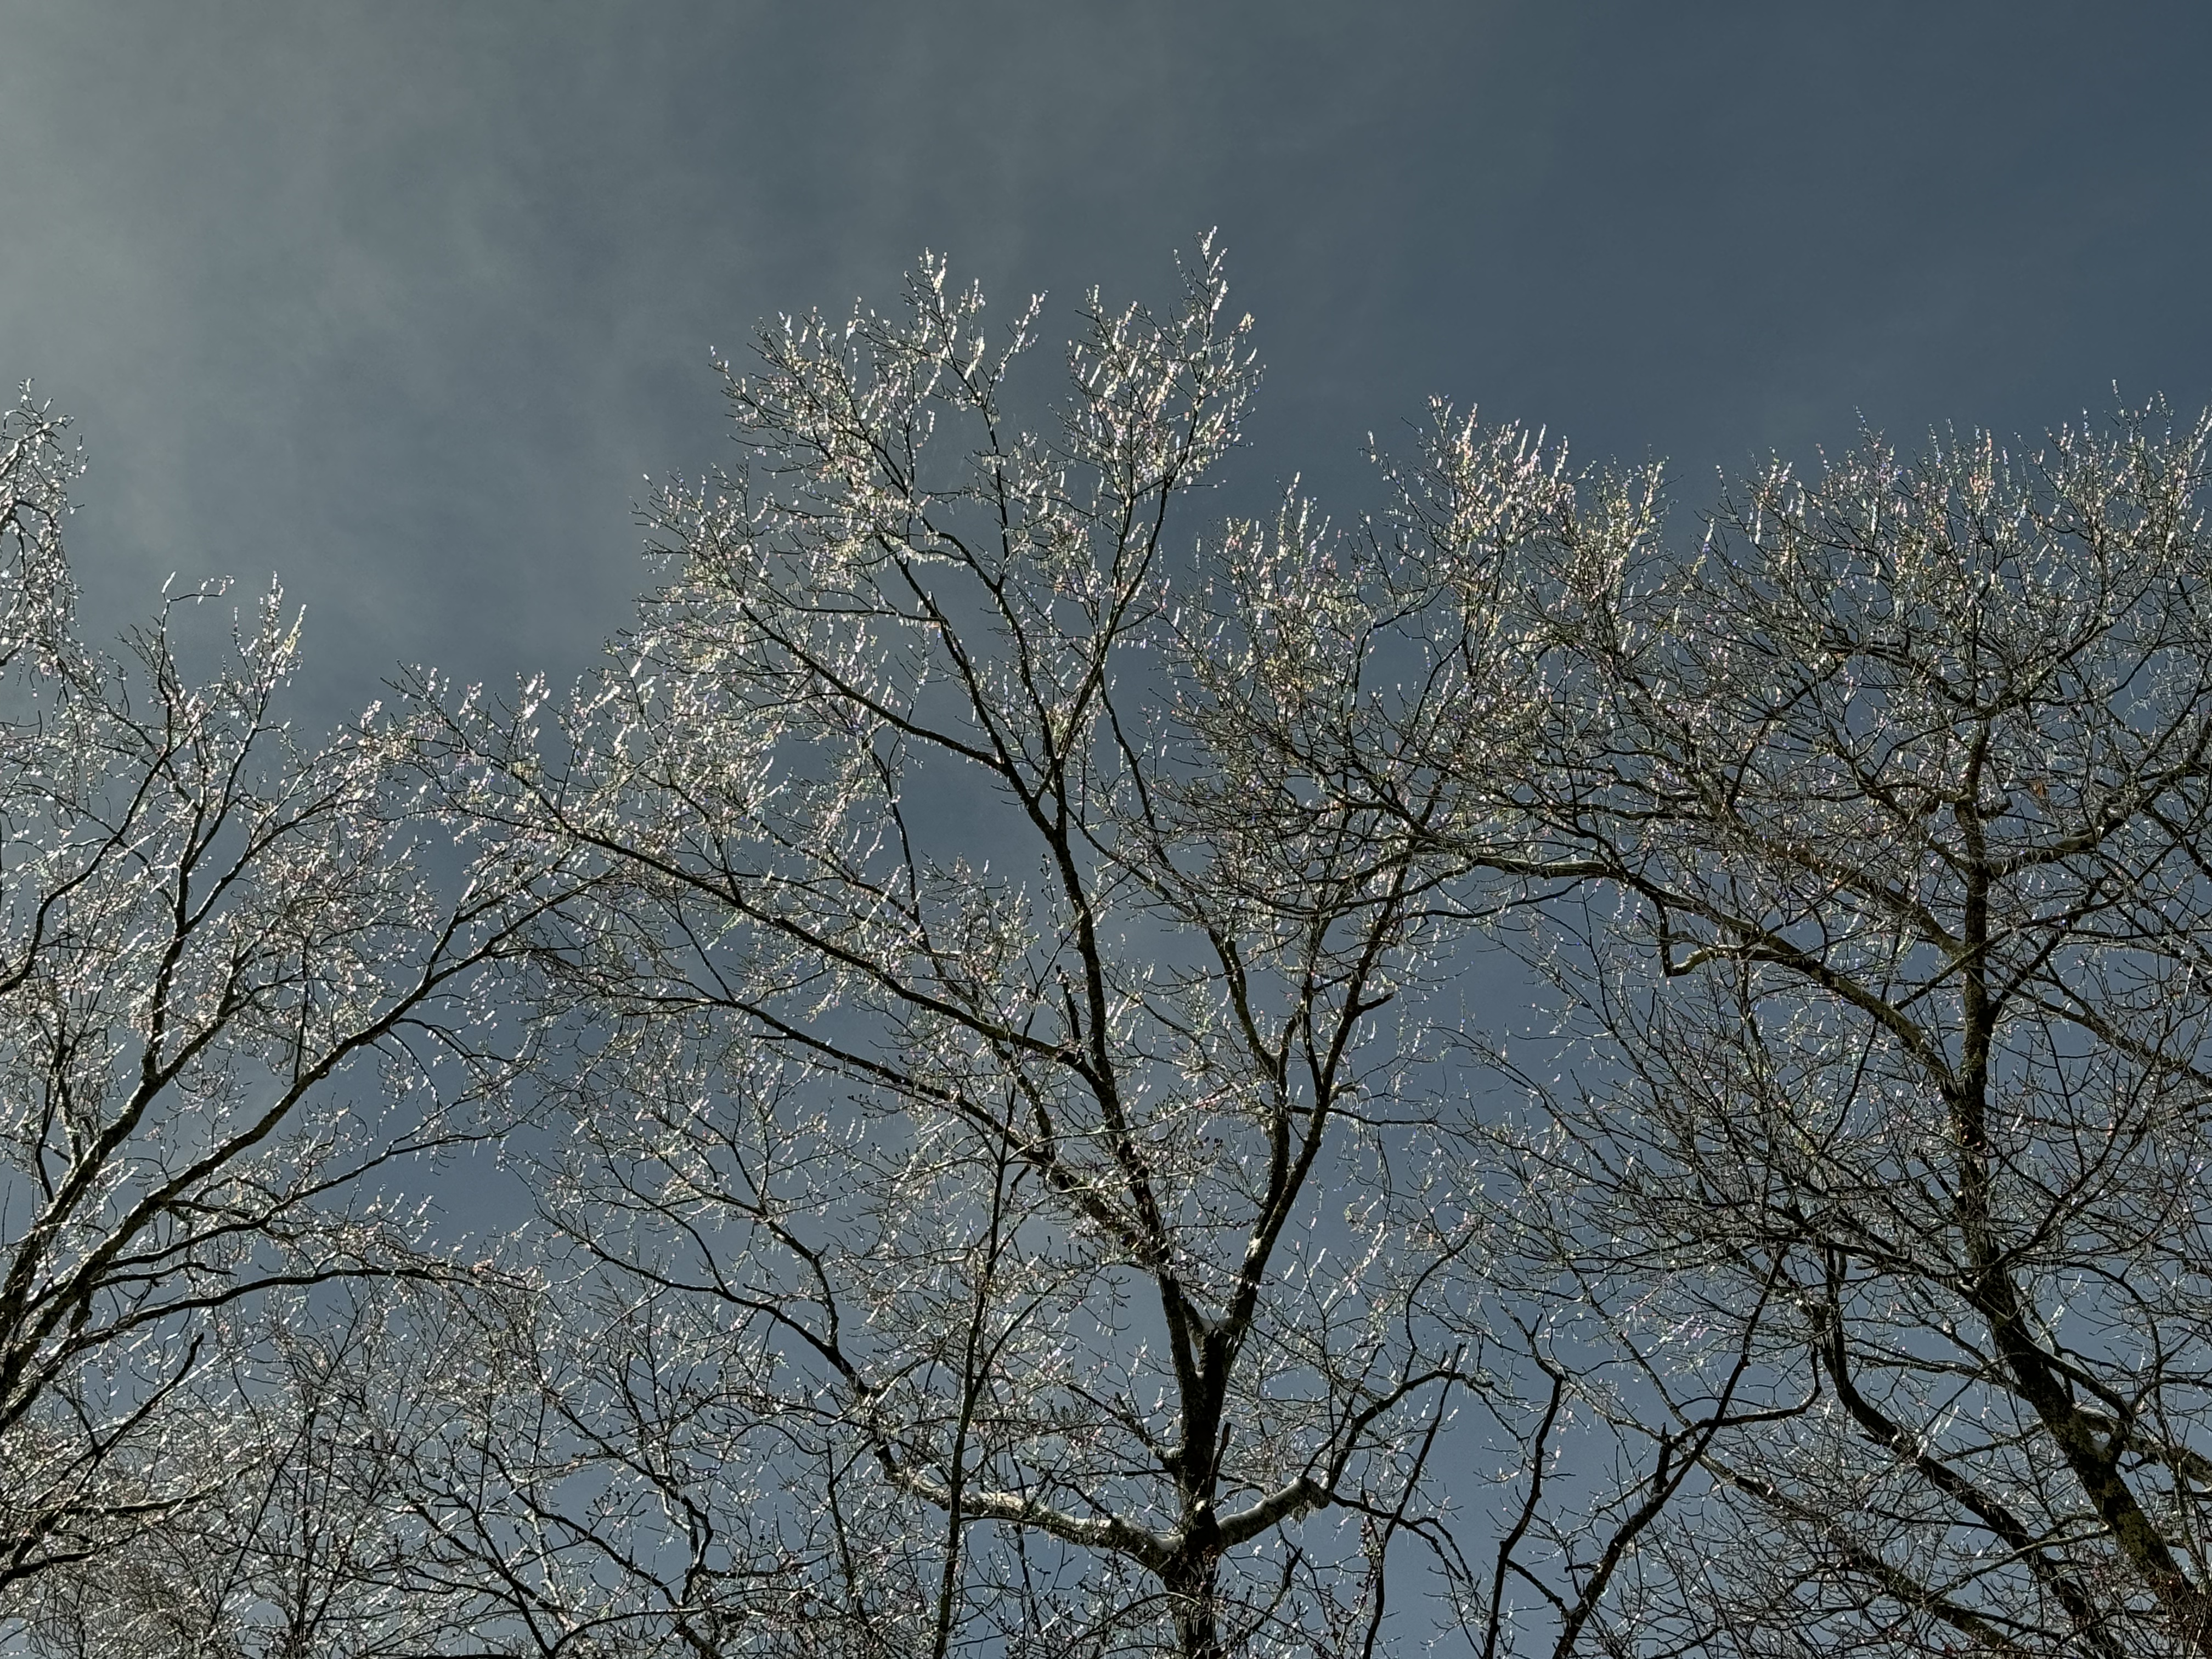
In Flagstaff we had our only bad weather of the trip – rain, sleet, and snow! Thank goodness we checked the weather forecast before leaving home and brought long underwear and “layers” of clothes to wear! It snowed during the first part of the drive up to the canyon:

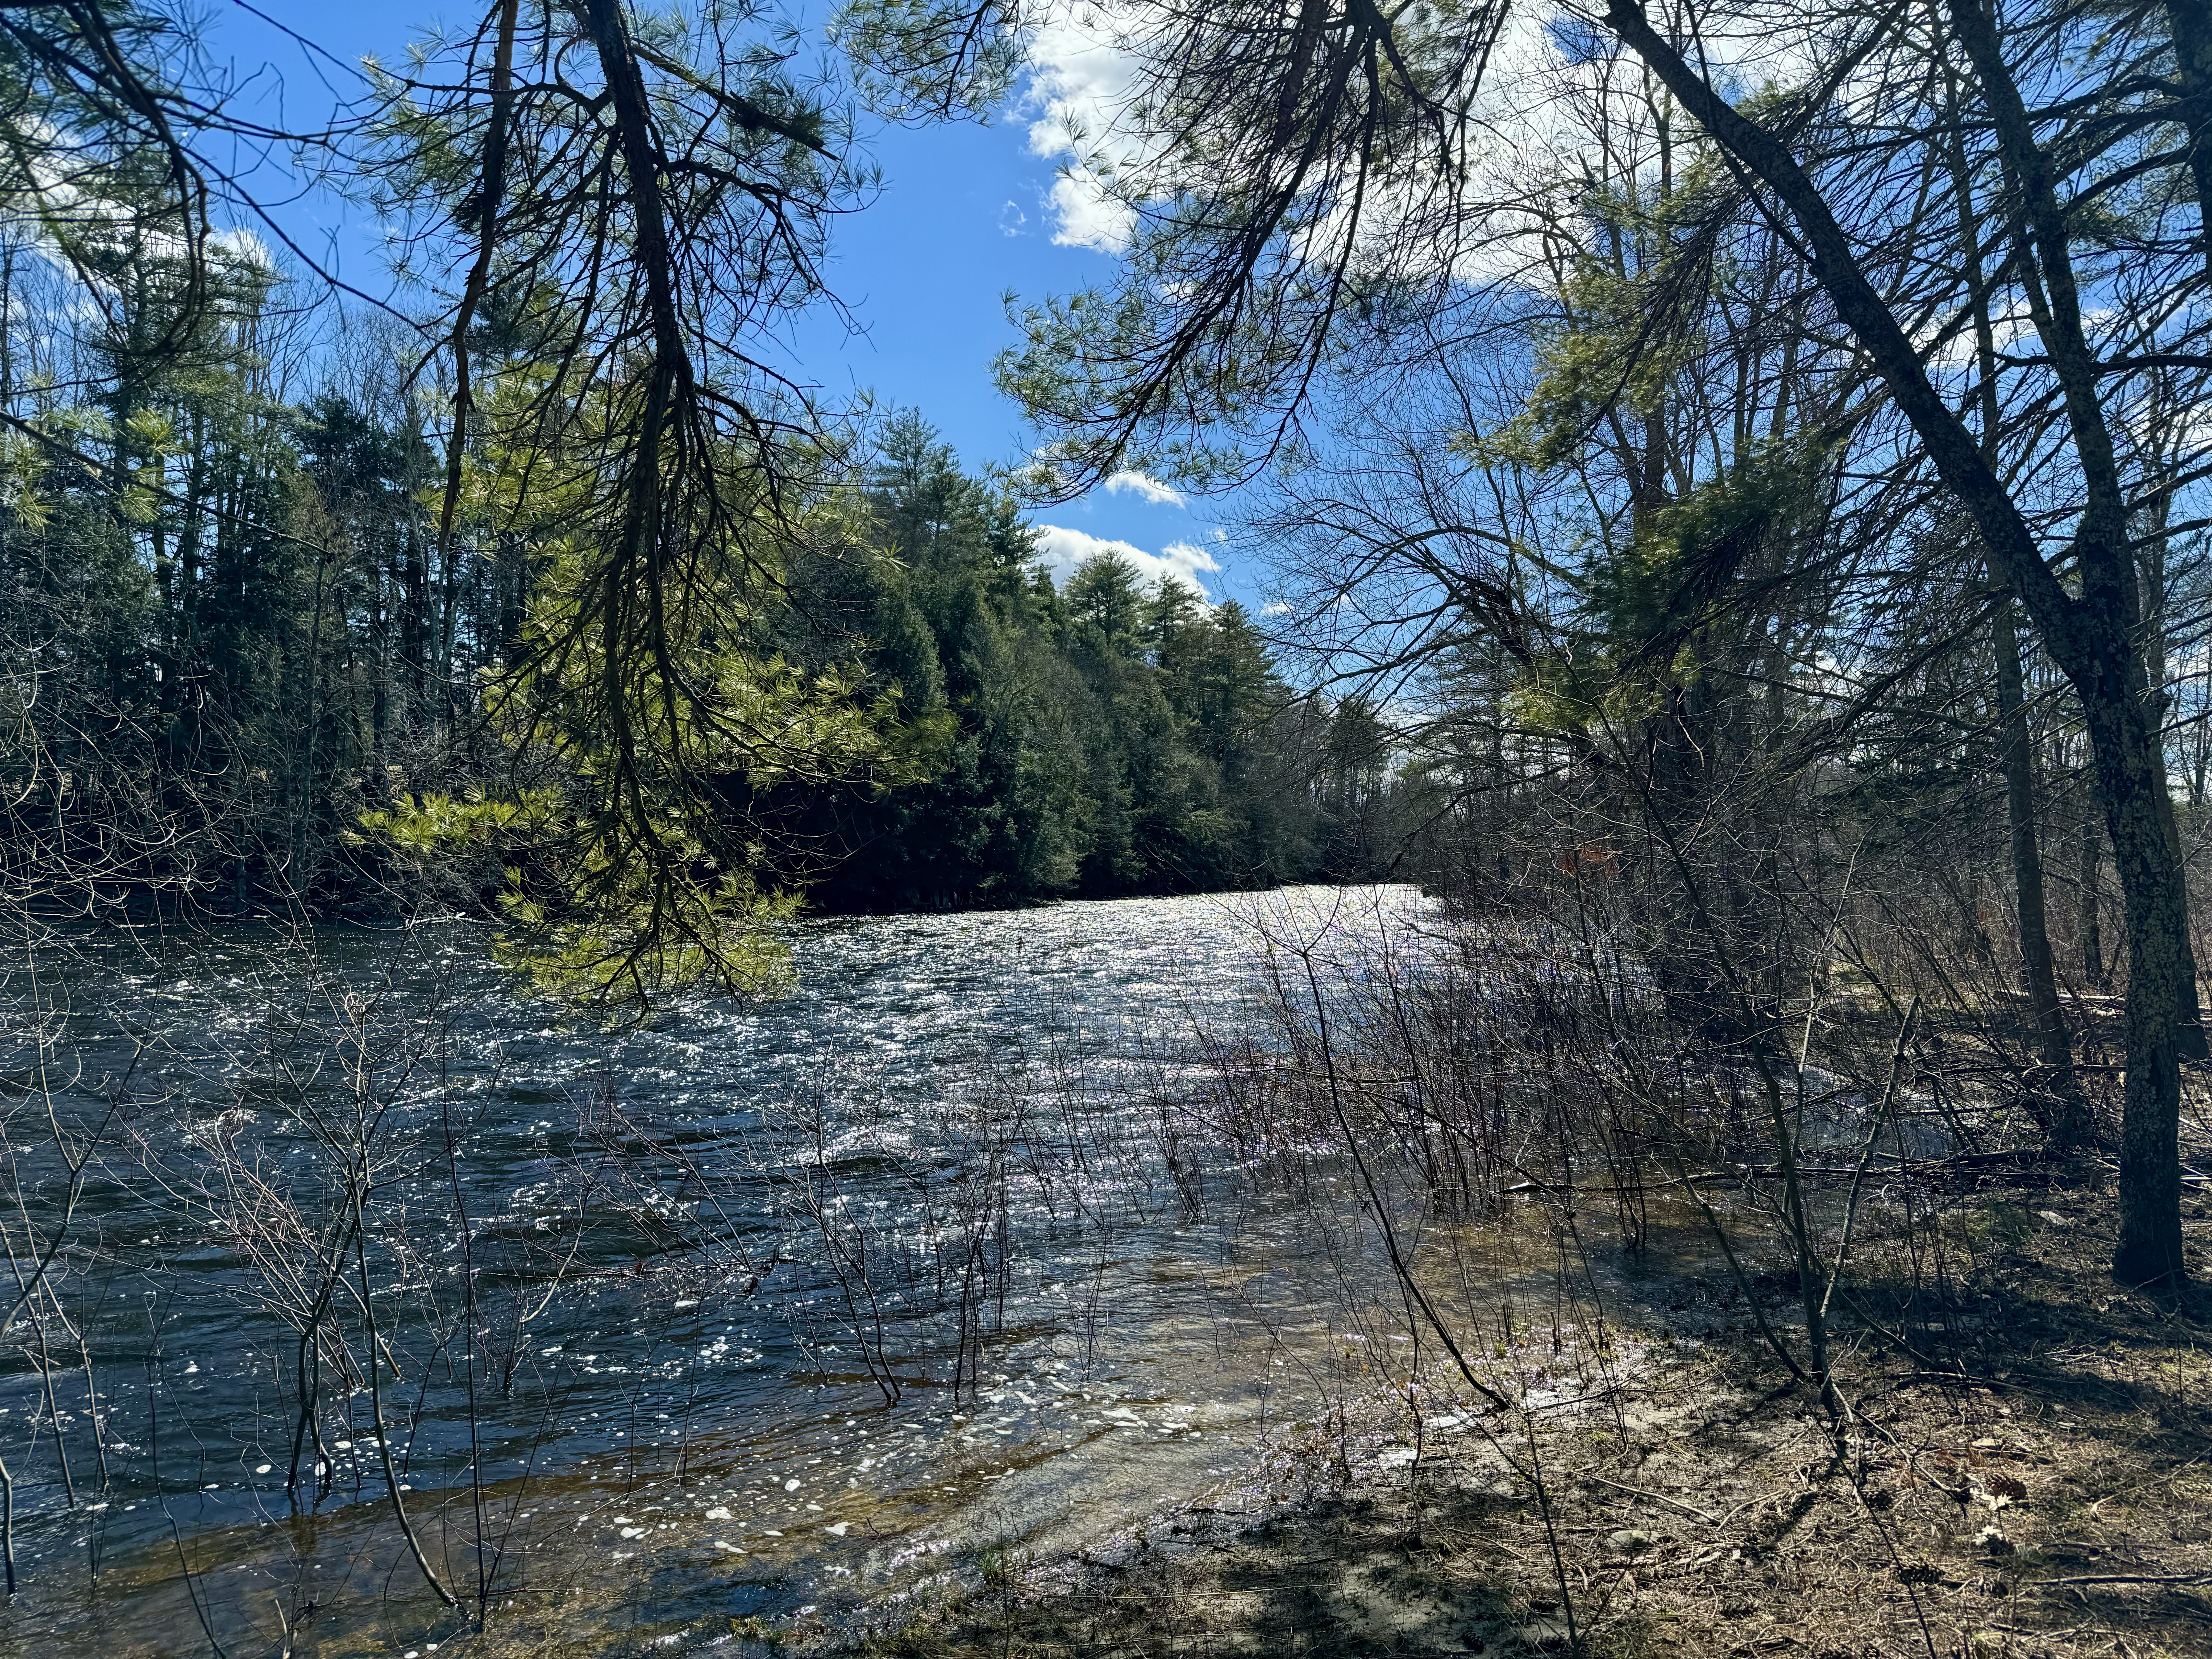
But the weather improved as we approached the canyon. When we got there it was cold and windy, but the skies were a mix of sun and clouds and we were able to enjoy the beautiful colors of the canyon in the shifting light and shadows. Absolutely gorgeous!


The above photo was taken with the telephoto lens in my new phone! Pretty good shot of the river!
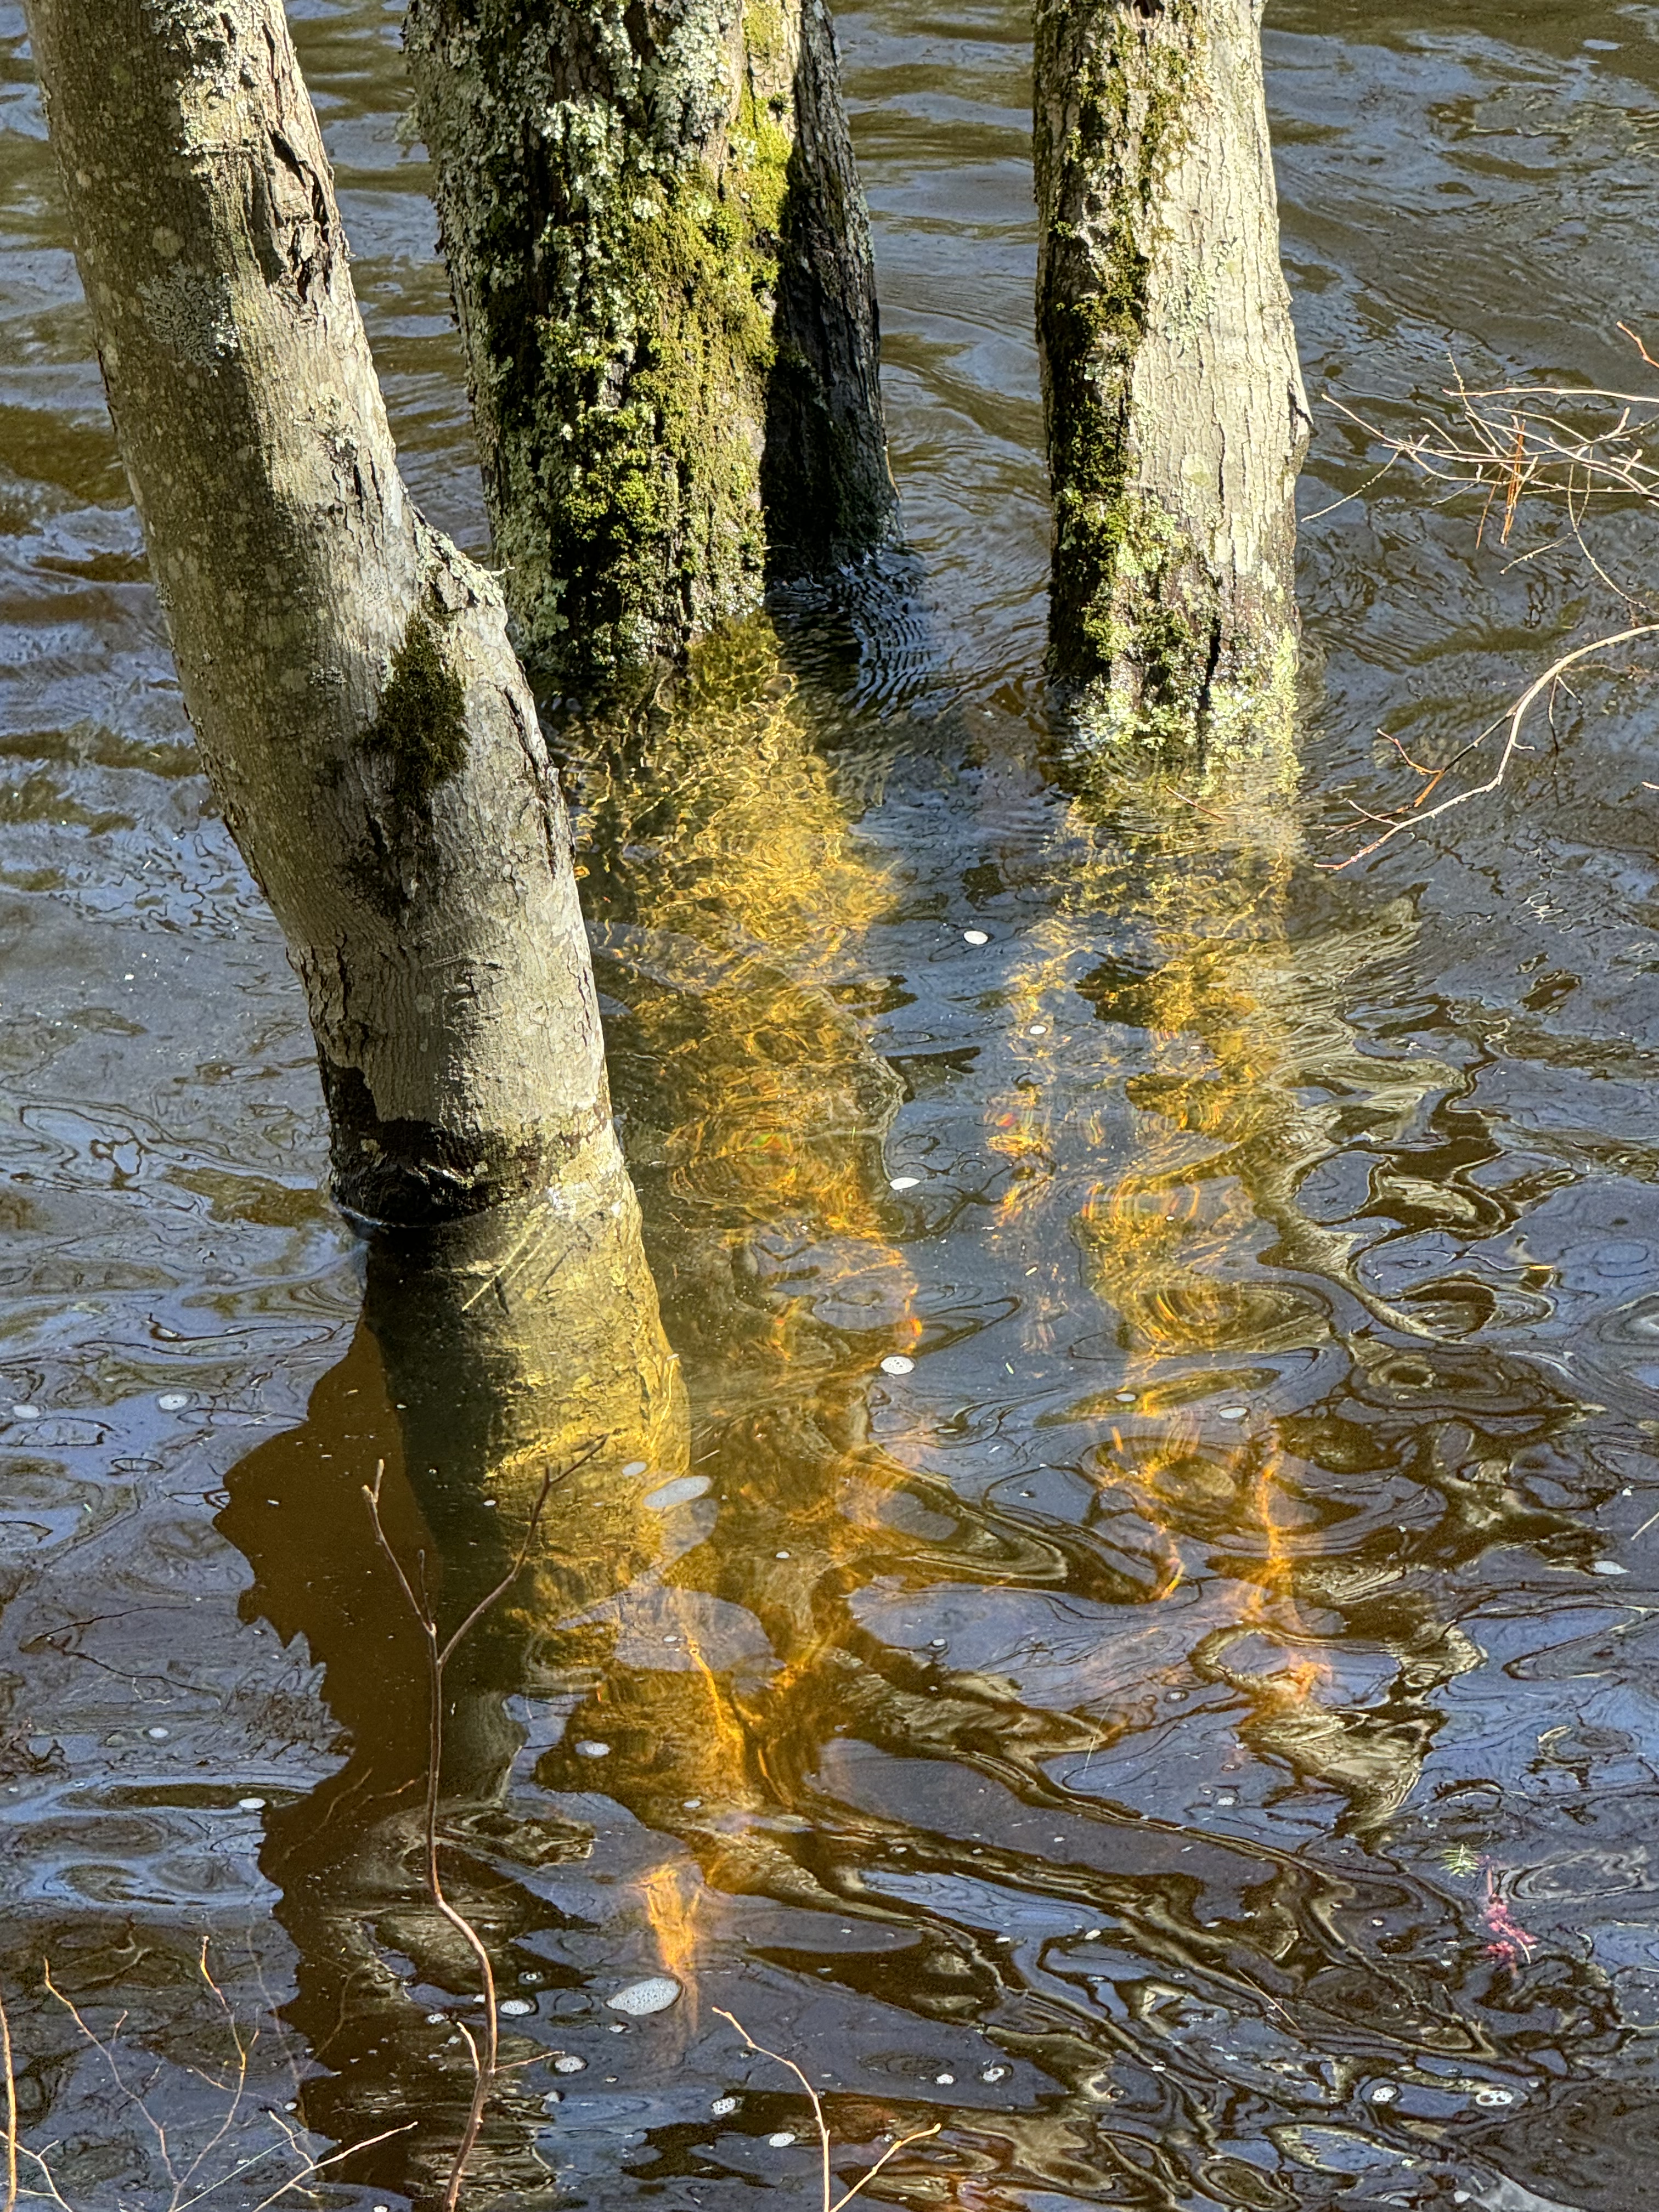
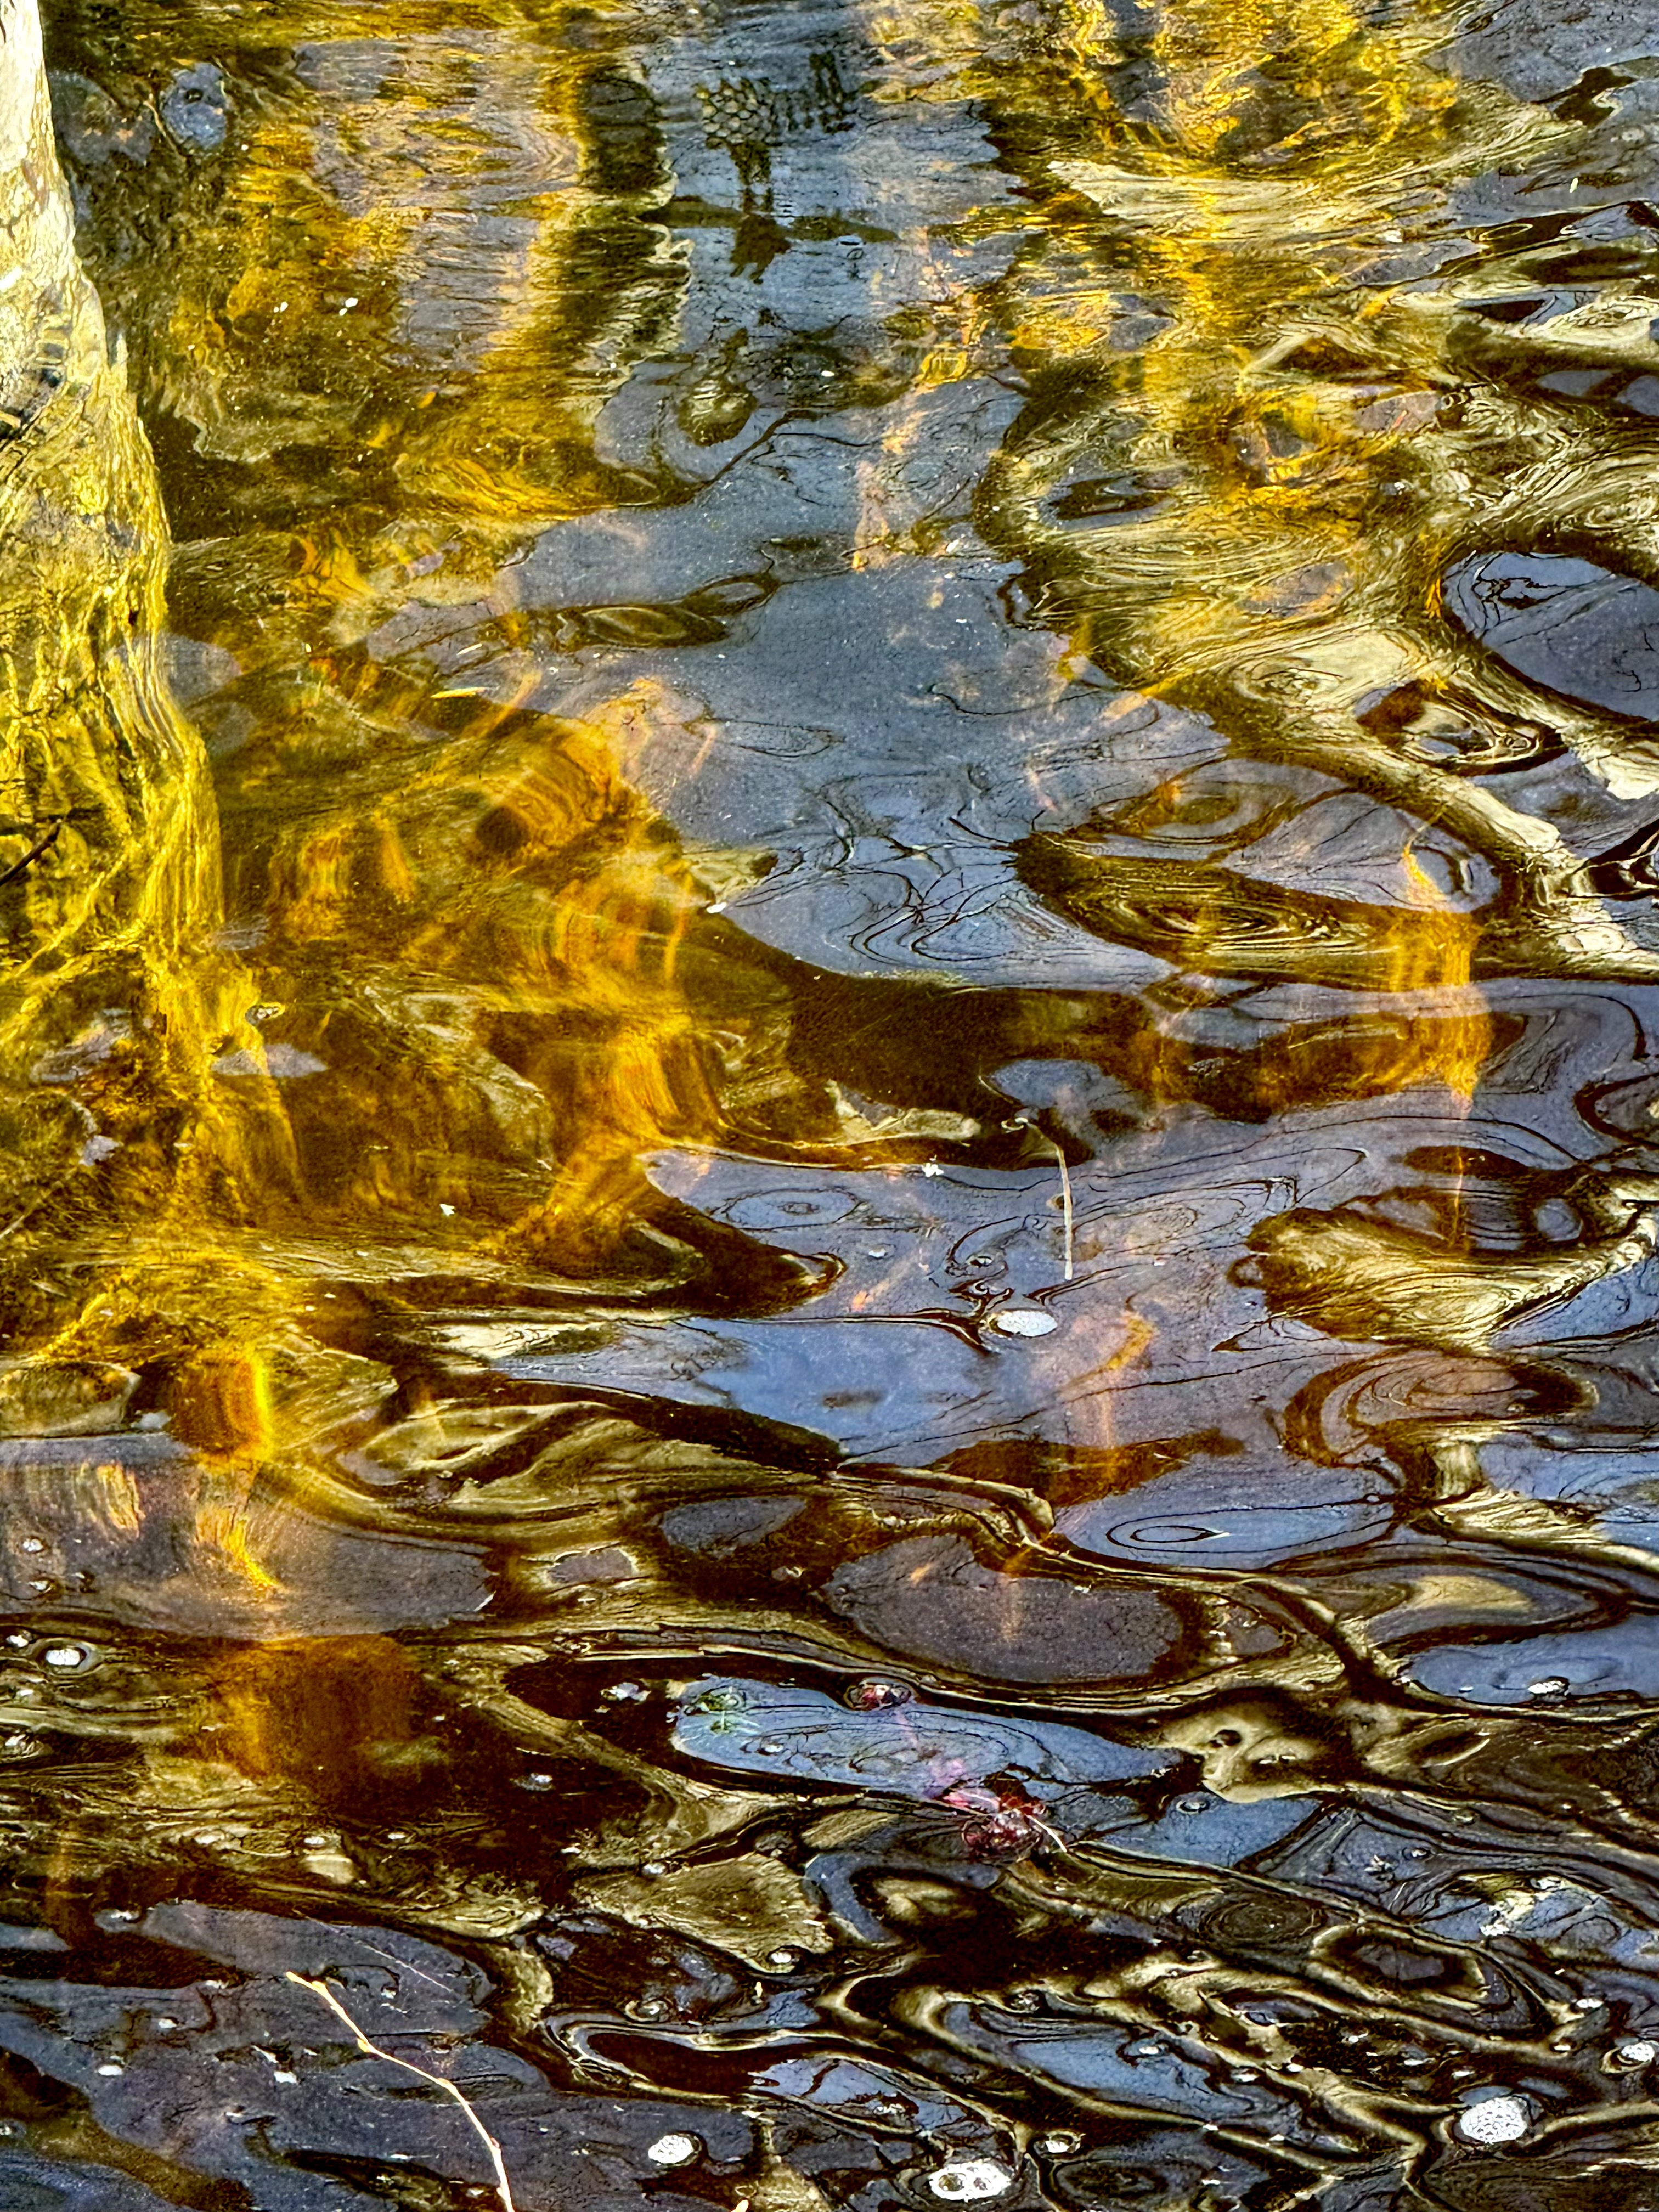
Next stop was Canyon de Chelley in Navaho Nation in northeastern Arizona. This was our third time here, but first since 2003. It’s gorgeous! Previously we’d only seen it from the rim, but this time we took a tour into the canyon with a Navaho guide. There are ruins of cliff dwellings and petroglyphs to see. Some Navahos continue to live in the canyon and farm some parts of it.


In the next photo, see the horse at the bottom of the darker cliff on the left to get some perspective on how deep the canyon is:

I loved the beautiful spring green of the cottonwood trees!

Spider rock is incredible!

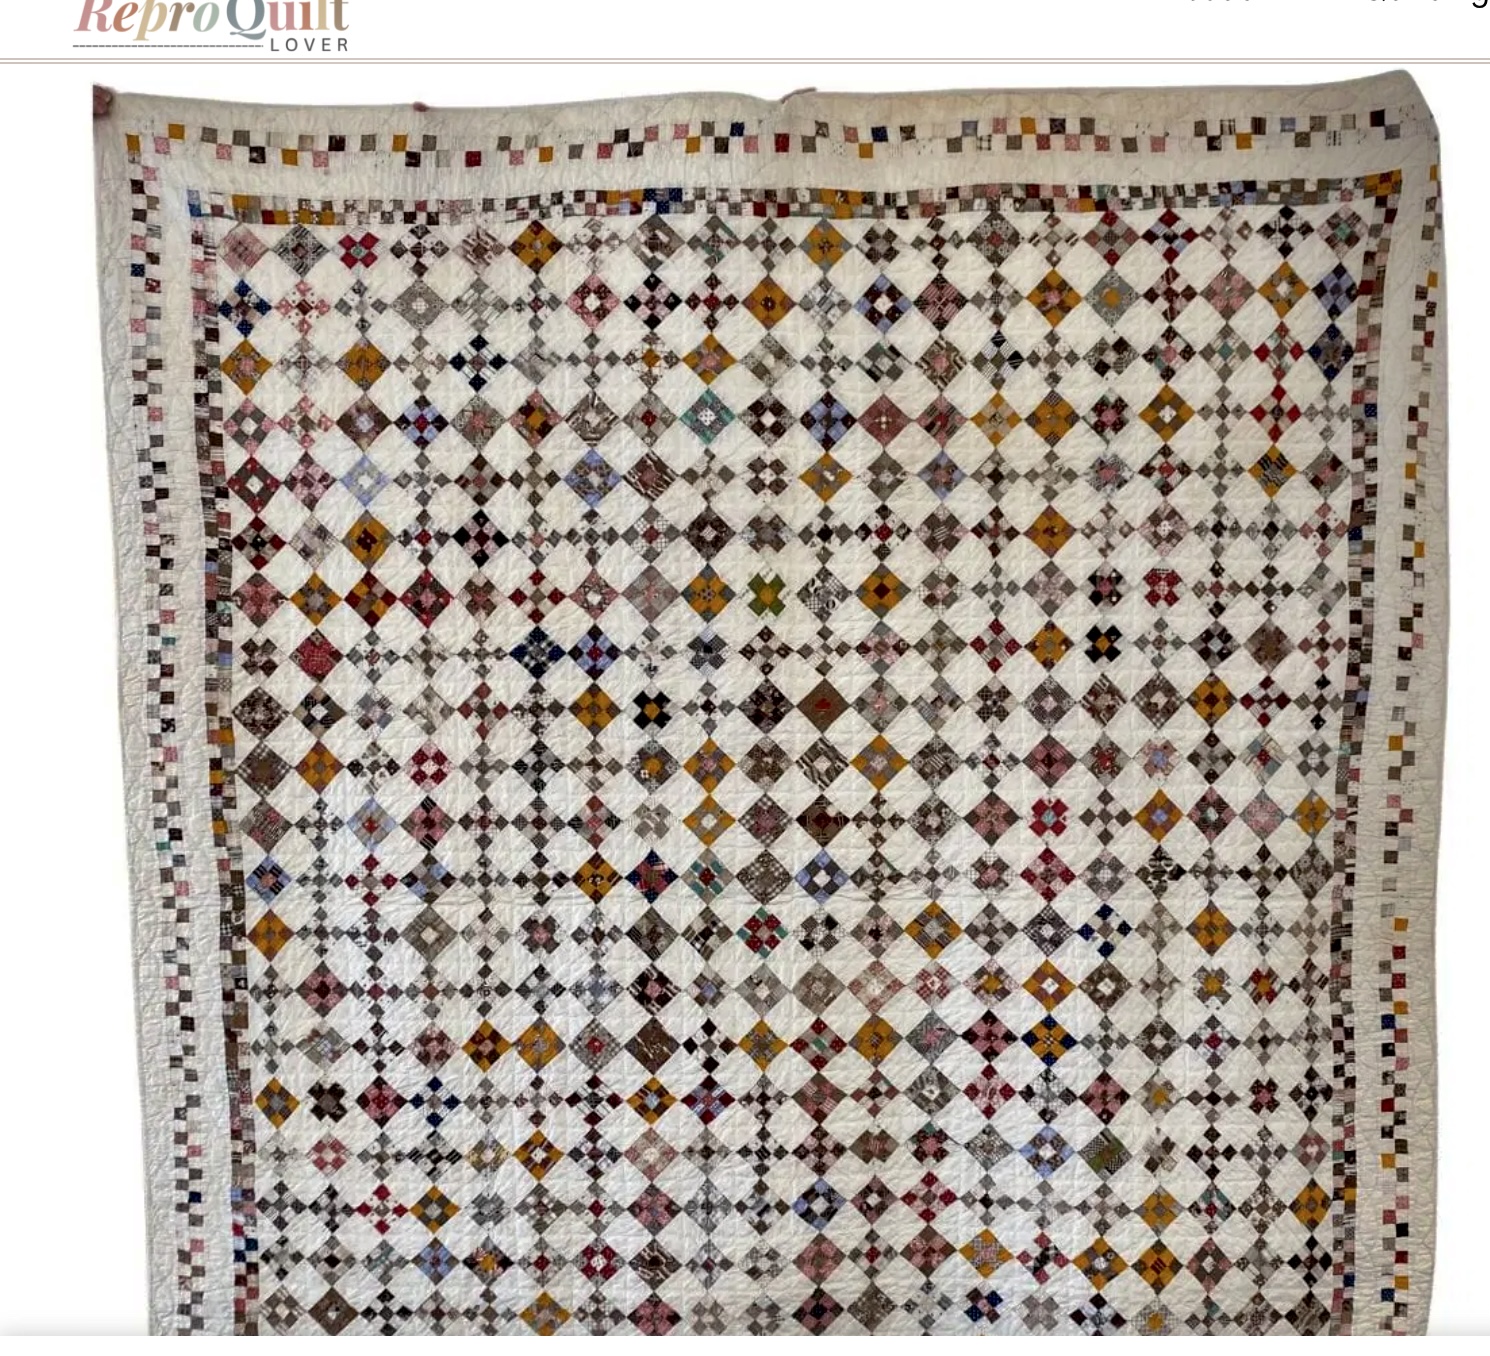
Next post I’ll show photos from the 2 places we stayed in New Mexico – Abiquiu, and Santa Fe. But I can’t leave this post without at least a few things related to sewing and textiles!! 😊. One of my favorite things on the trip was visiting the Museum of International Folk Art in Santa Fe. I have several photos to share from that visit over the next few posts, but for today I’m sharing 2 wonderful pieces made of yarn which I loved:


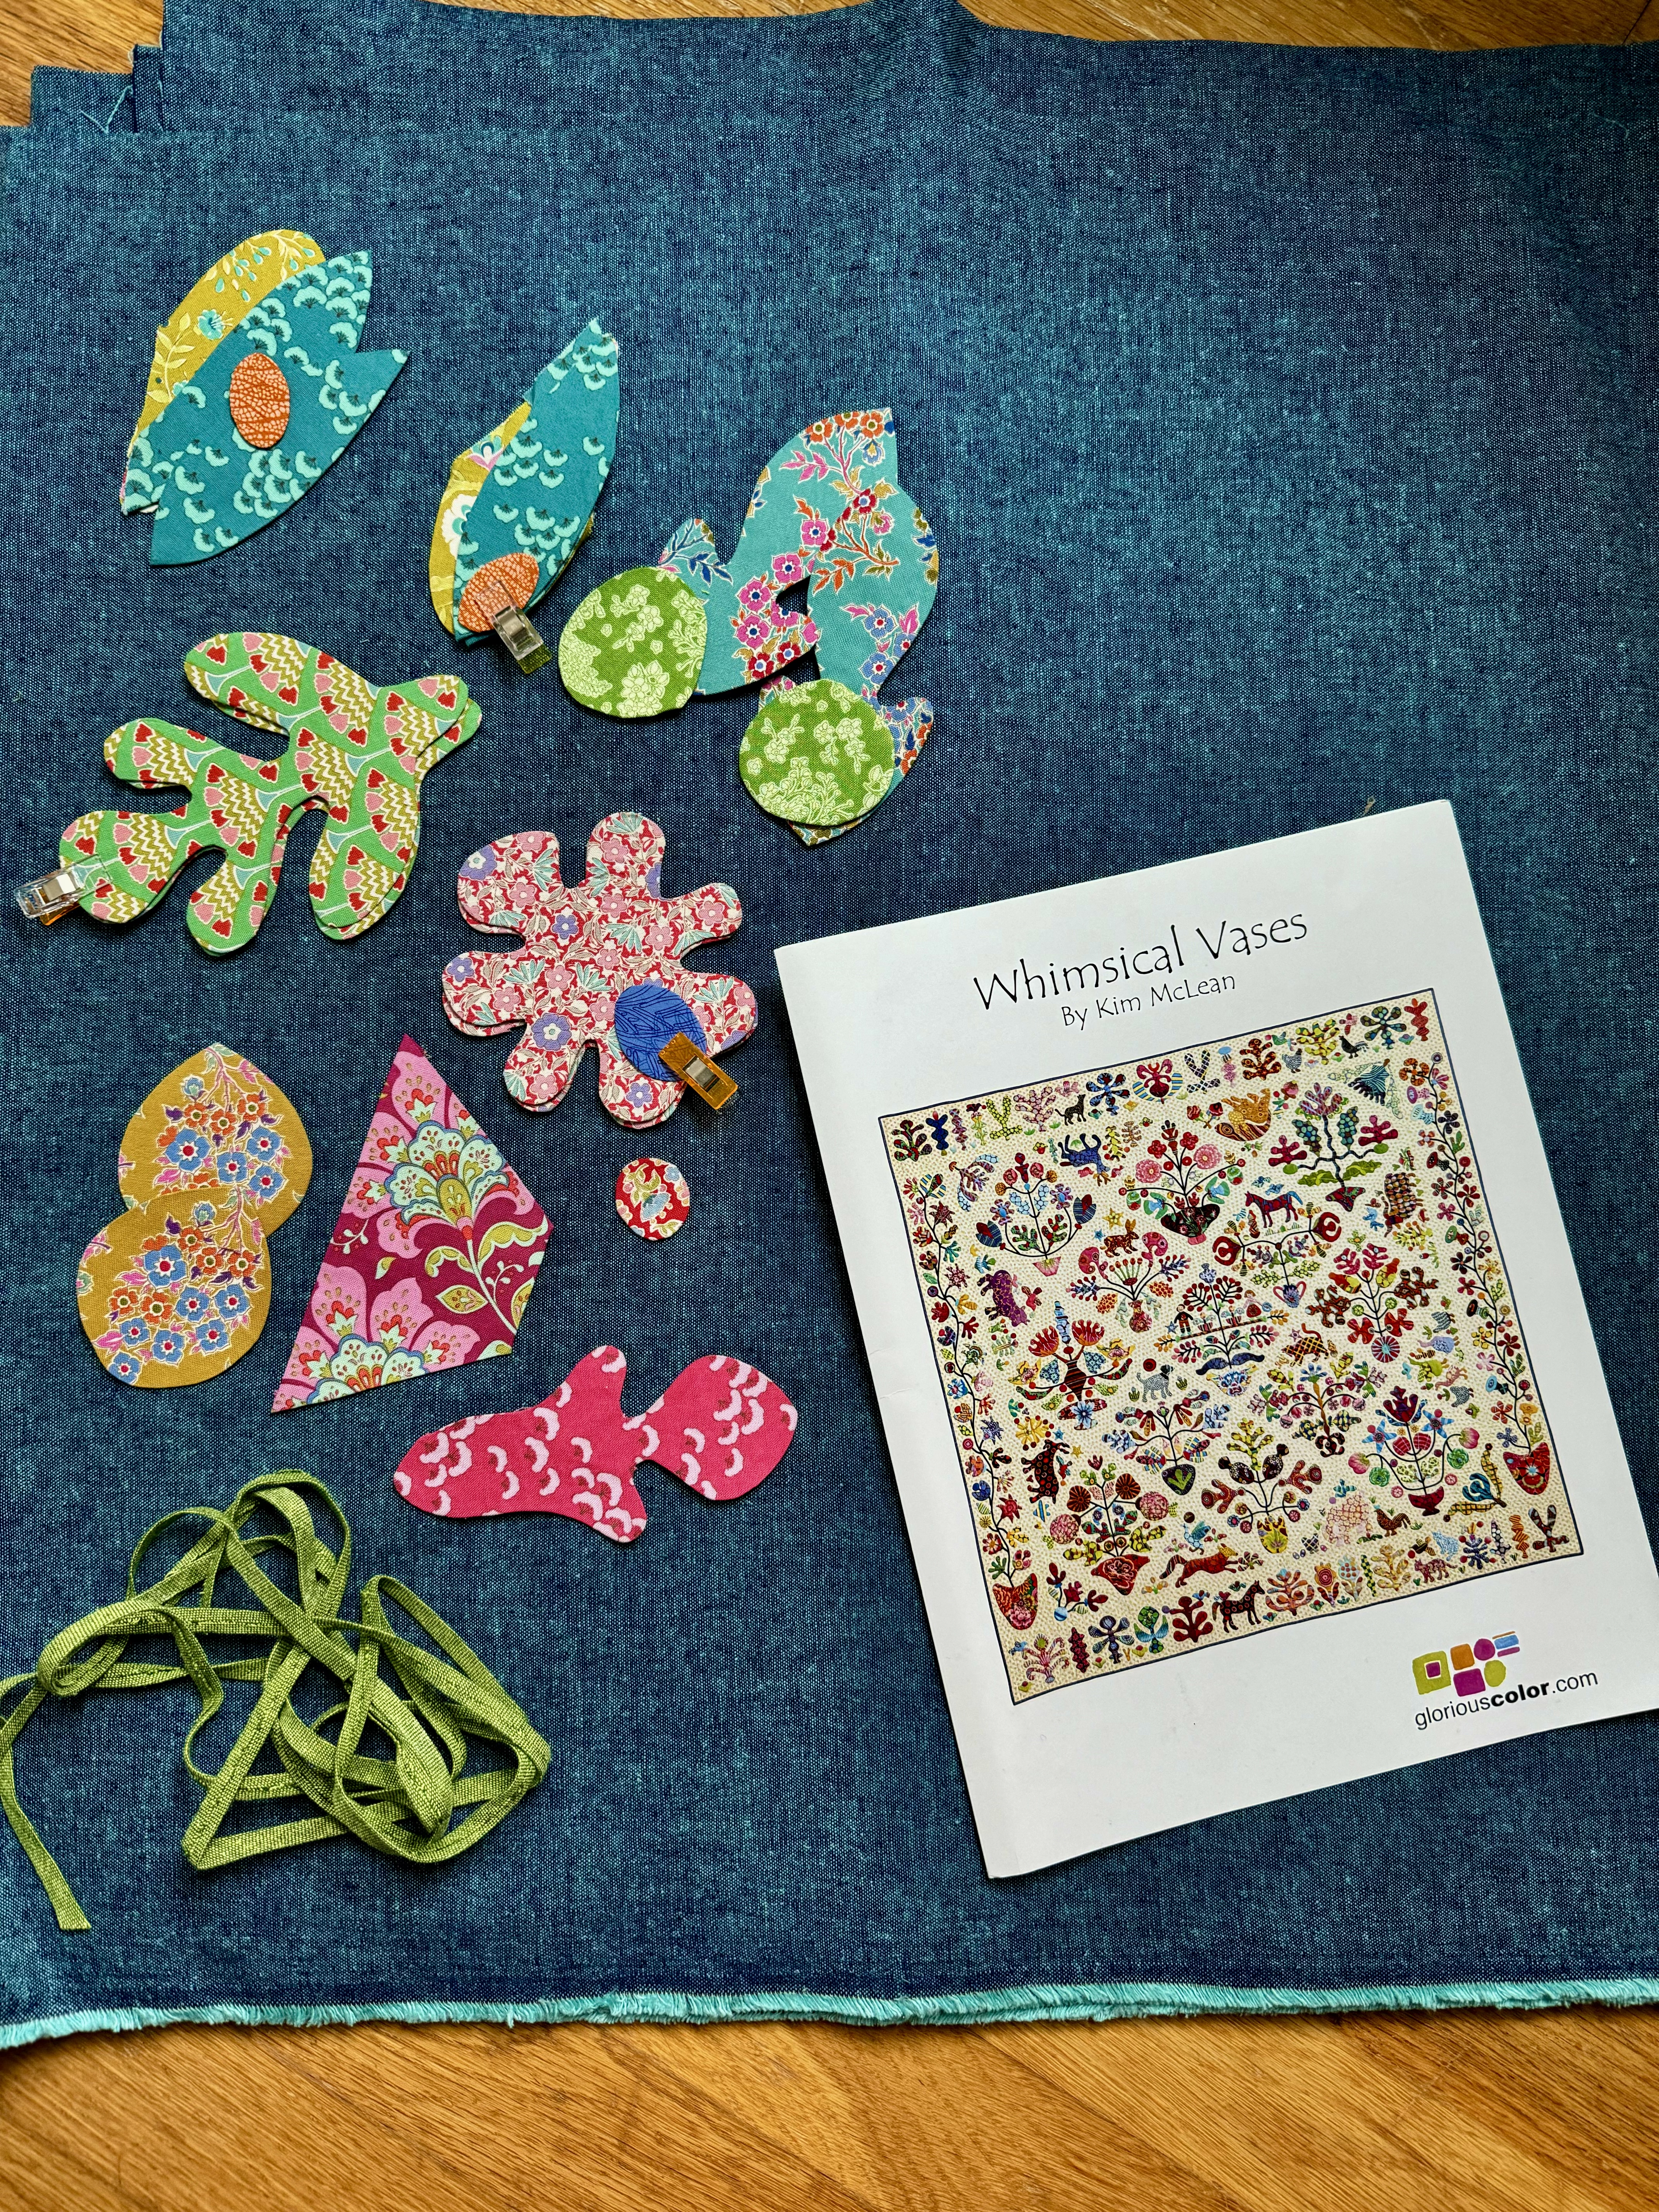
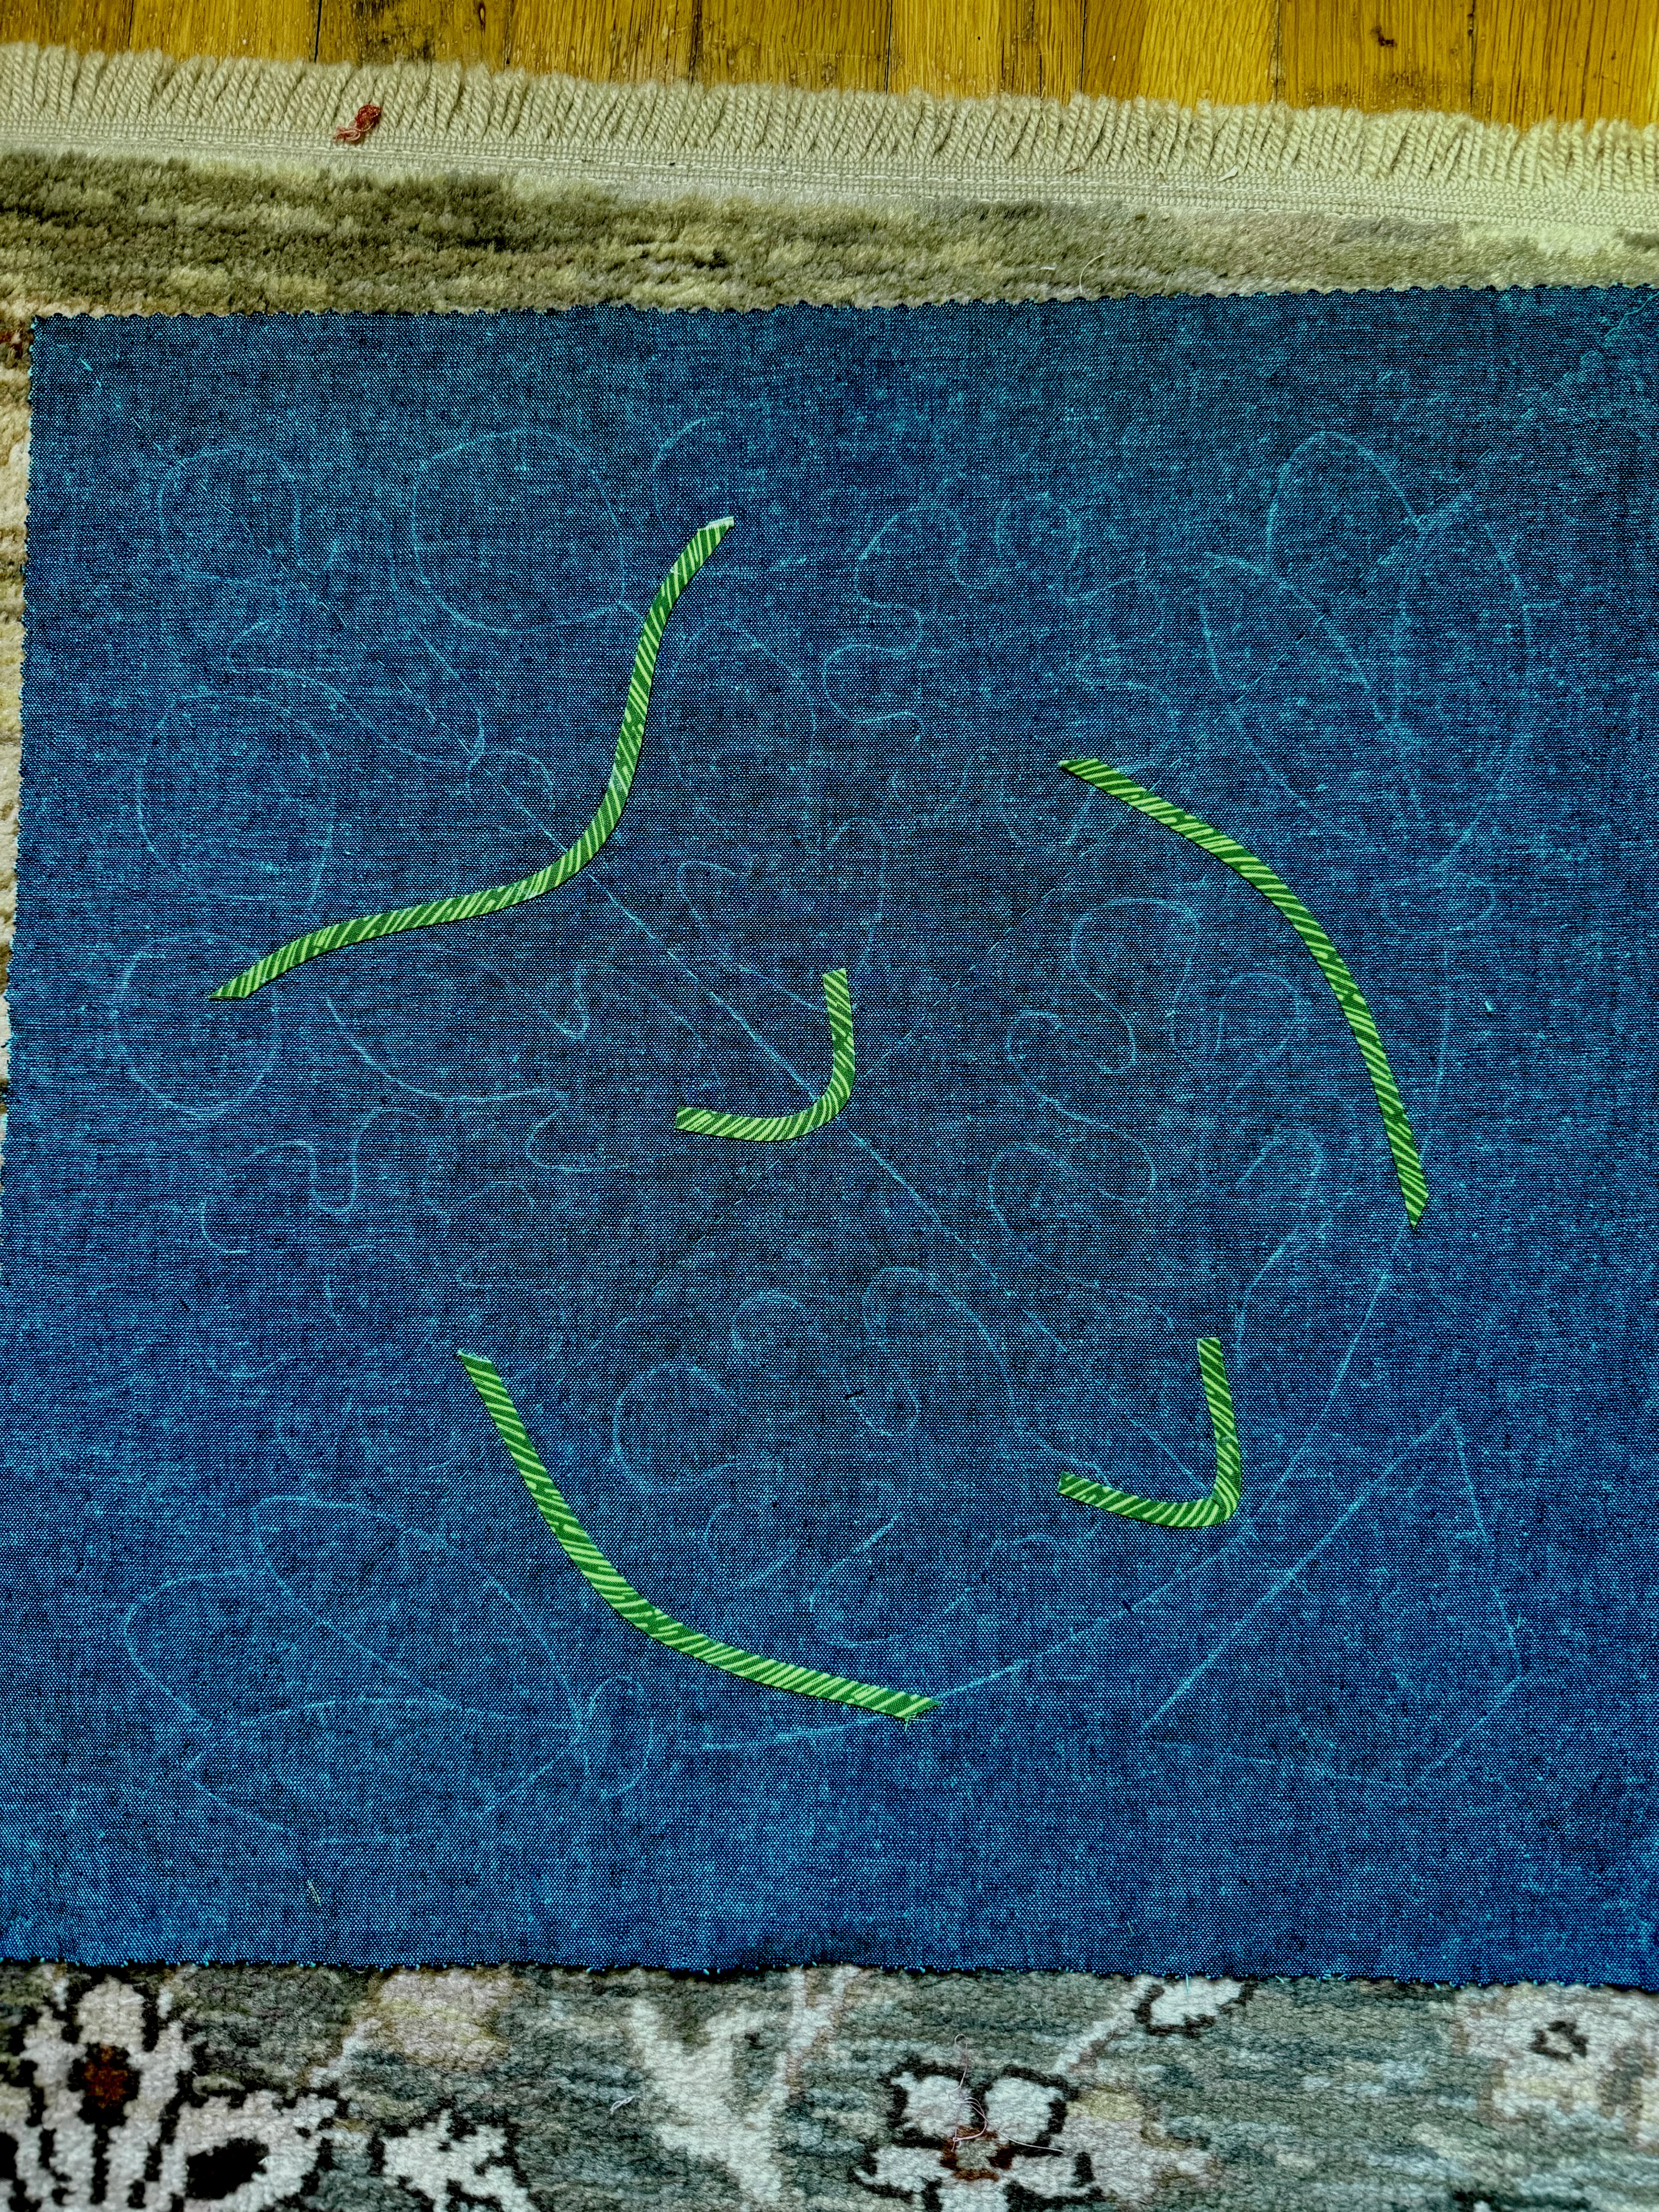
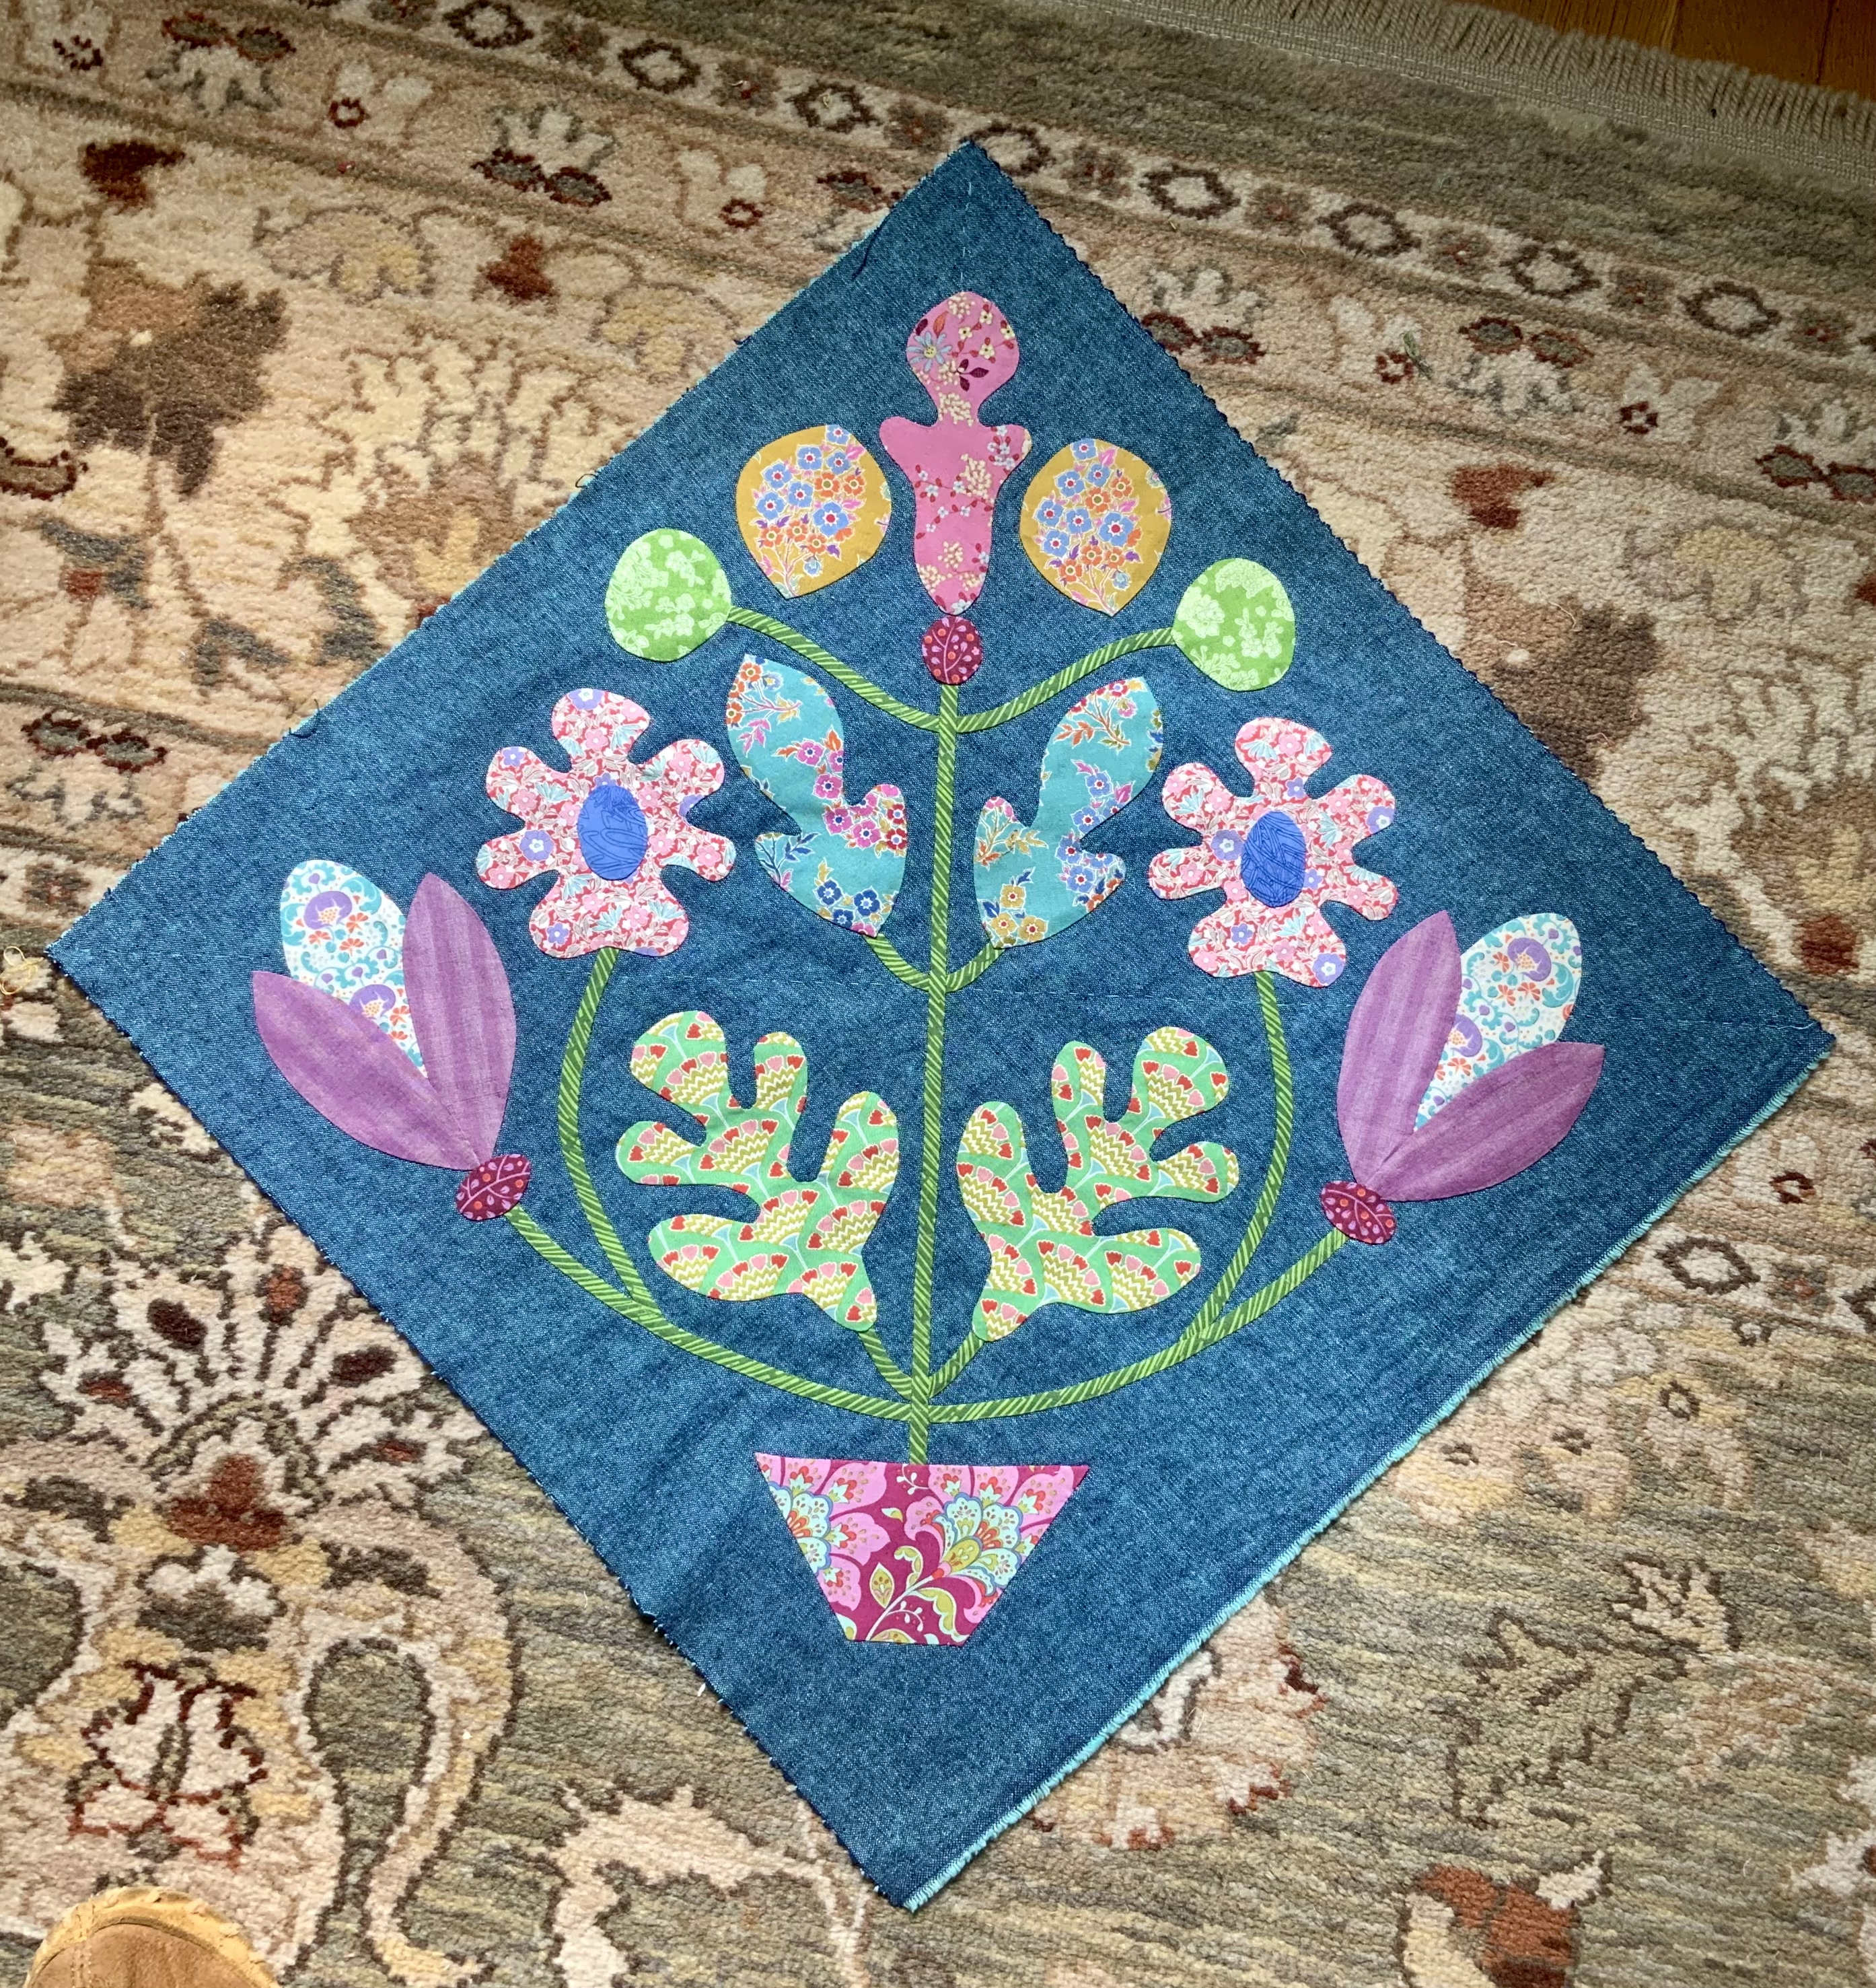
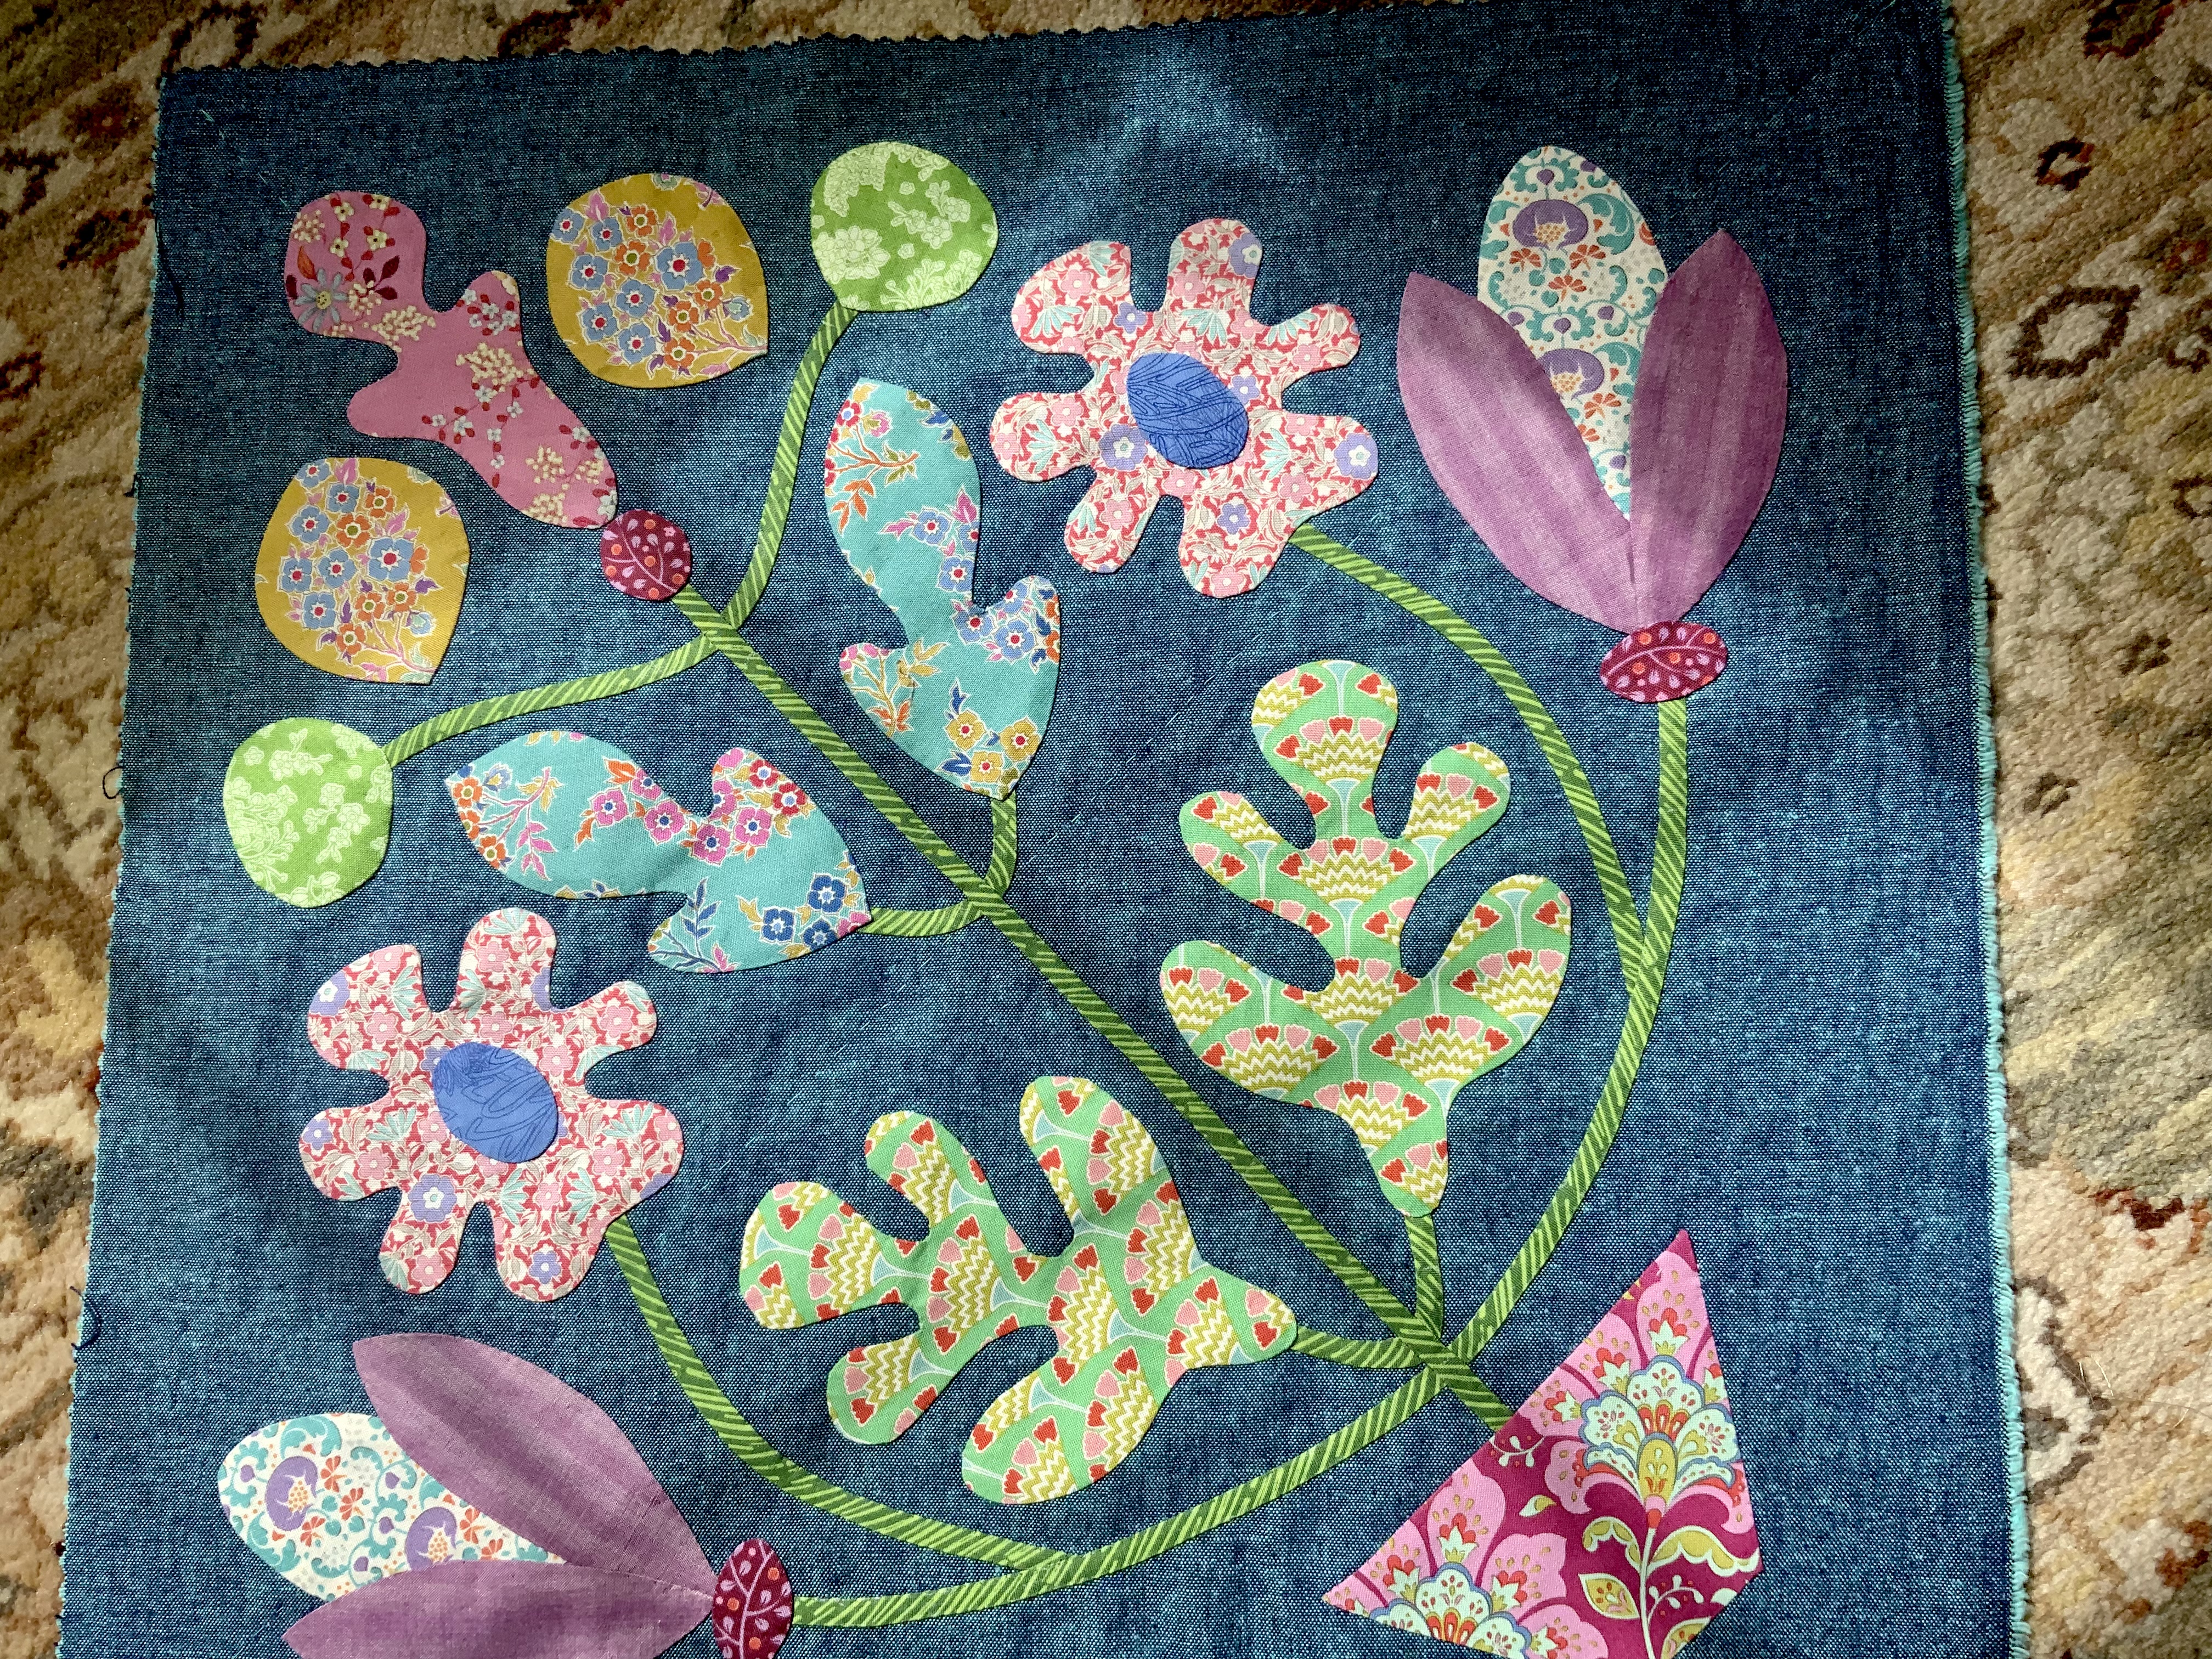
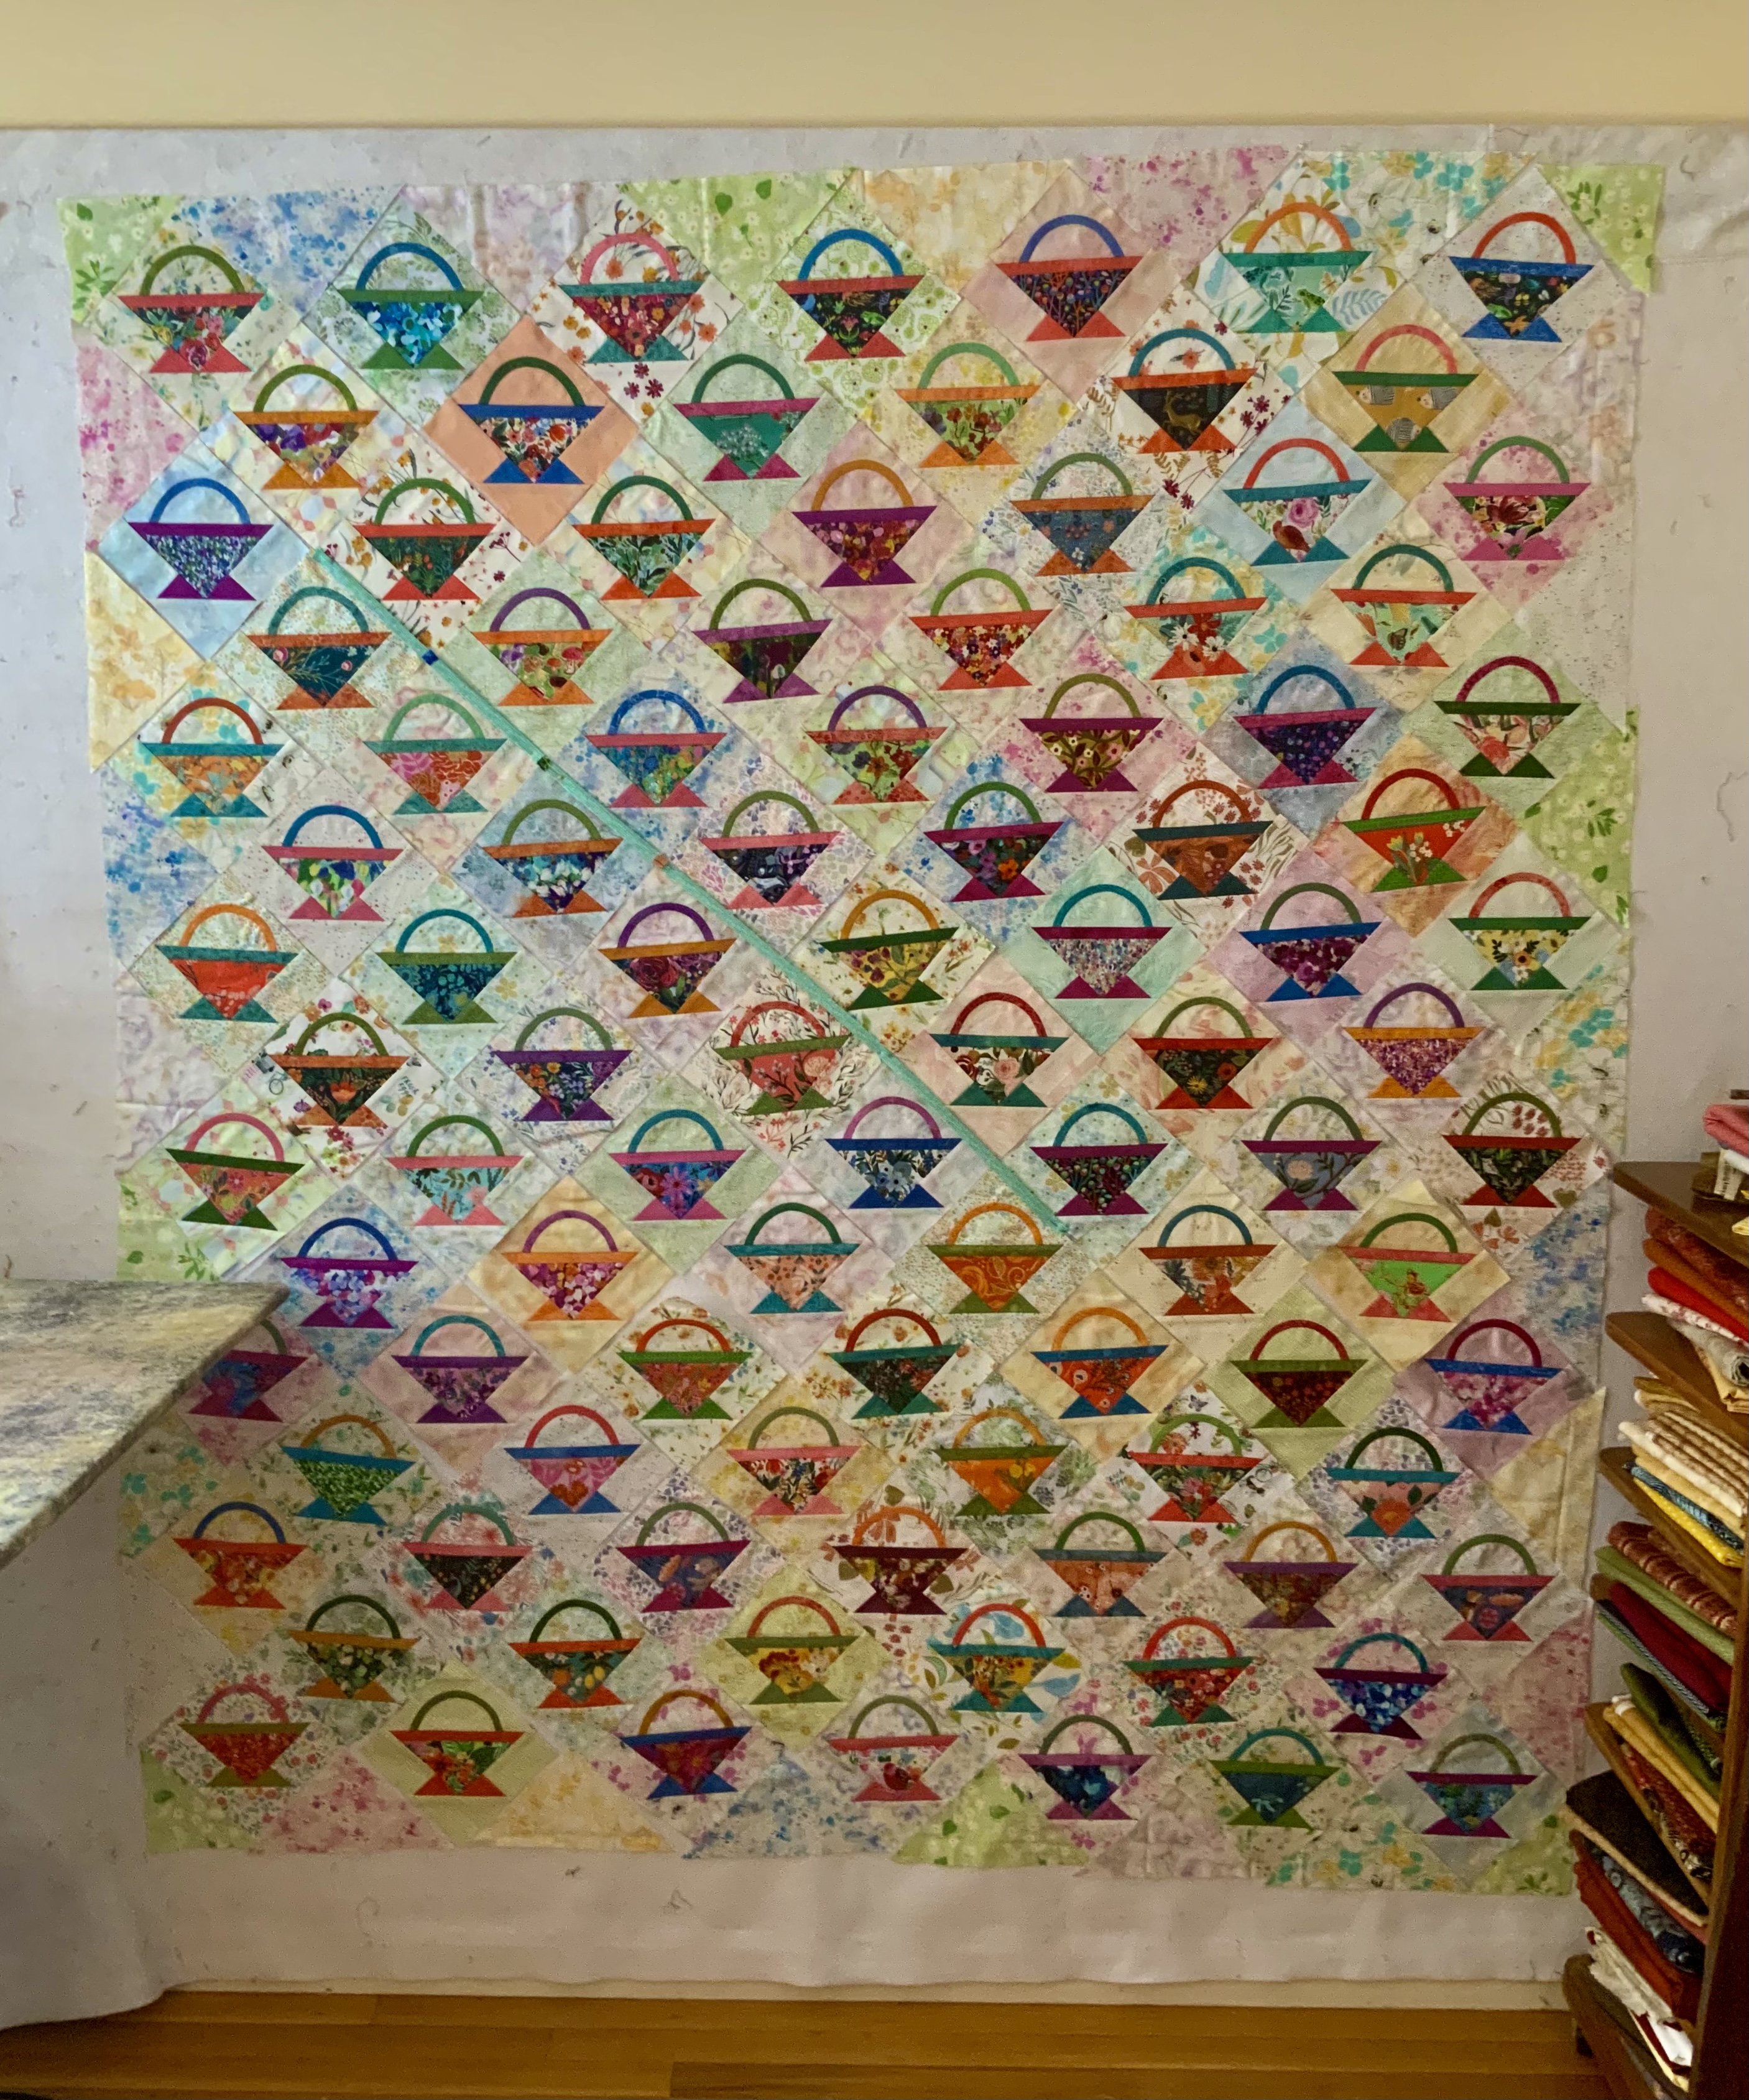
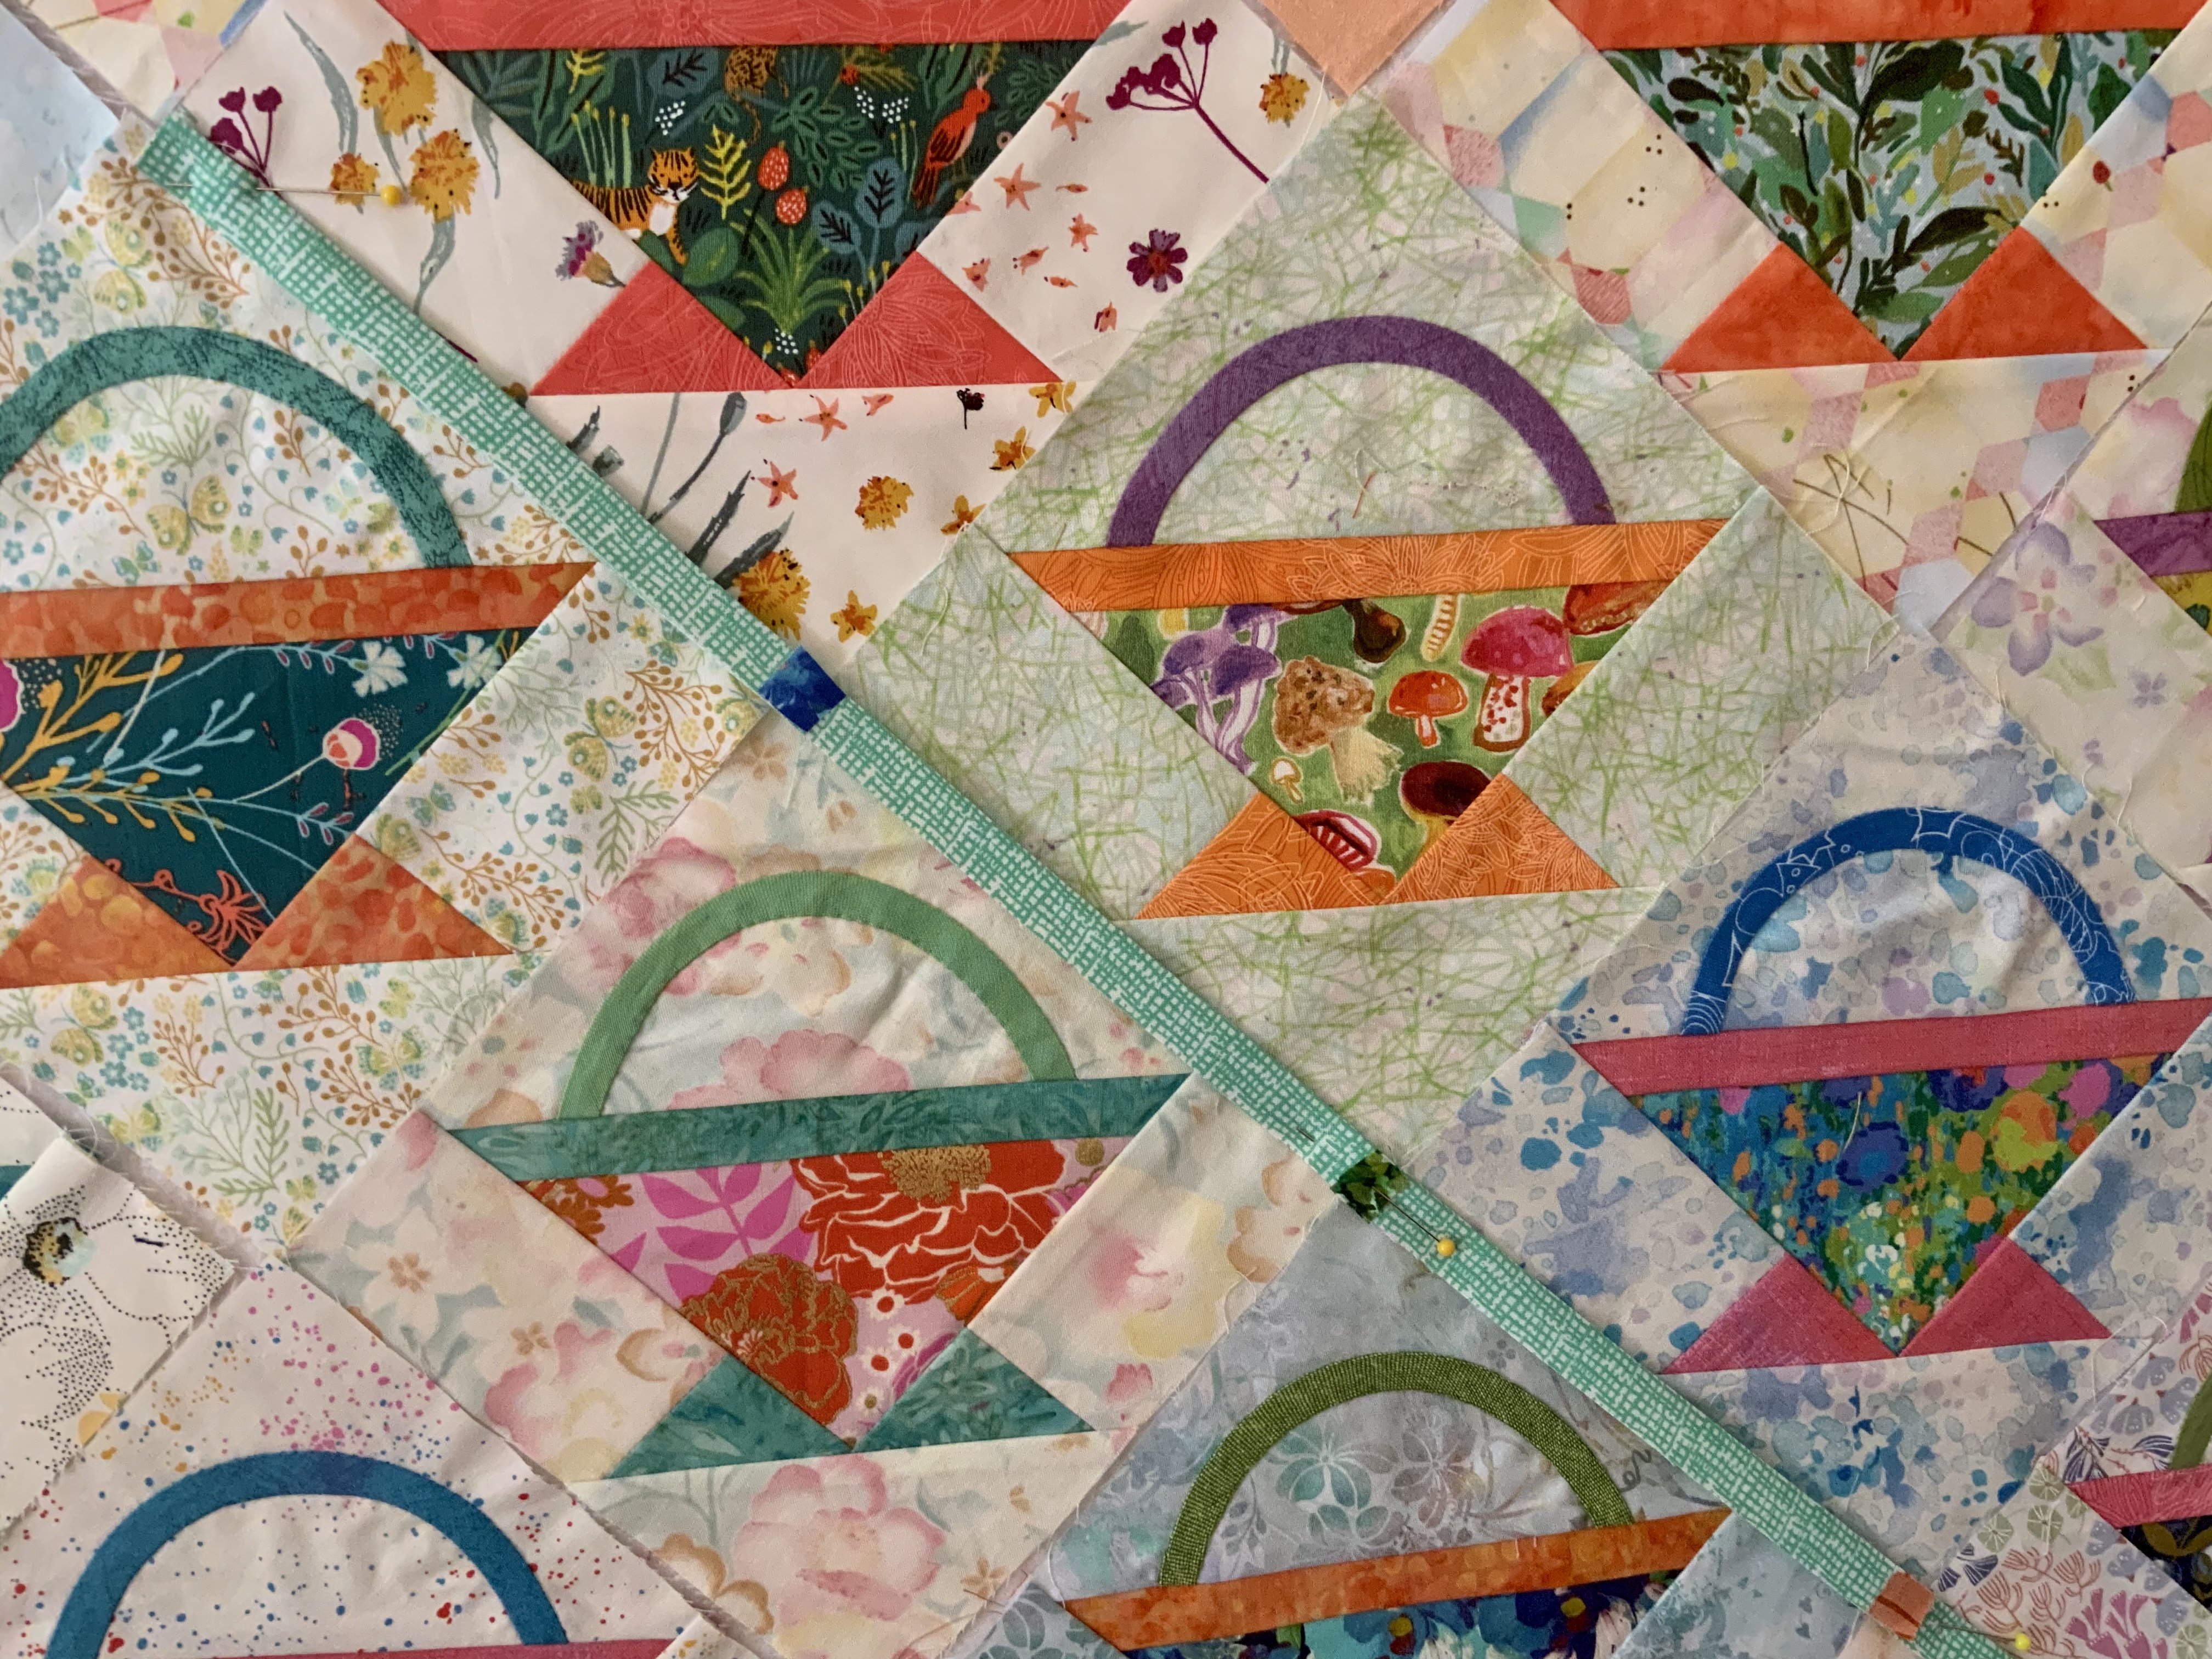
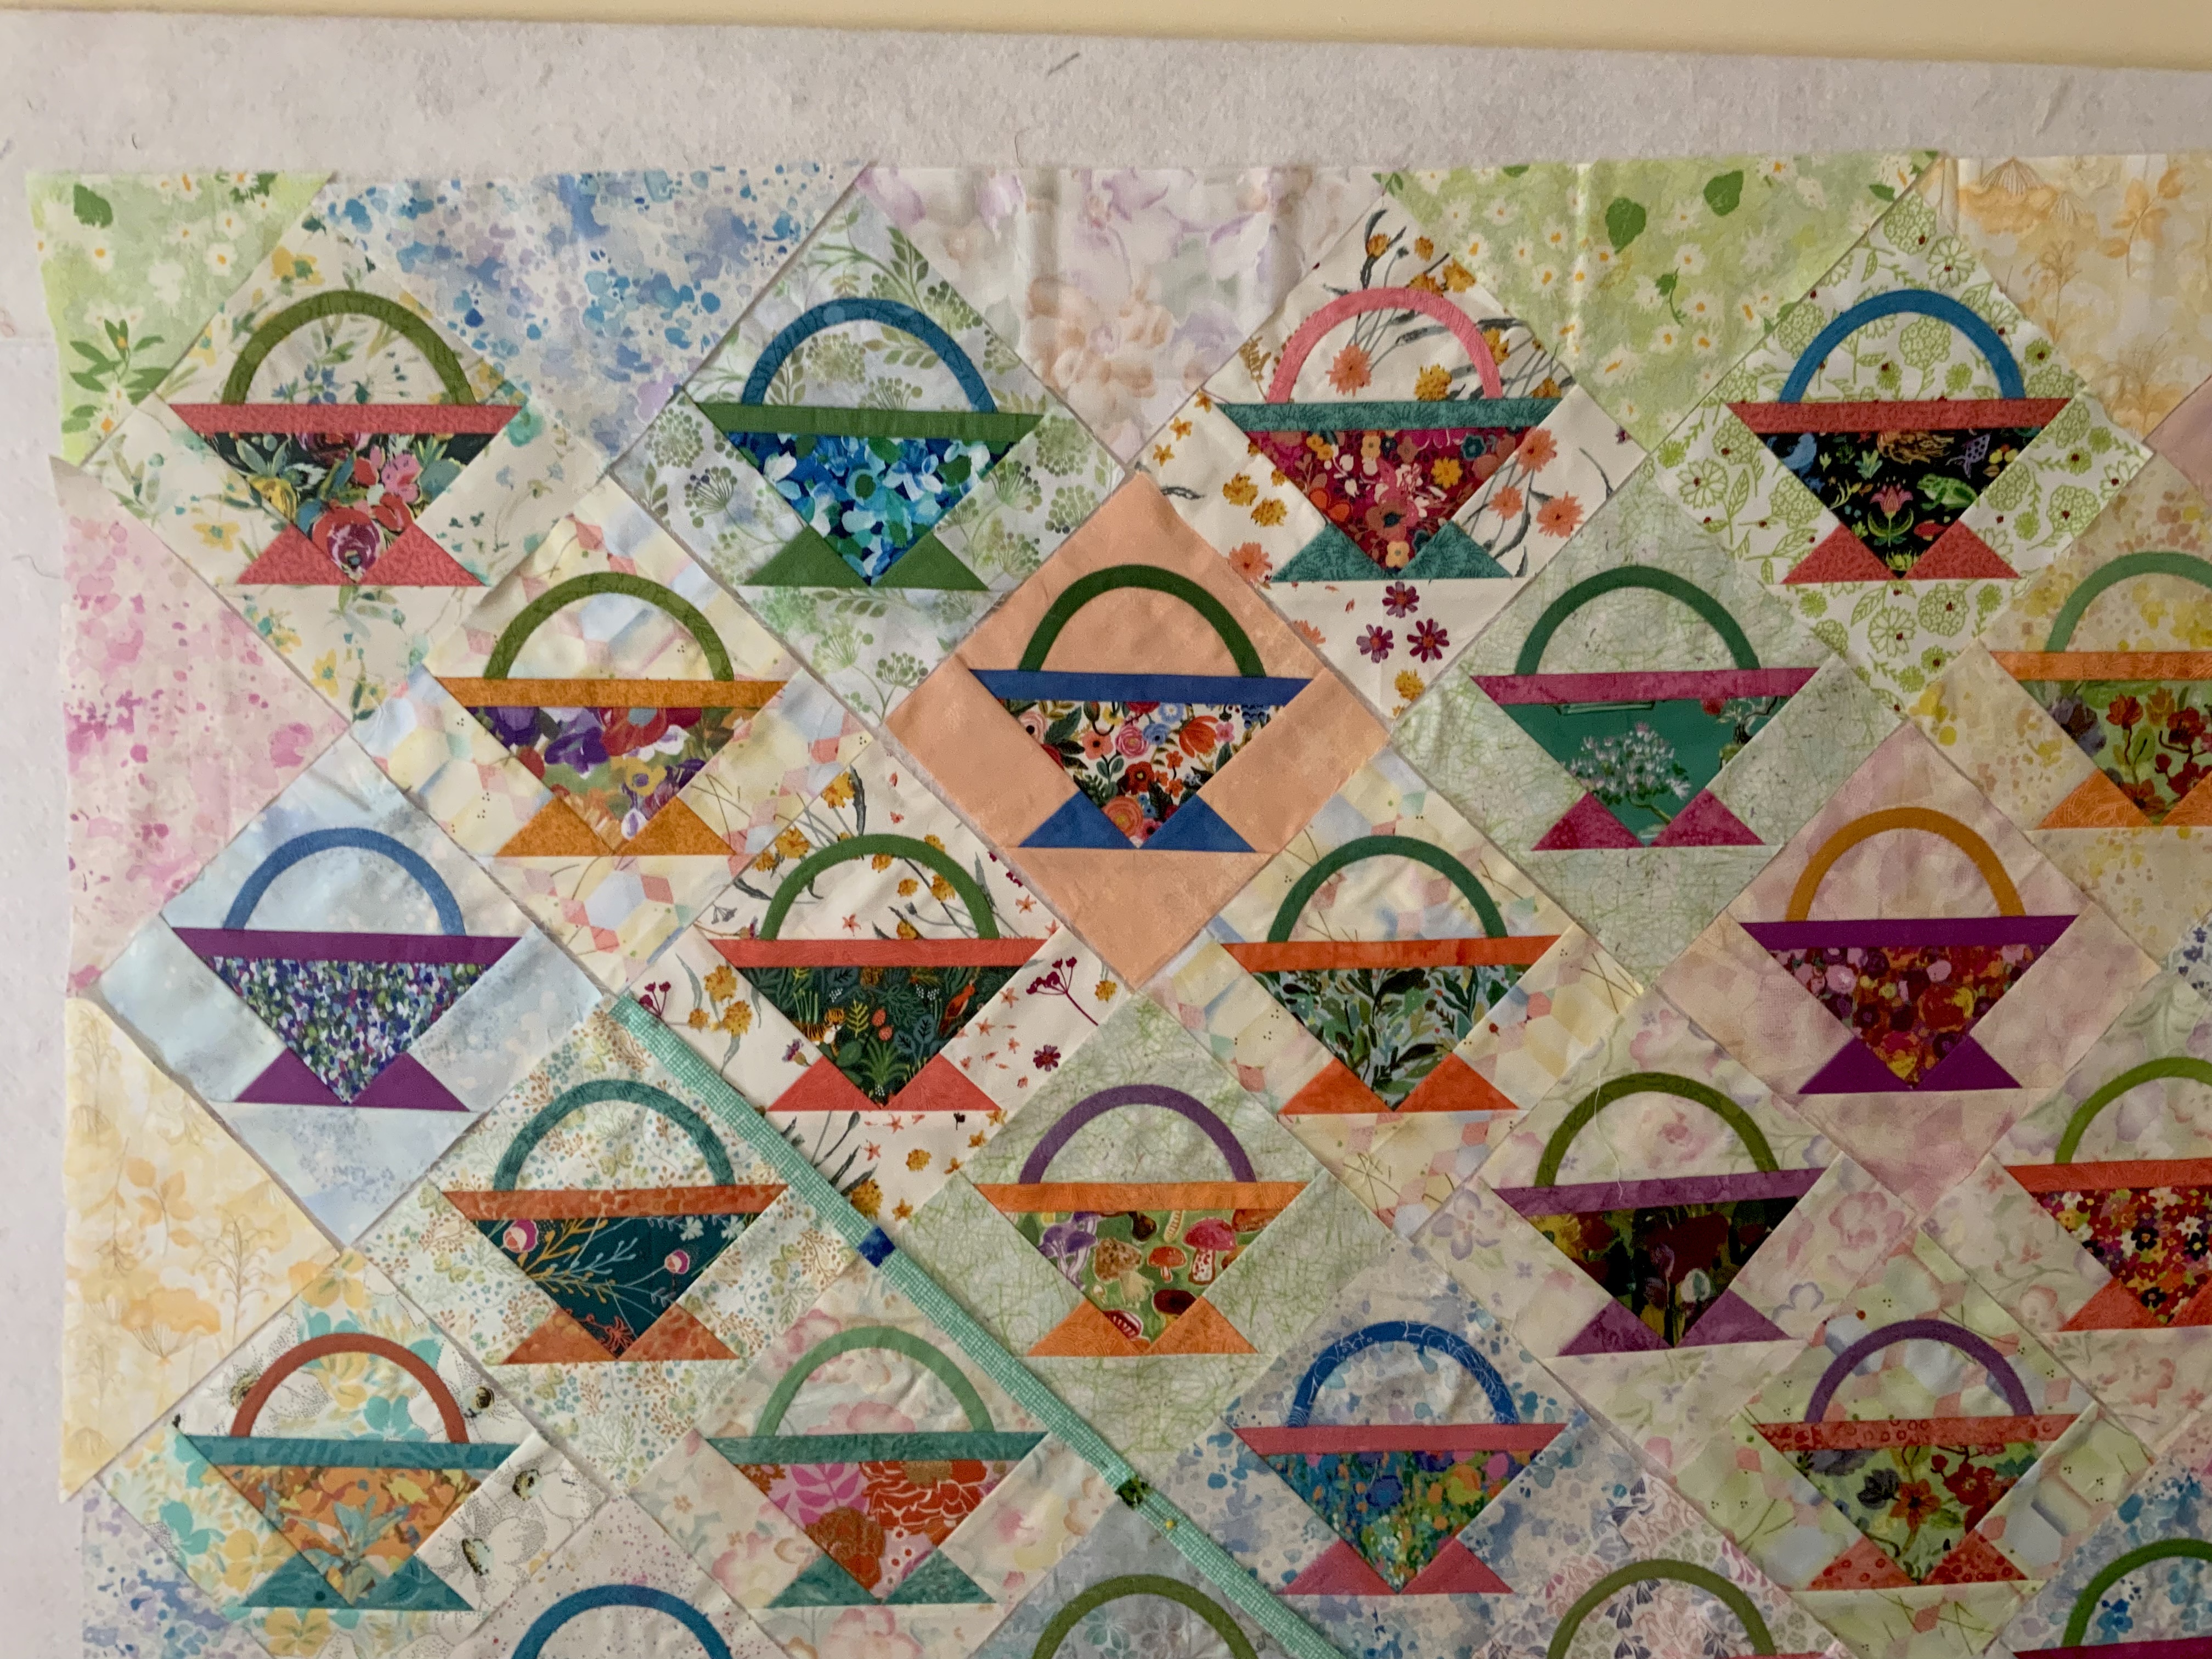
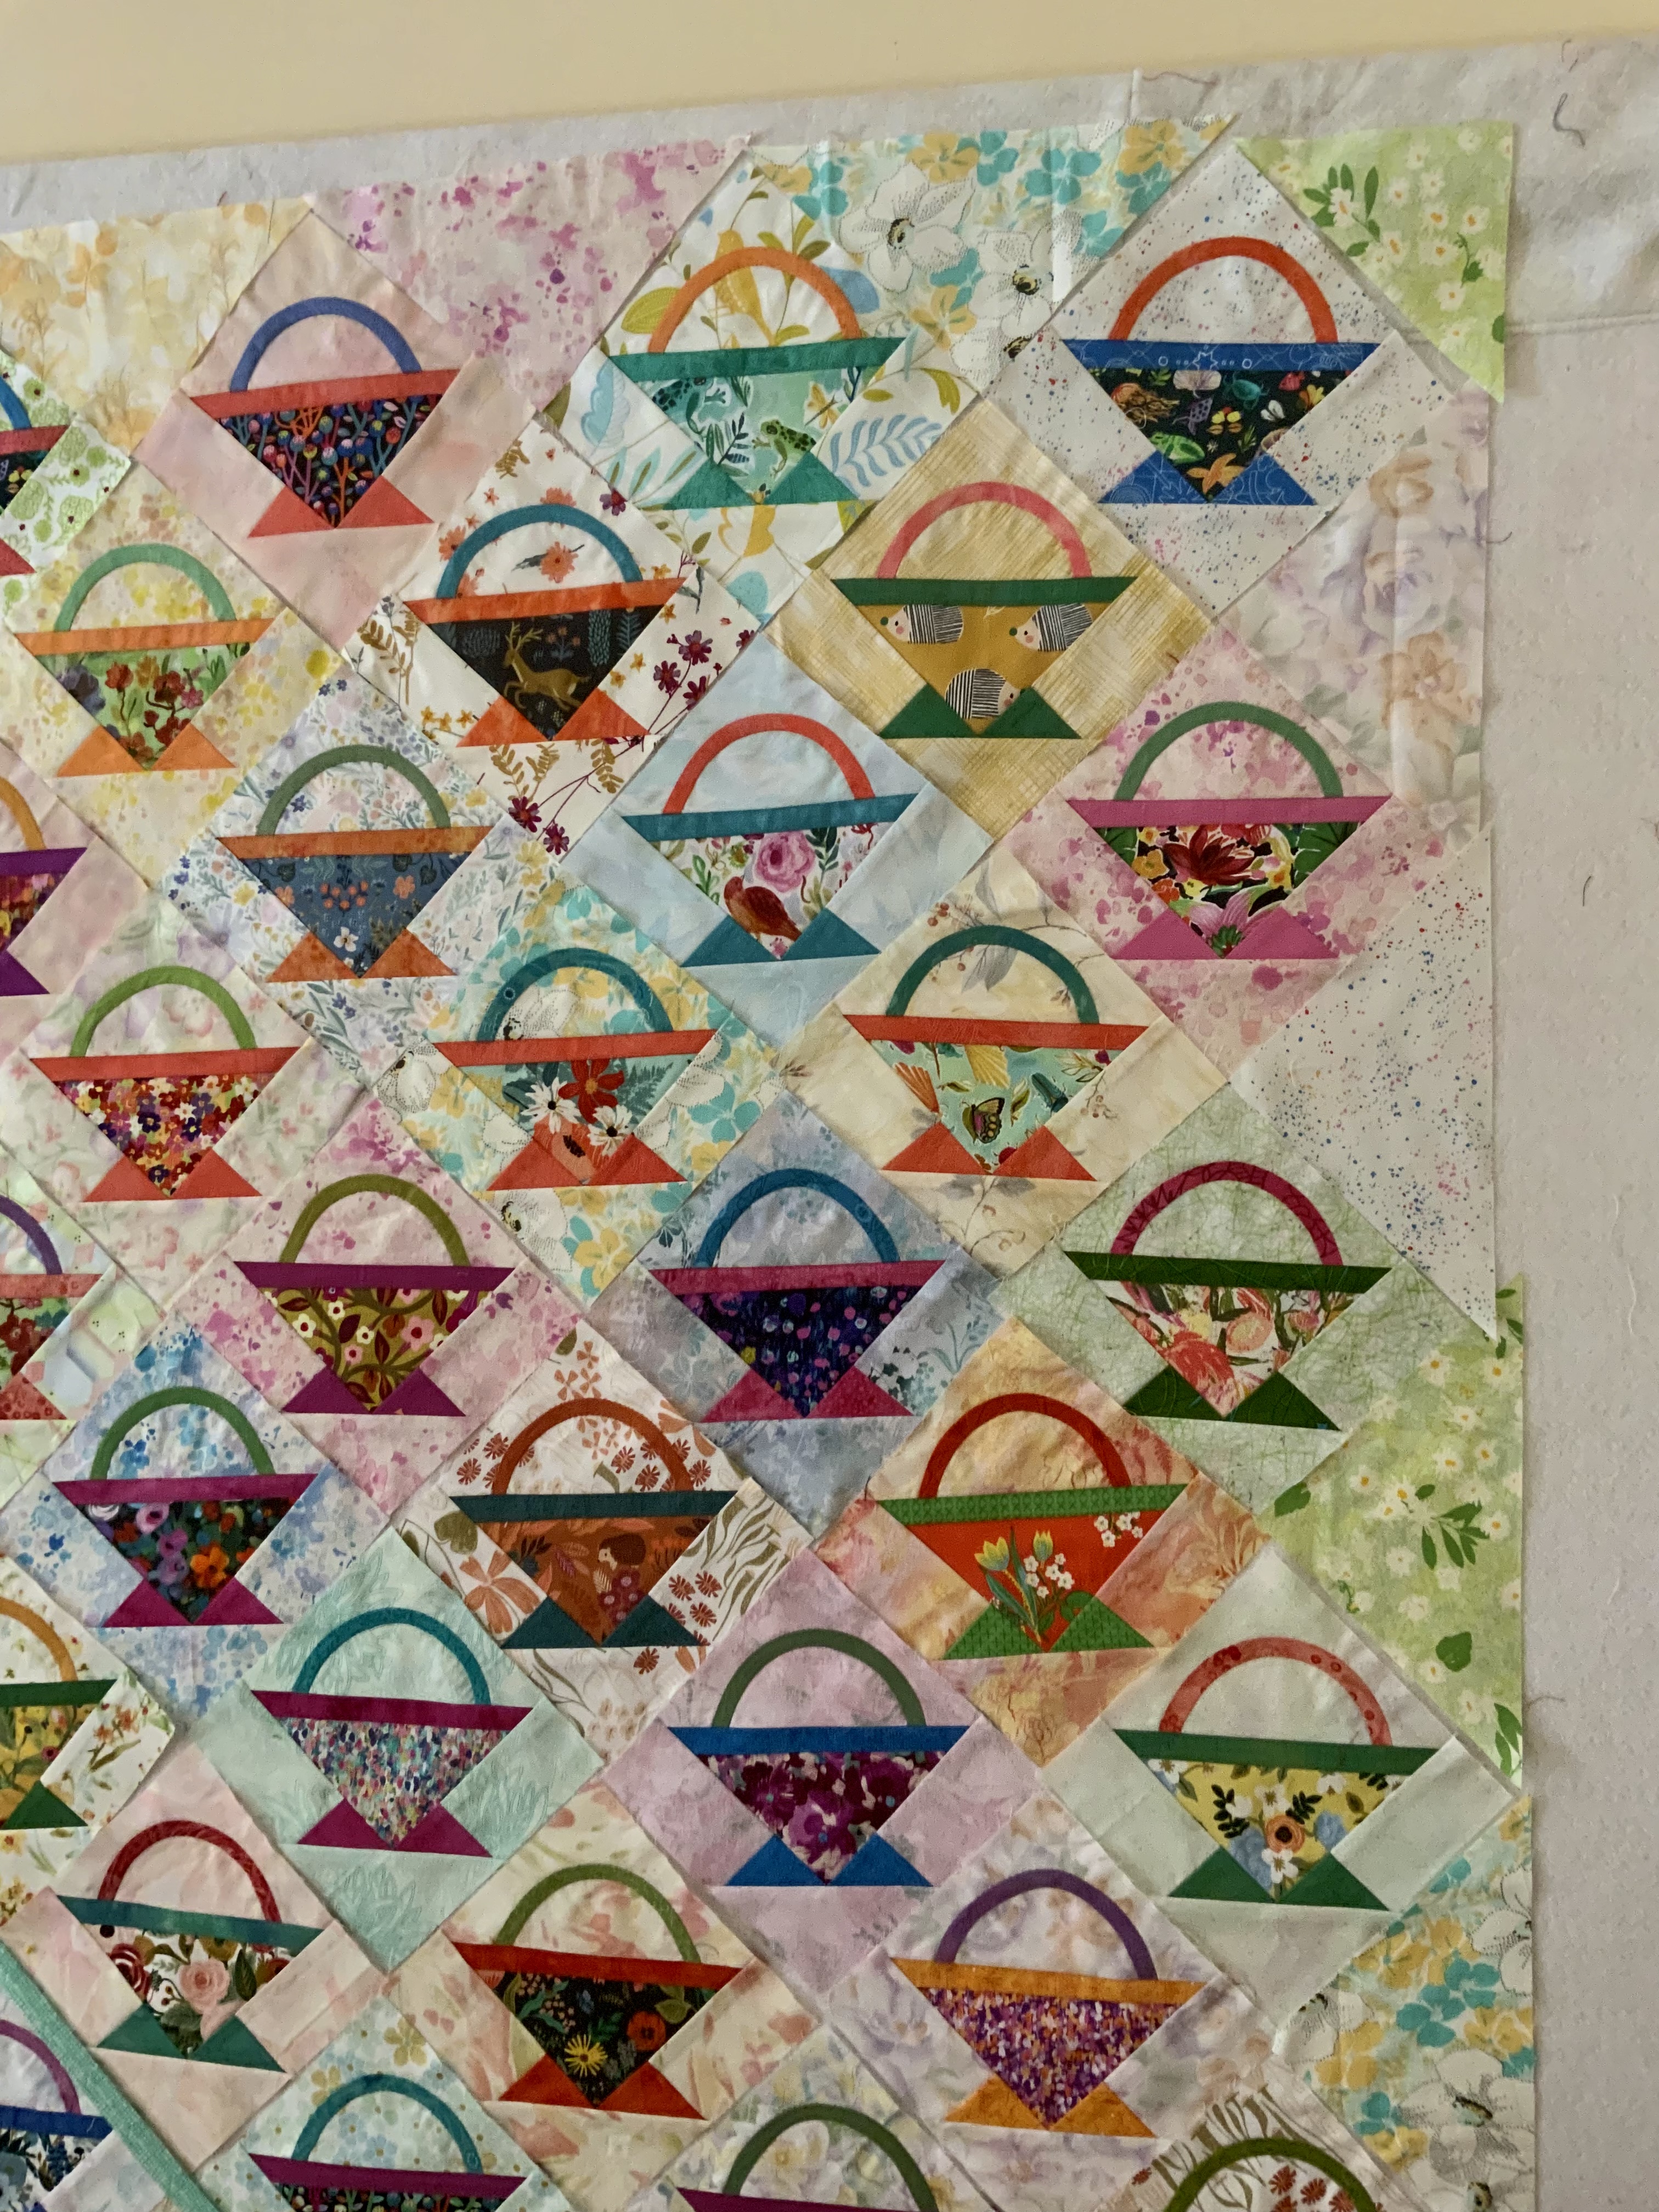
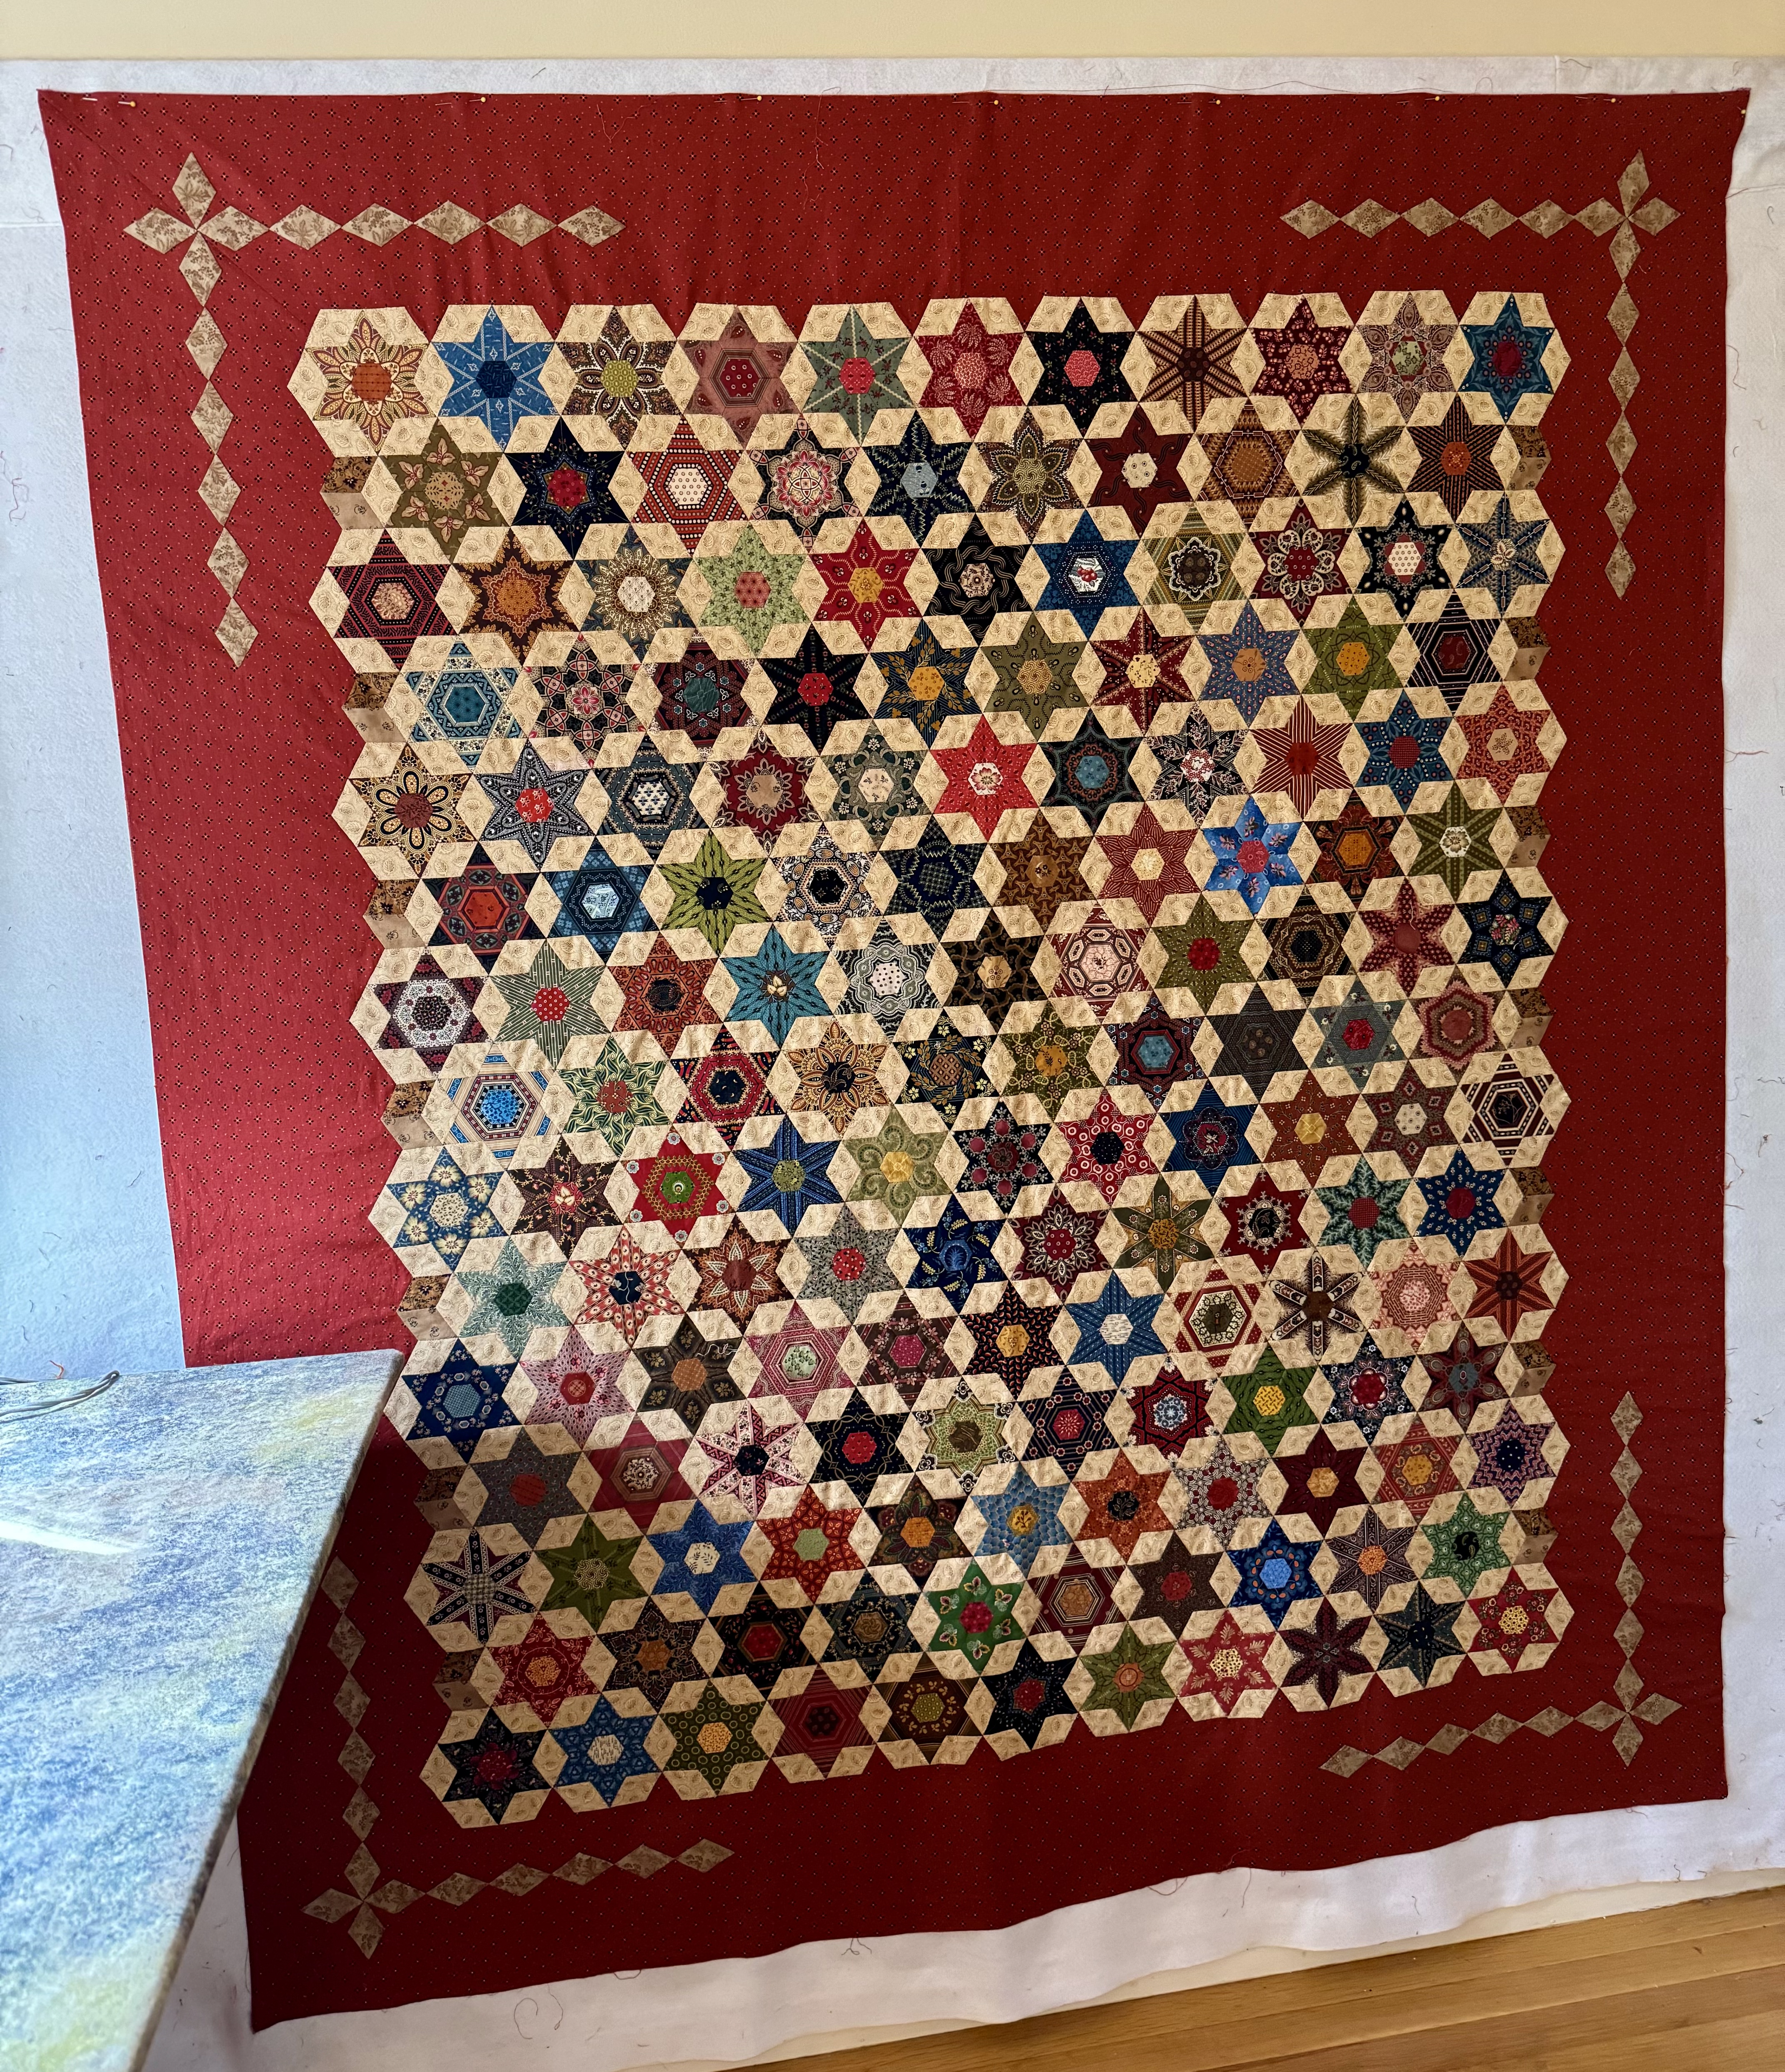
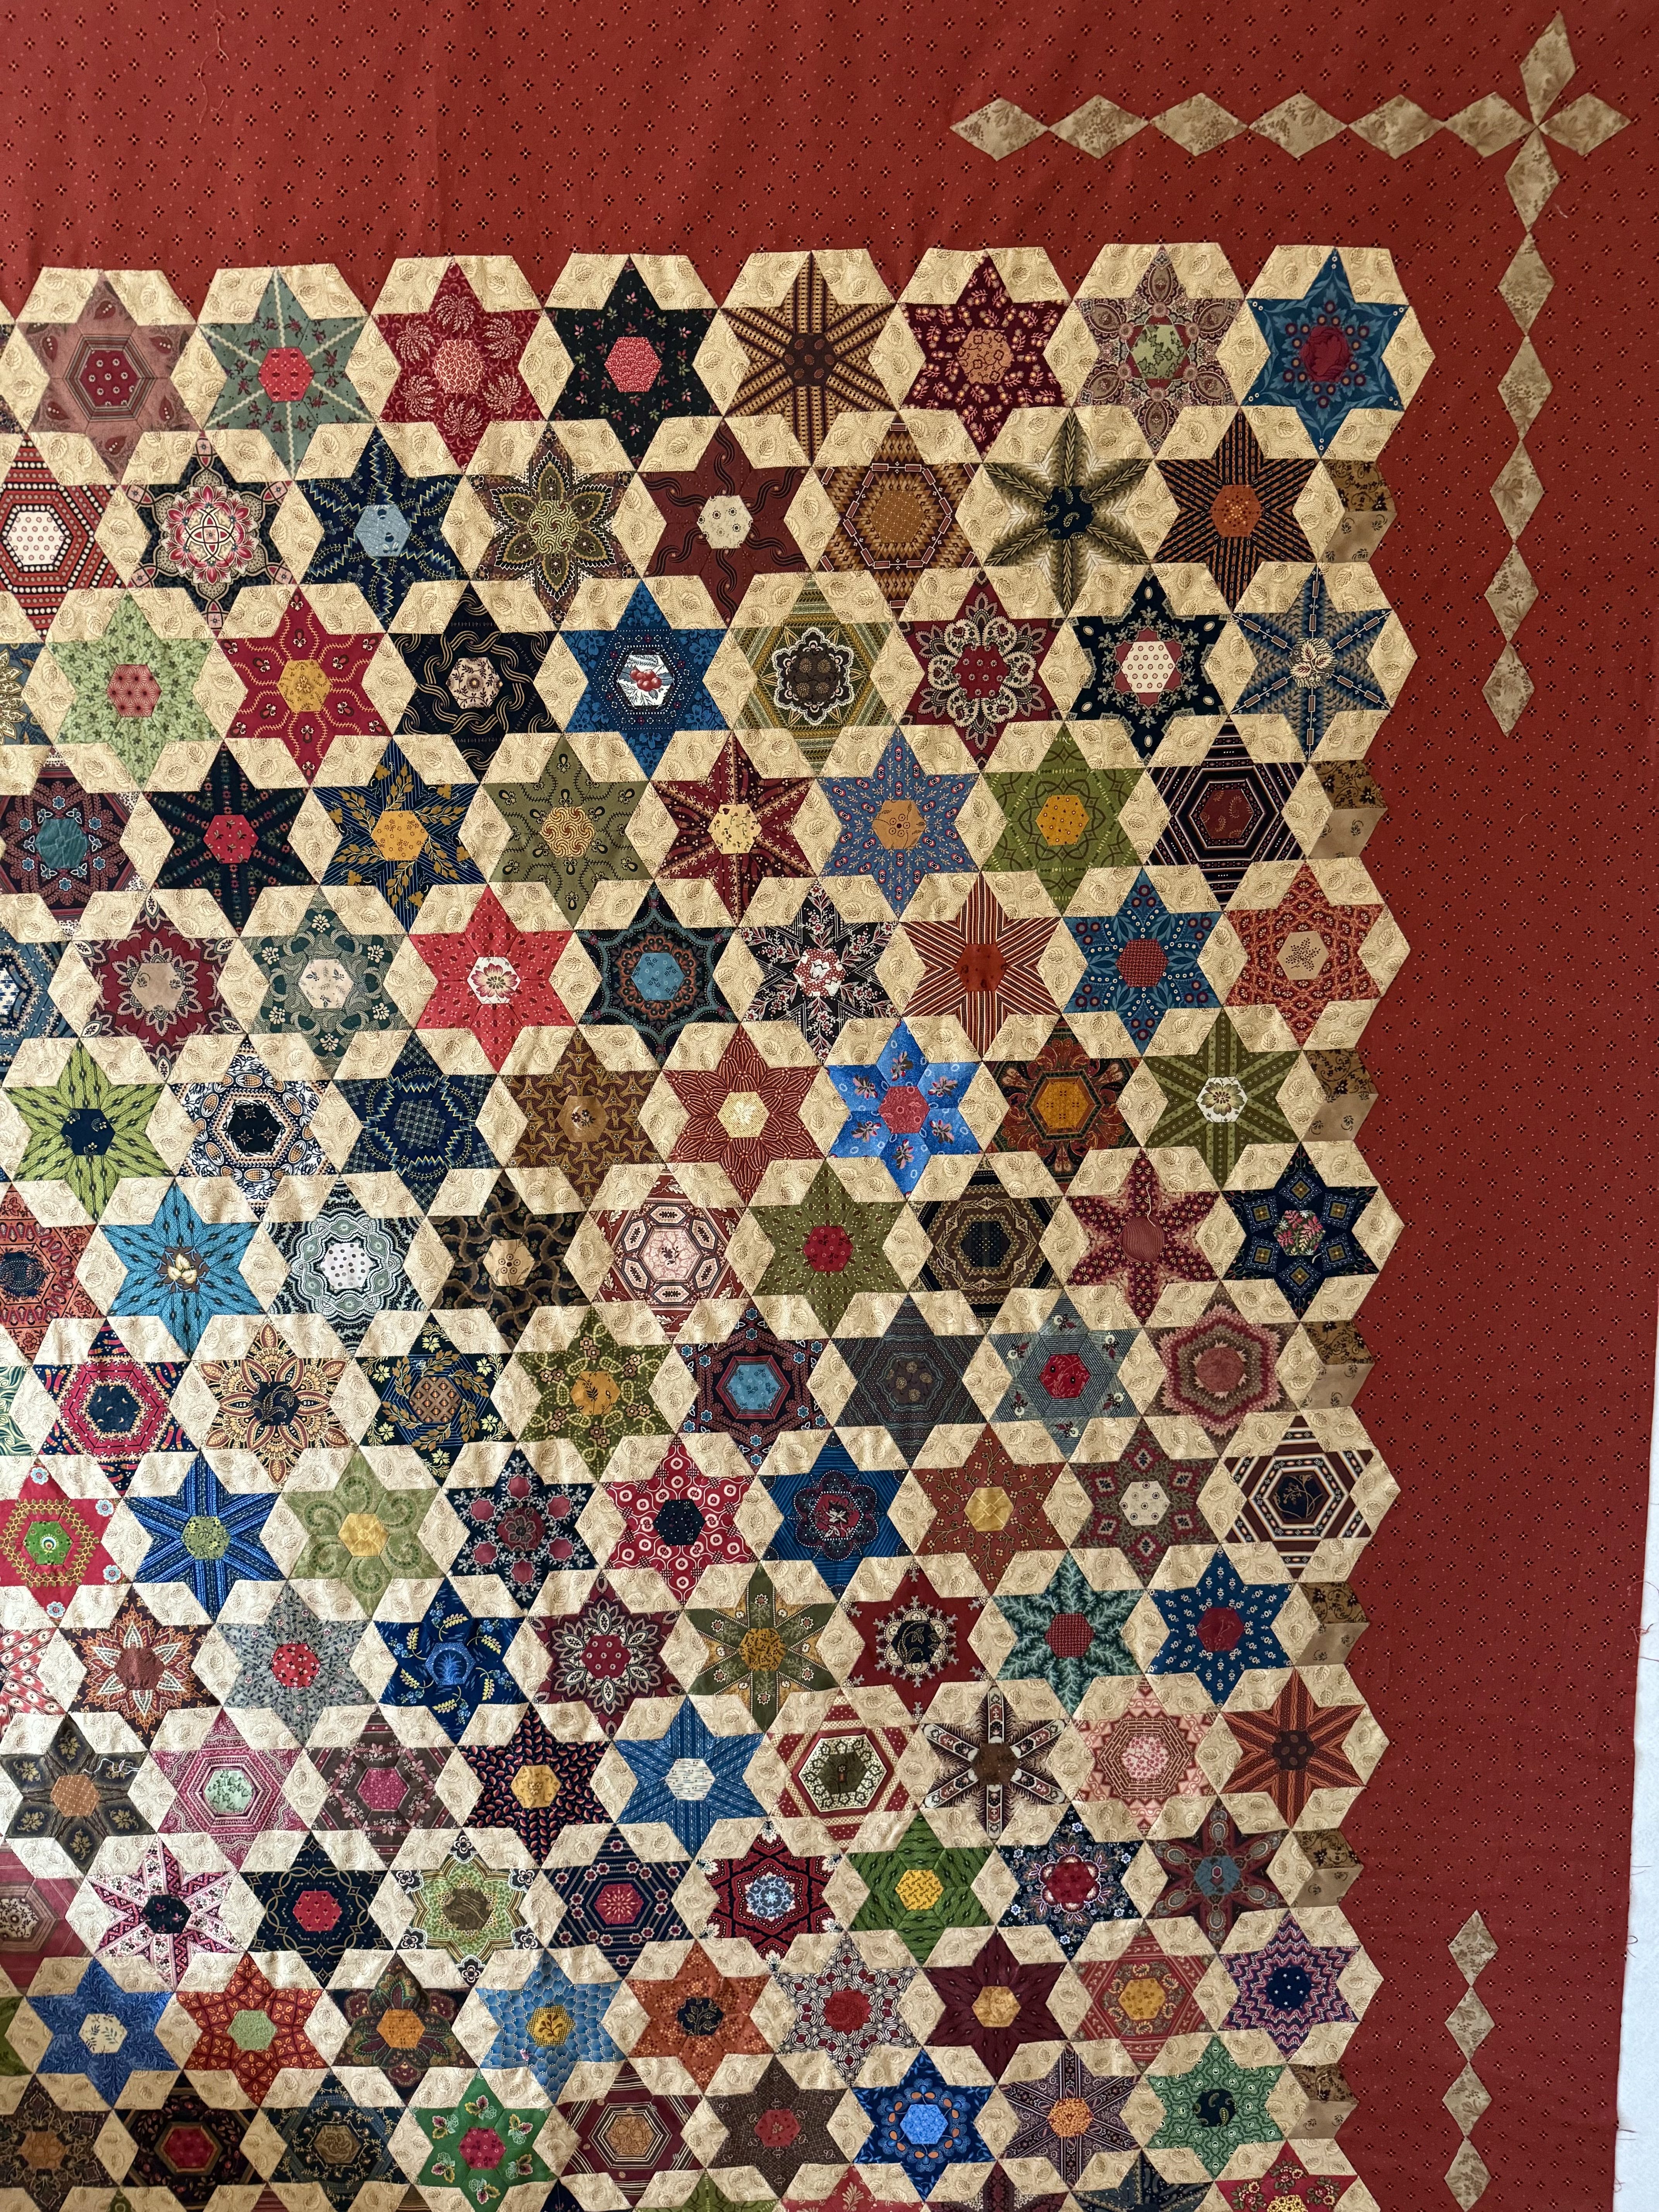
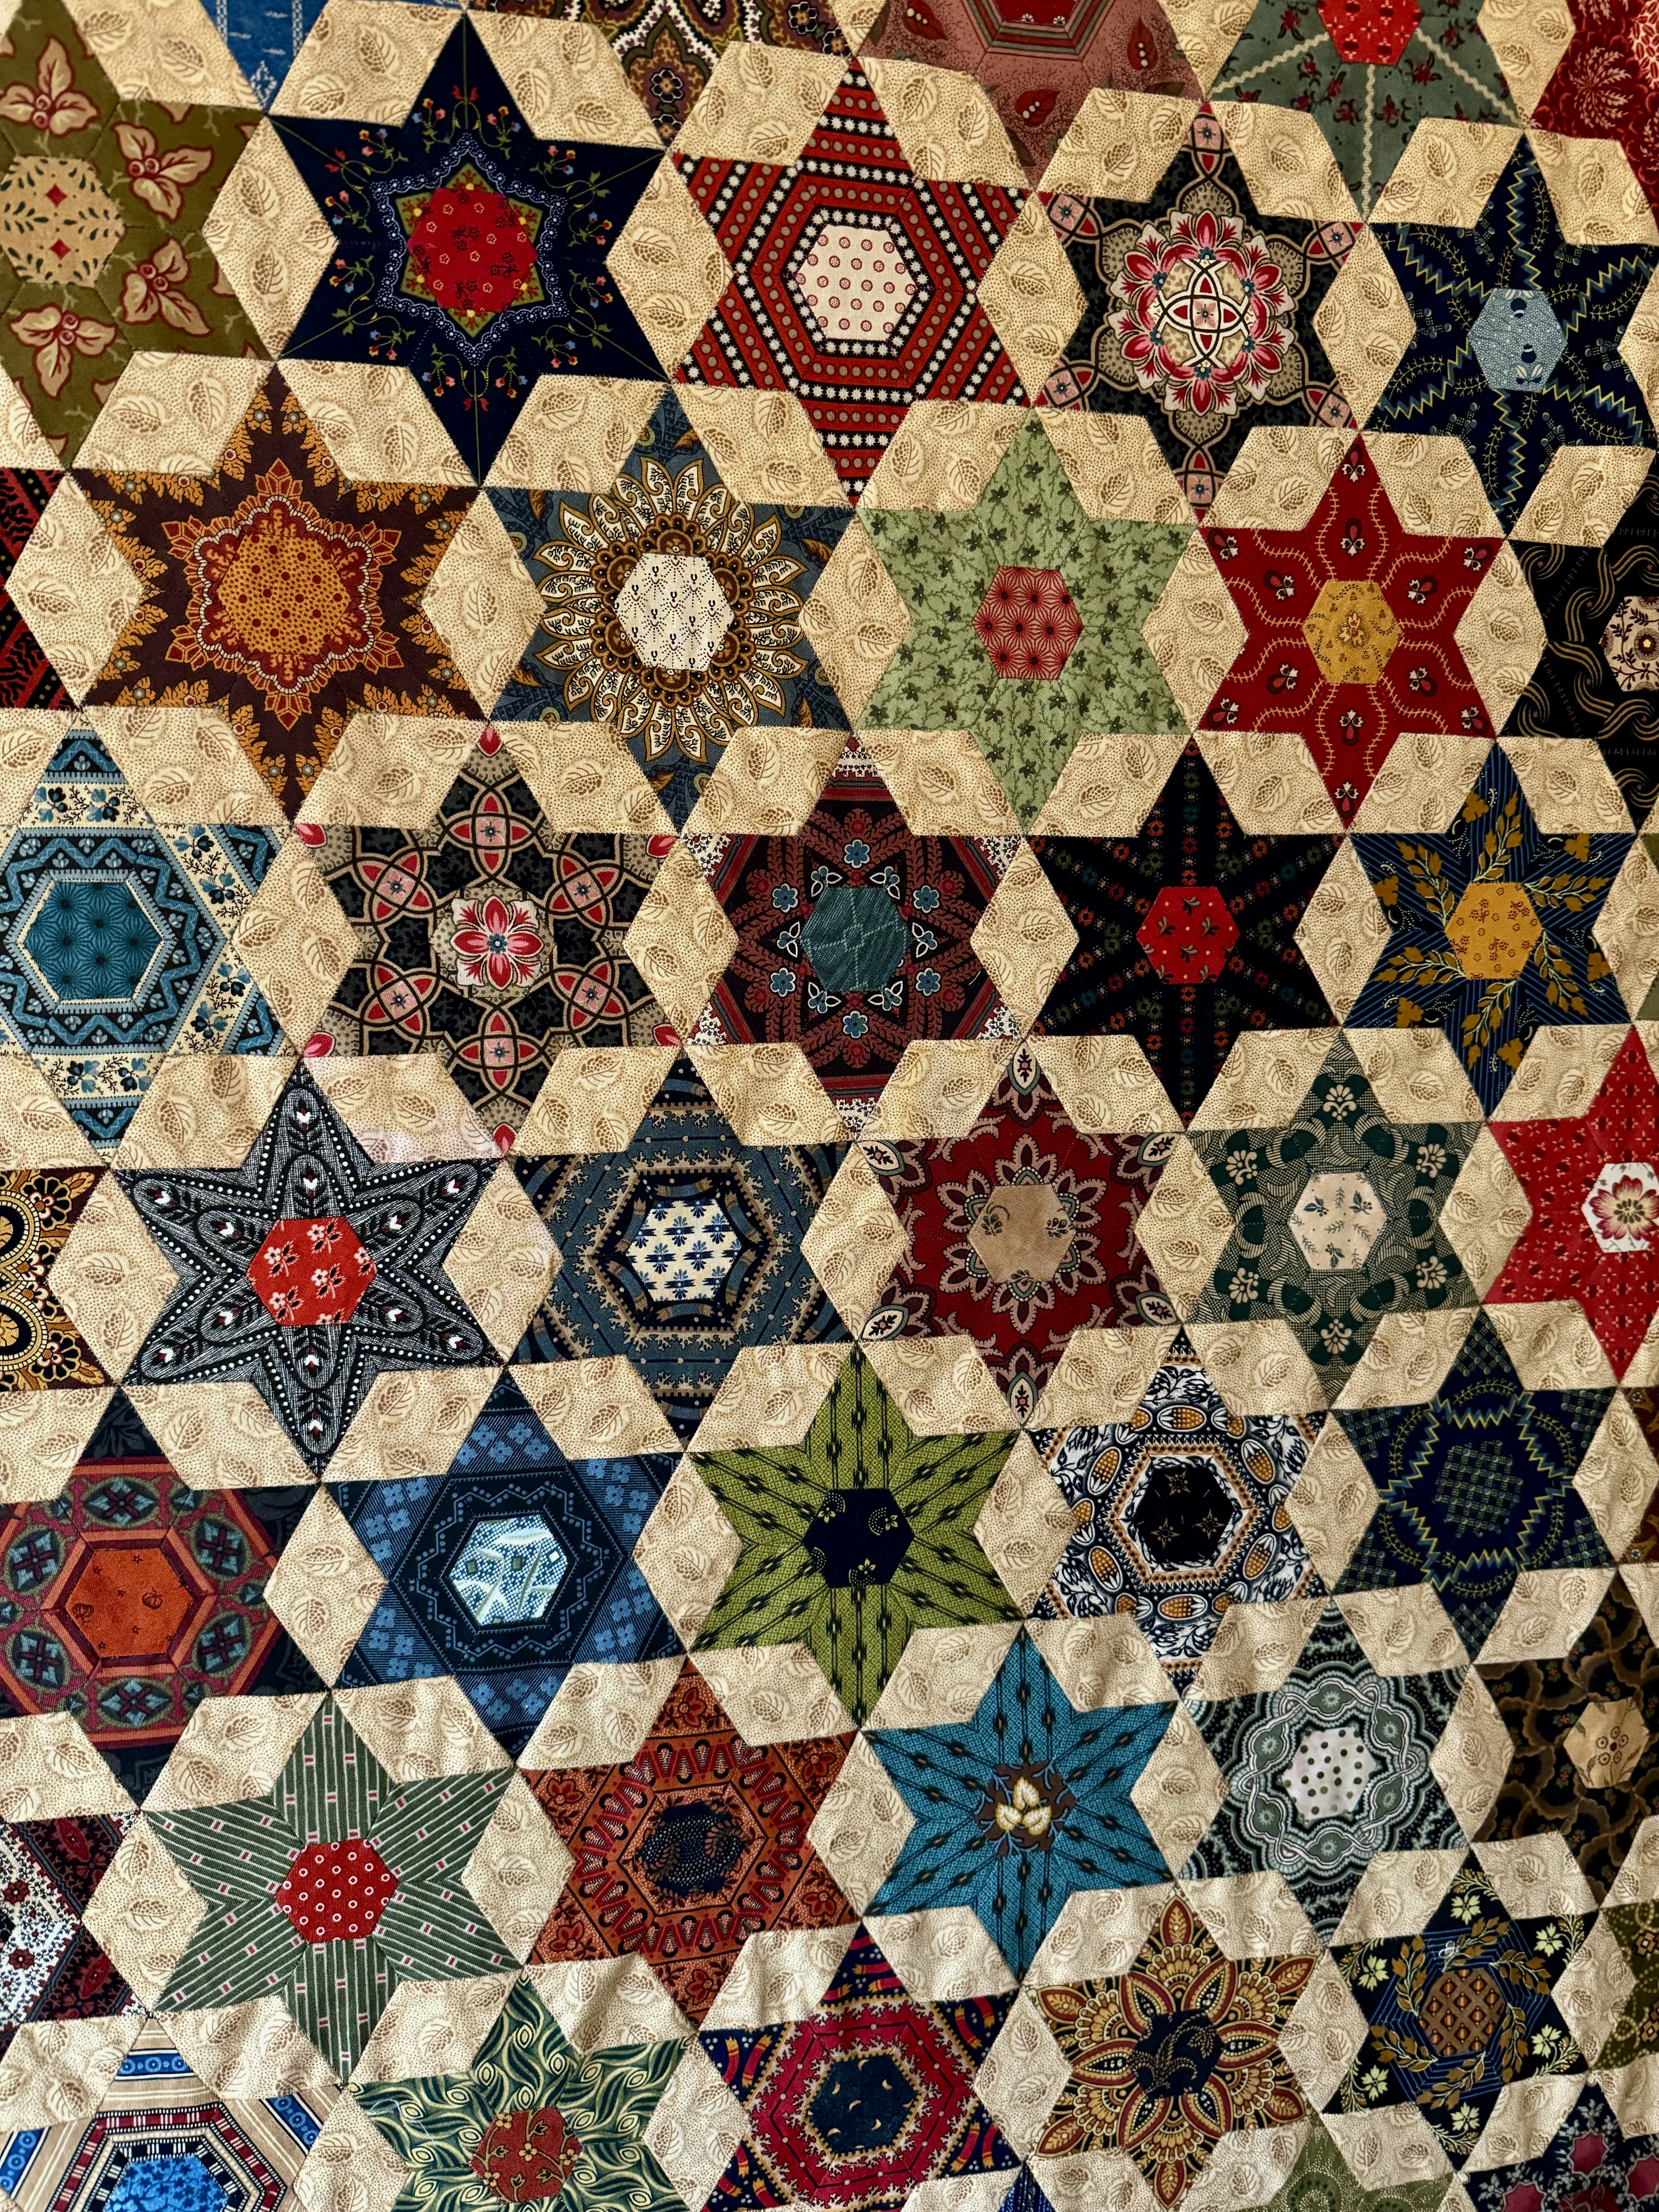
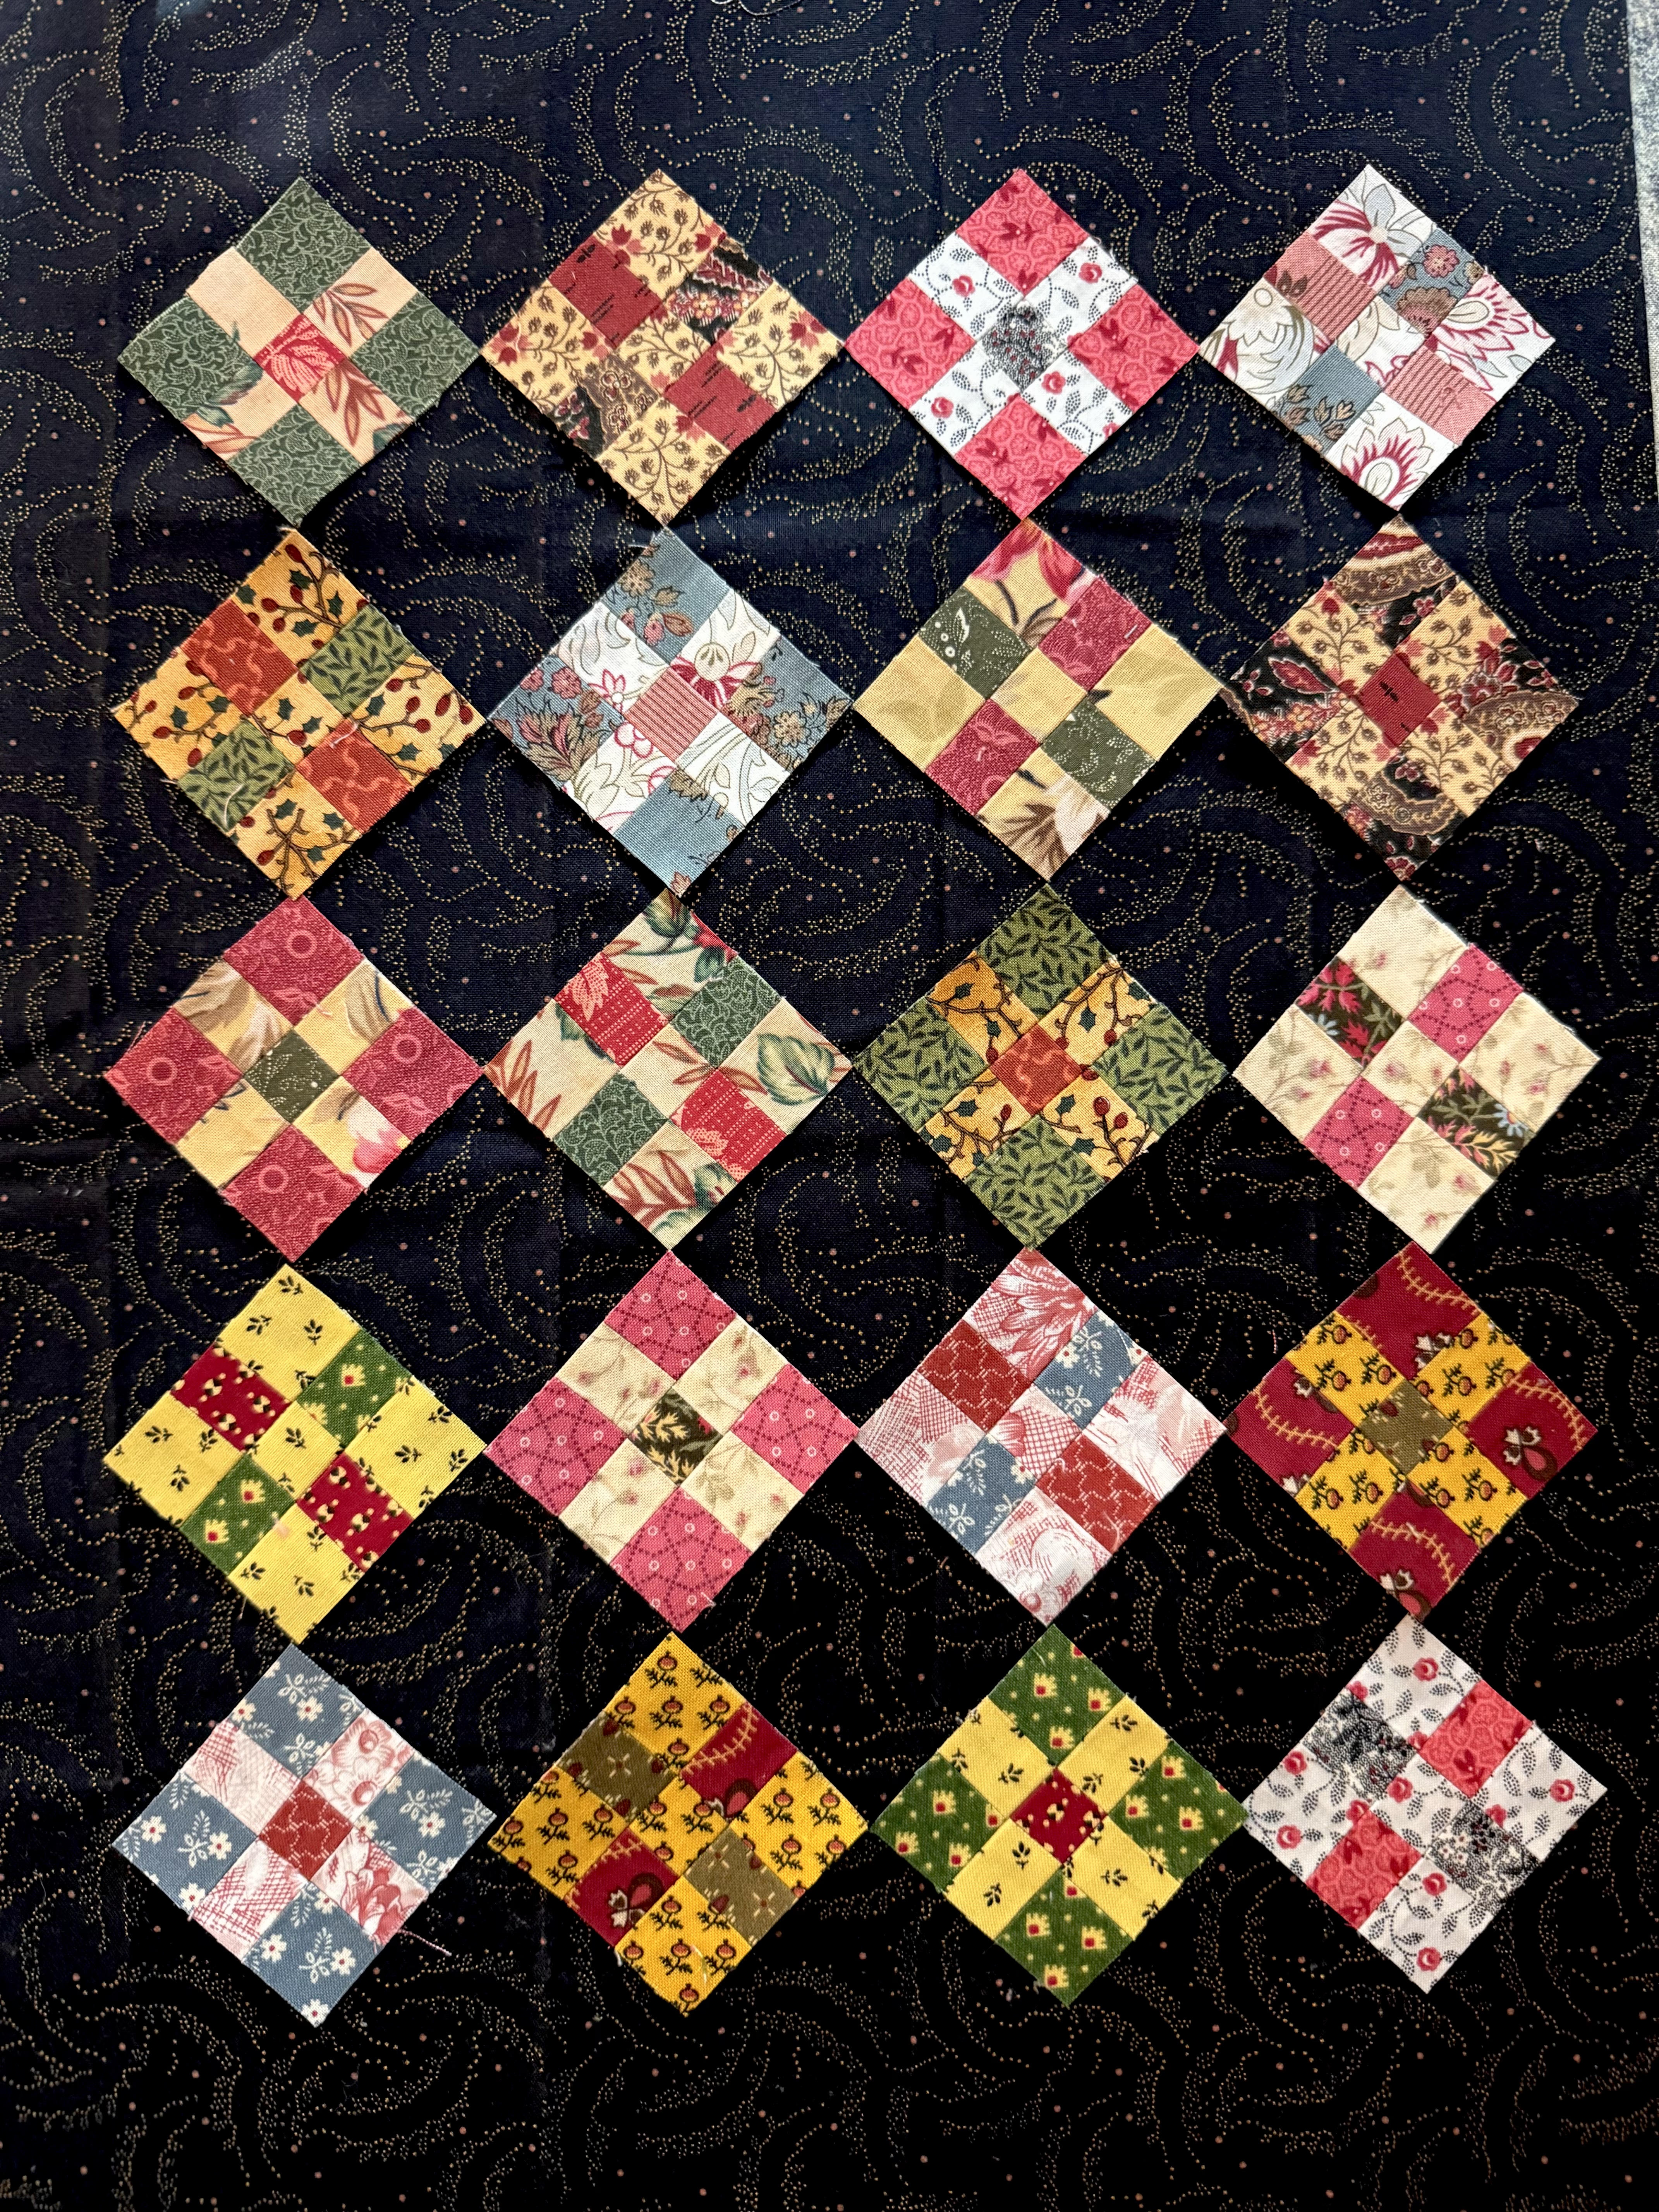
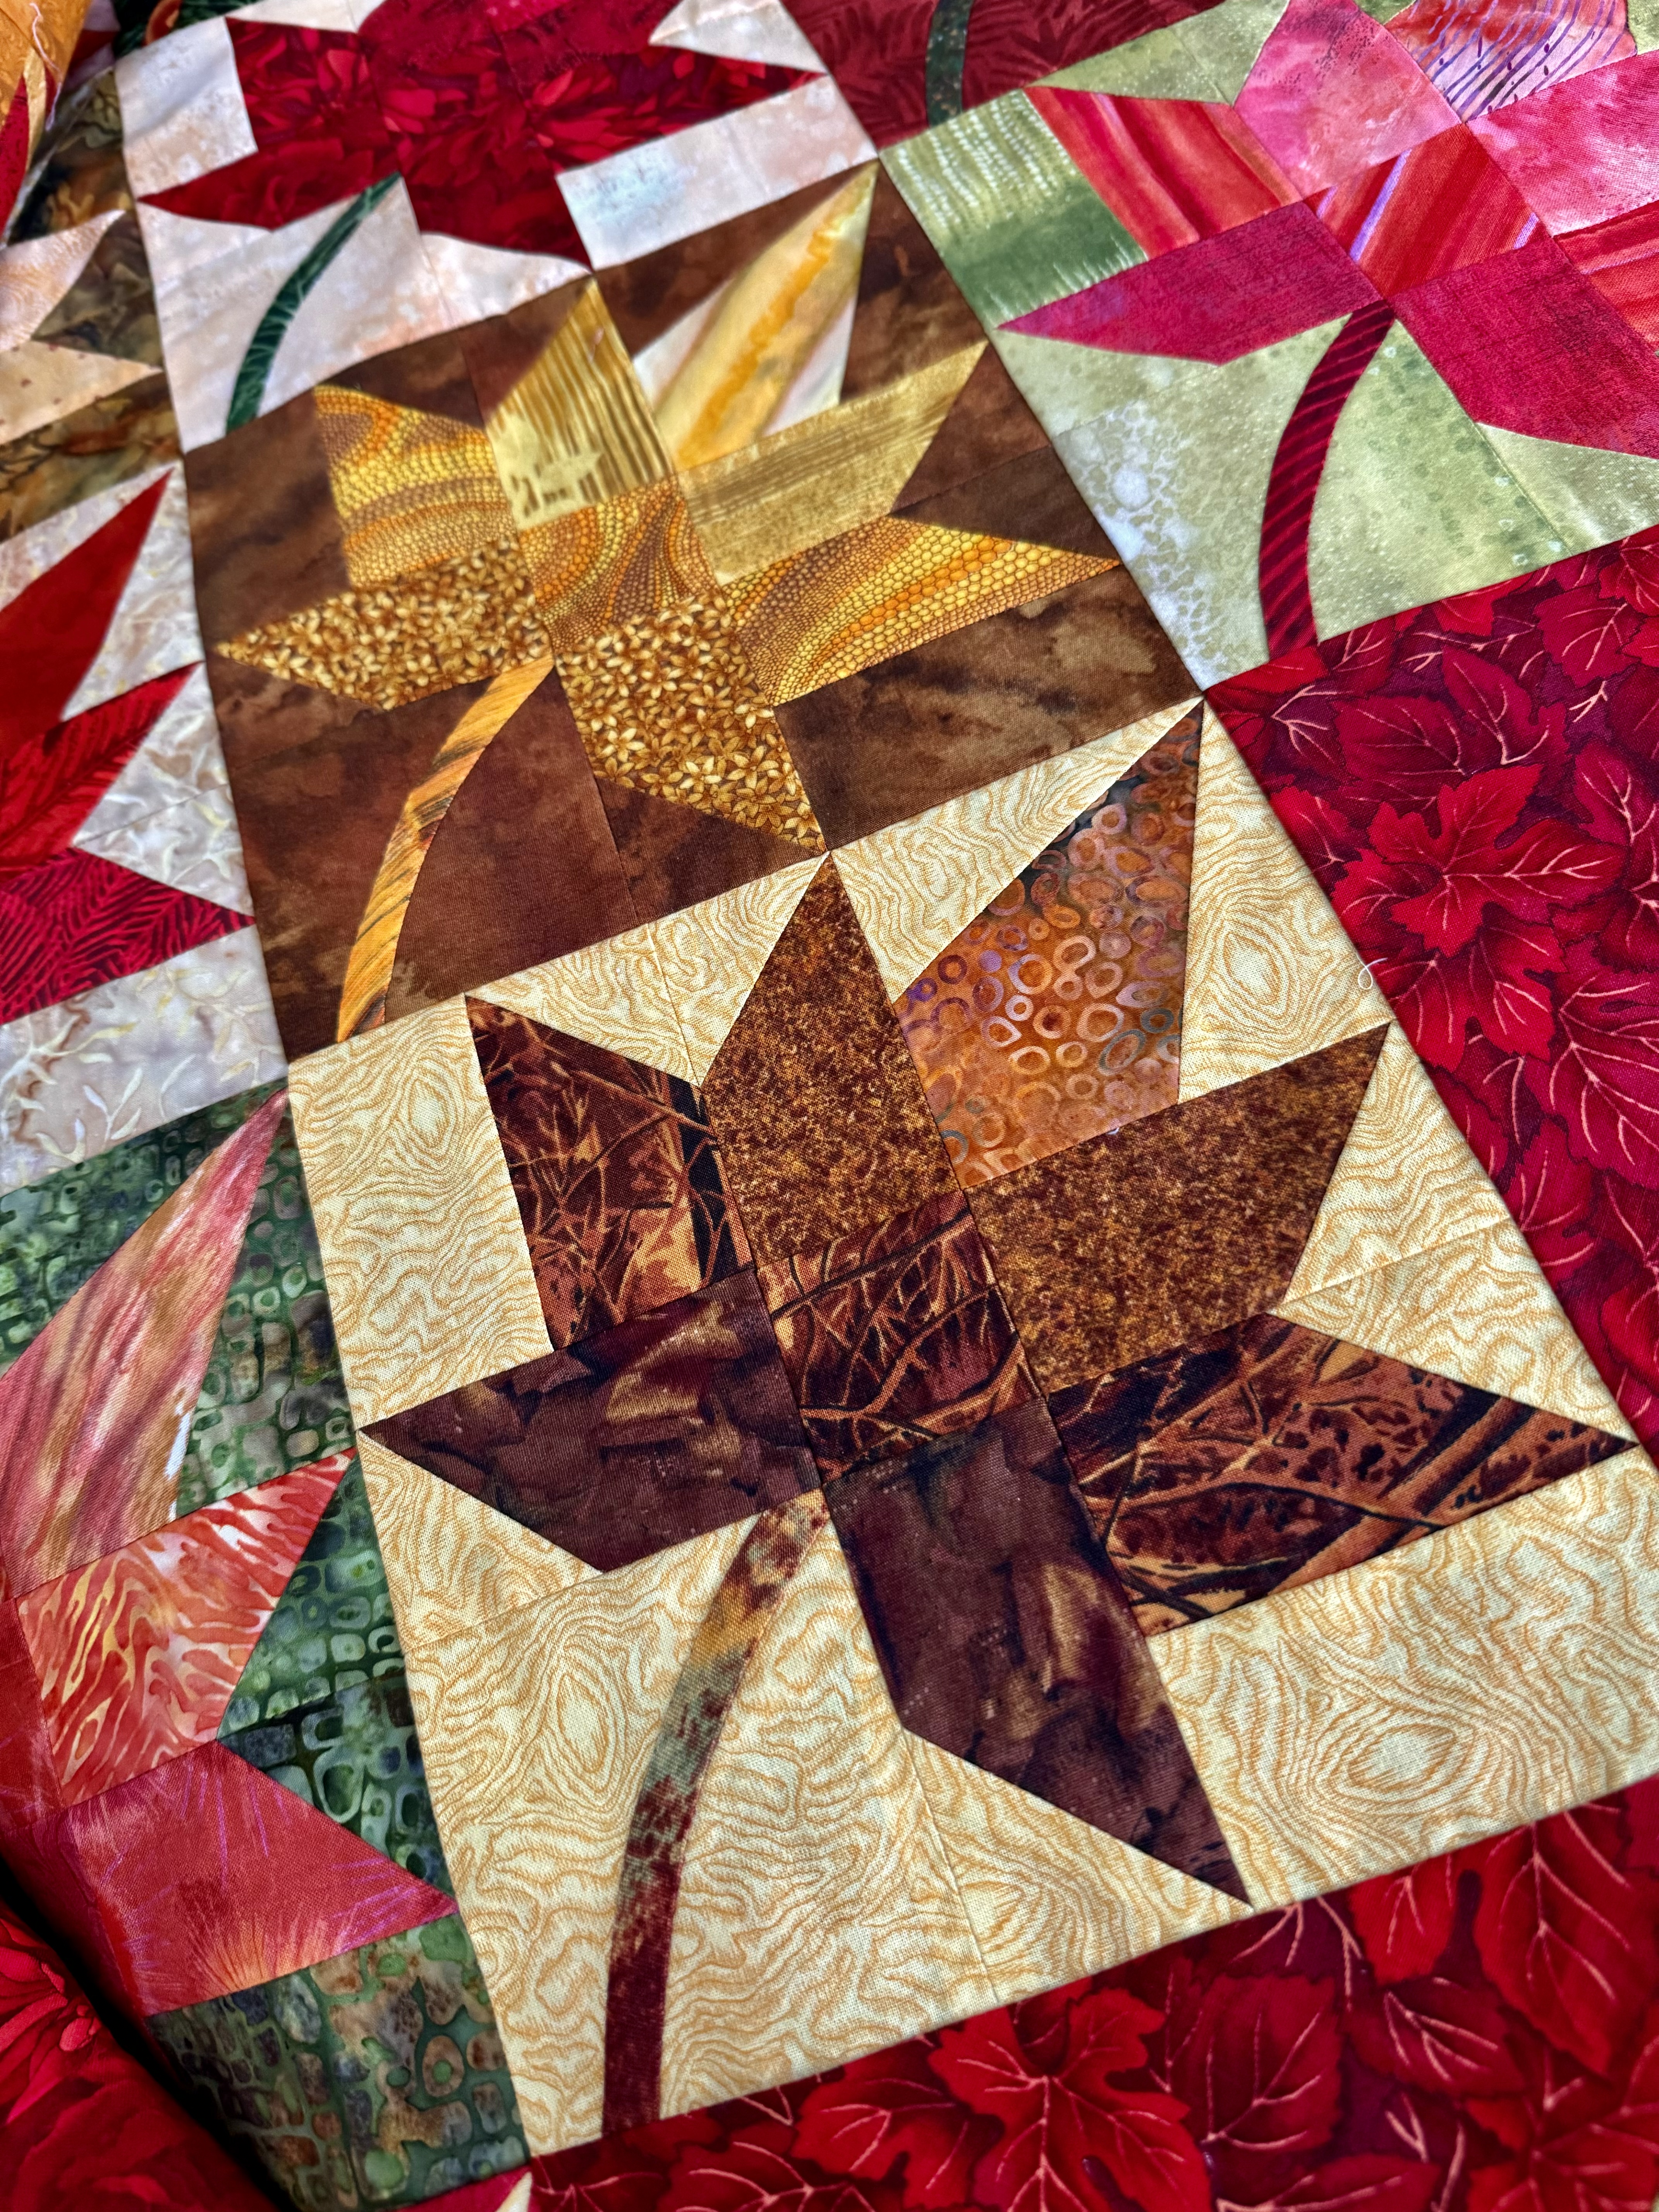
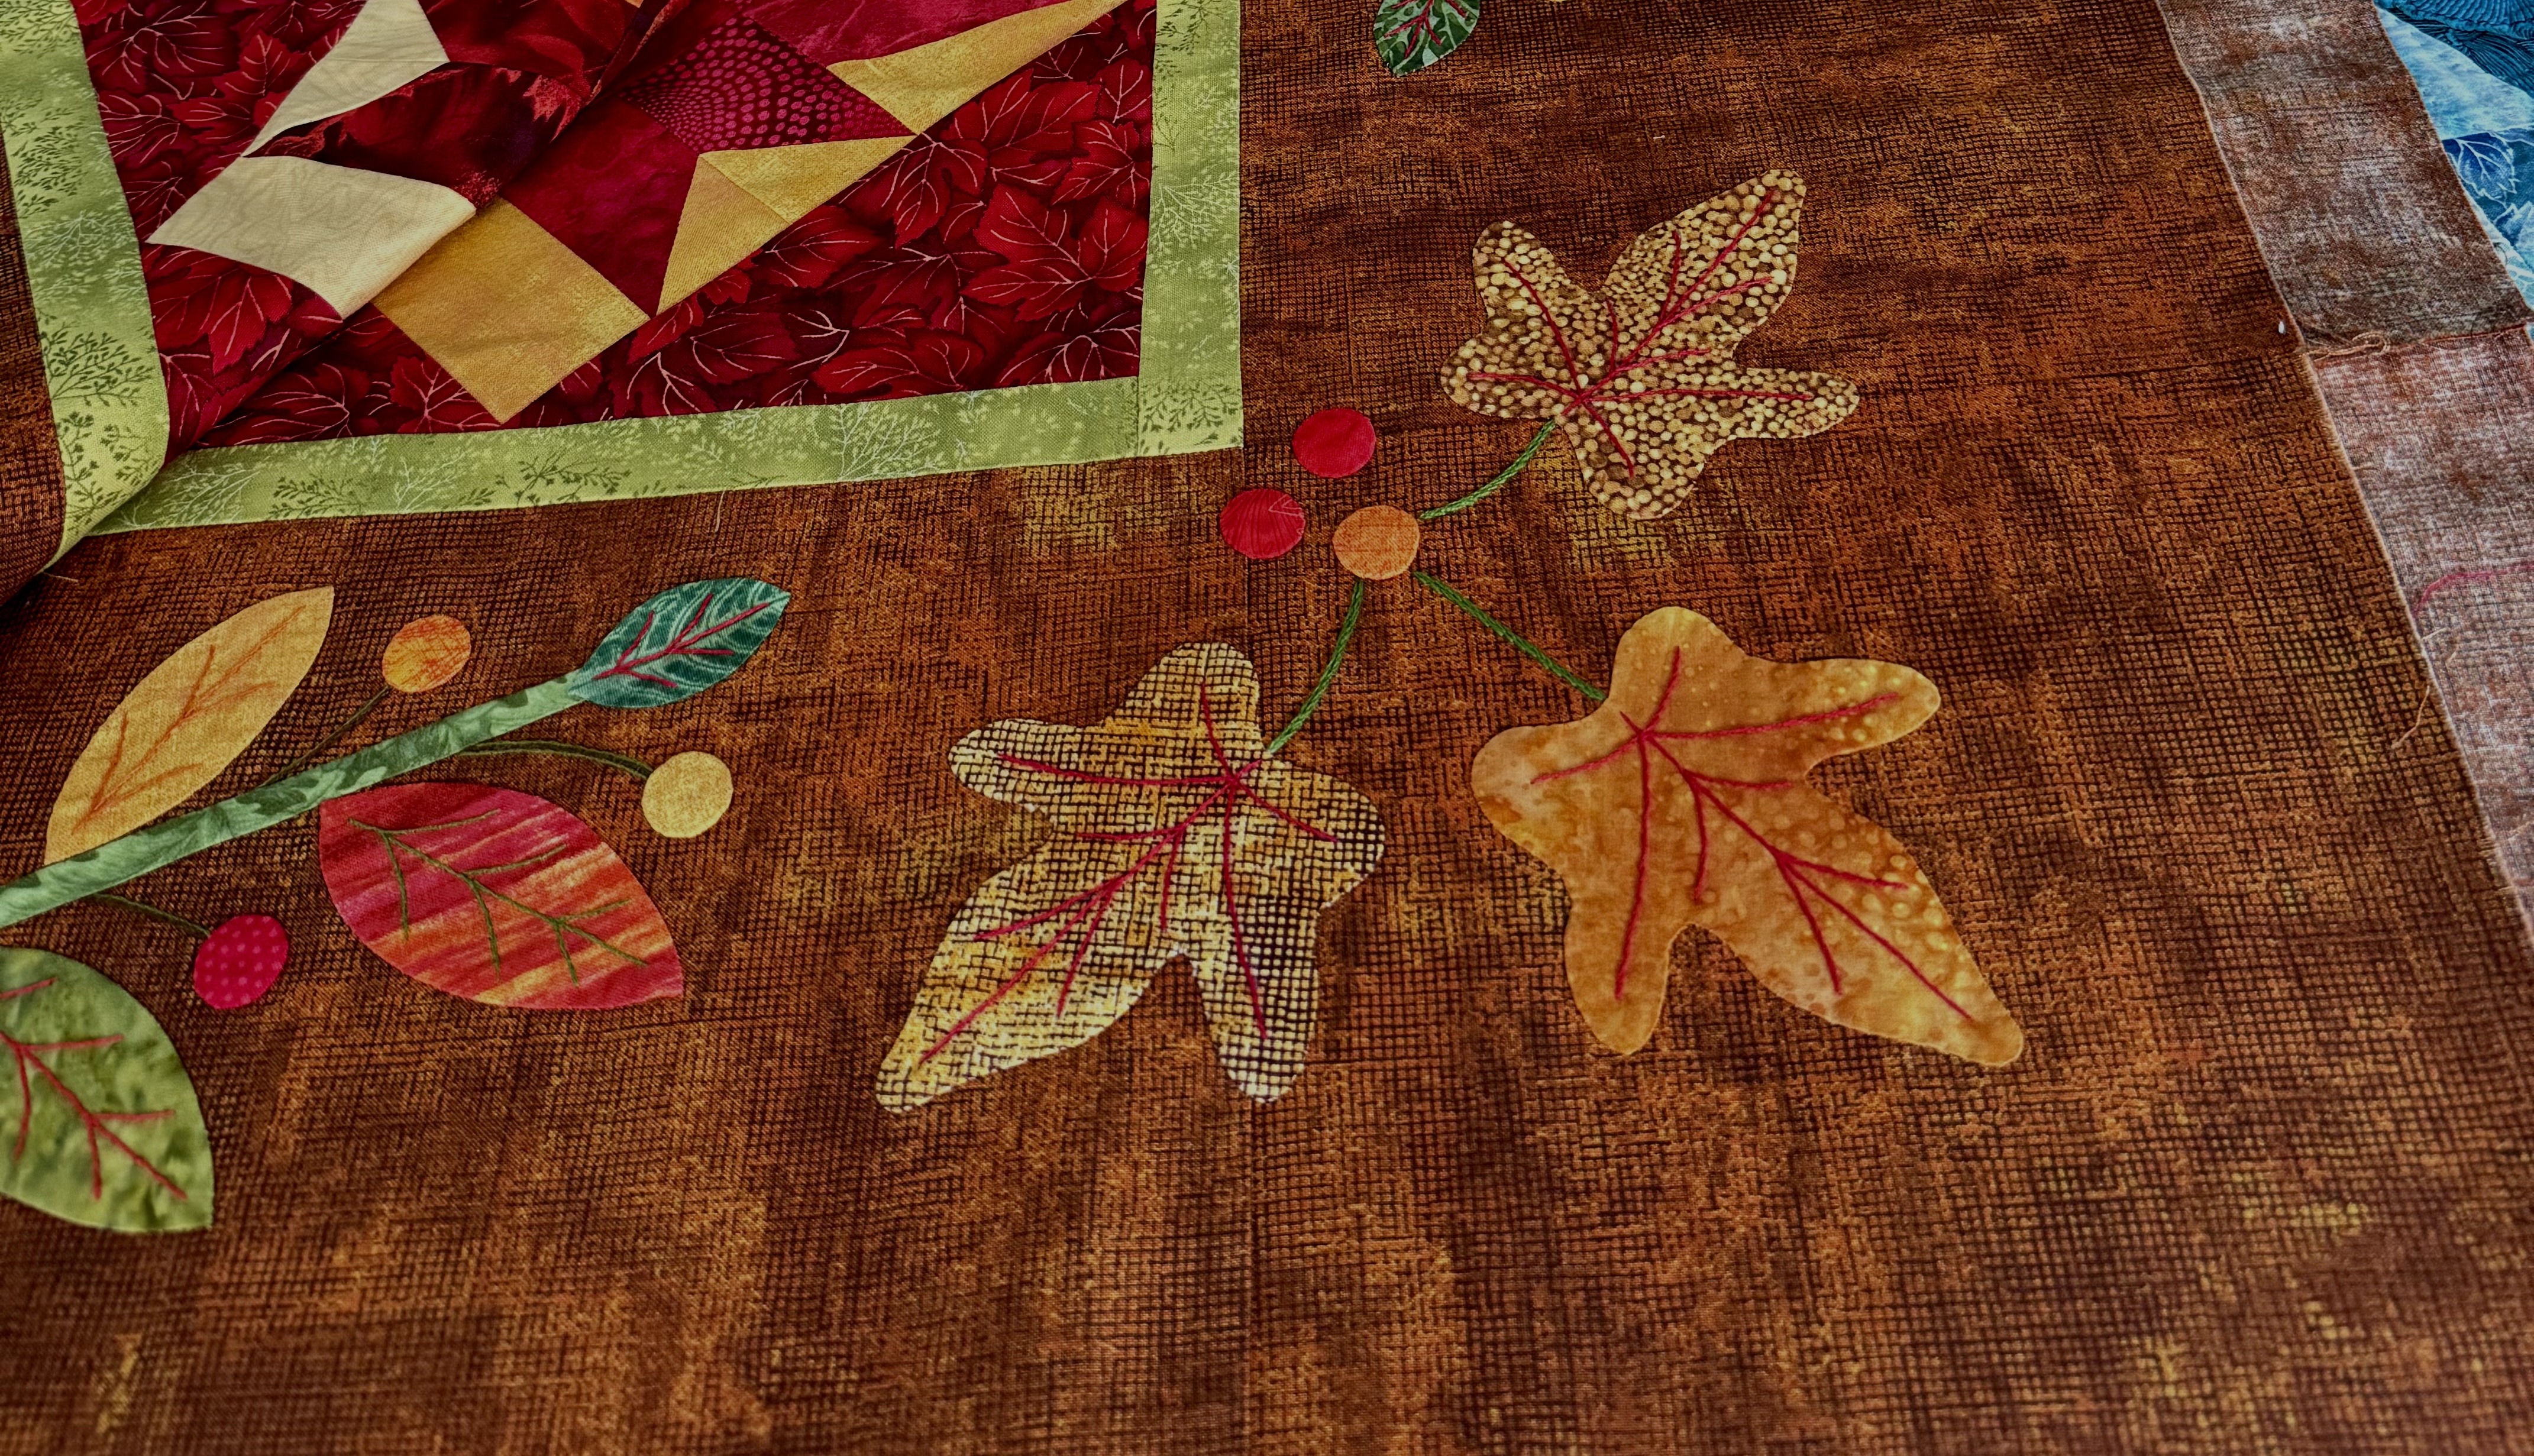
Of course I took some hand appliqué to work on when resting or when waiting at the airport! The appliqué blocks for the Winterberries project were the perfect size and I completed 2 and part of a third:

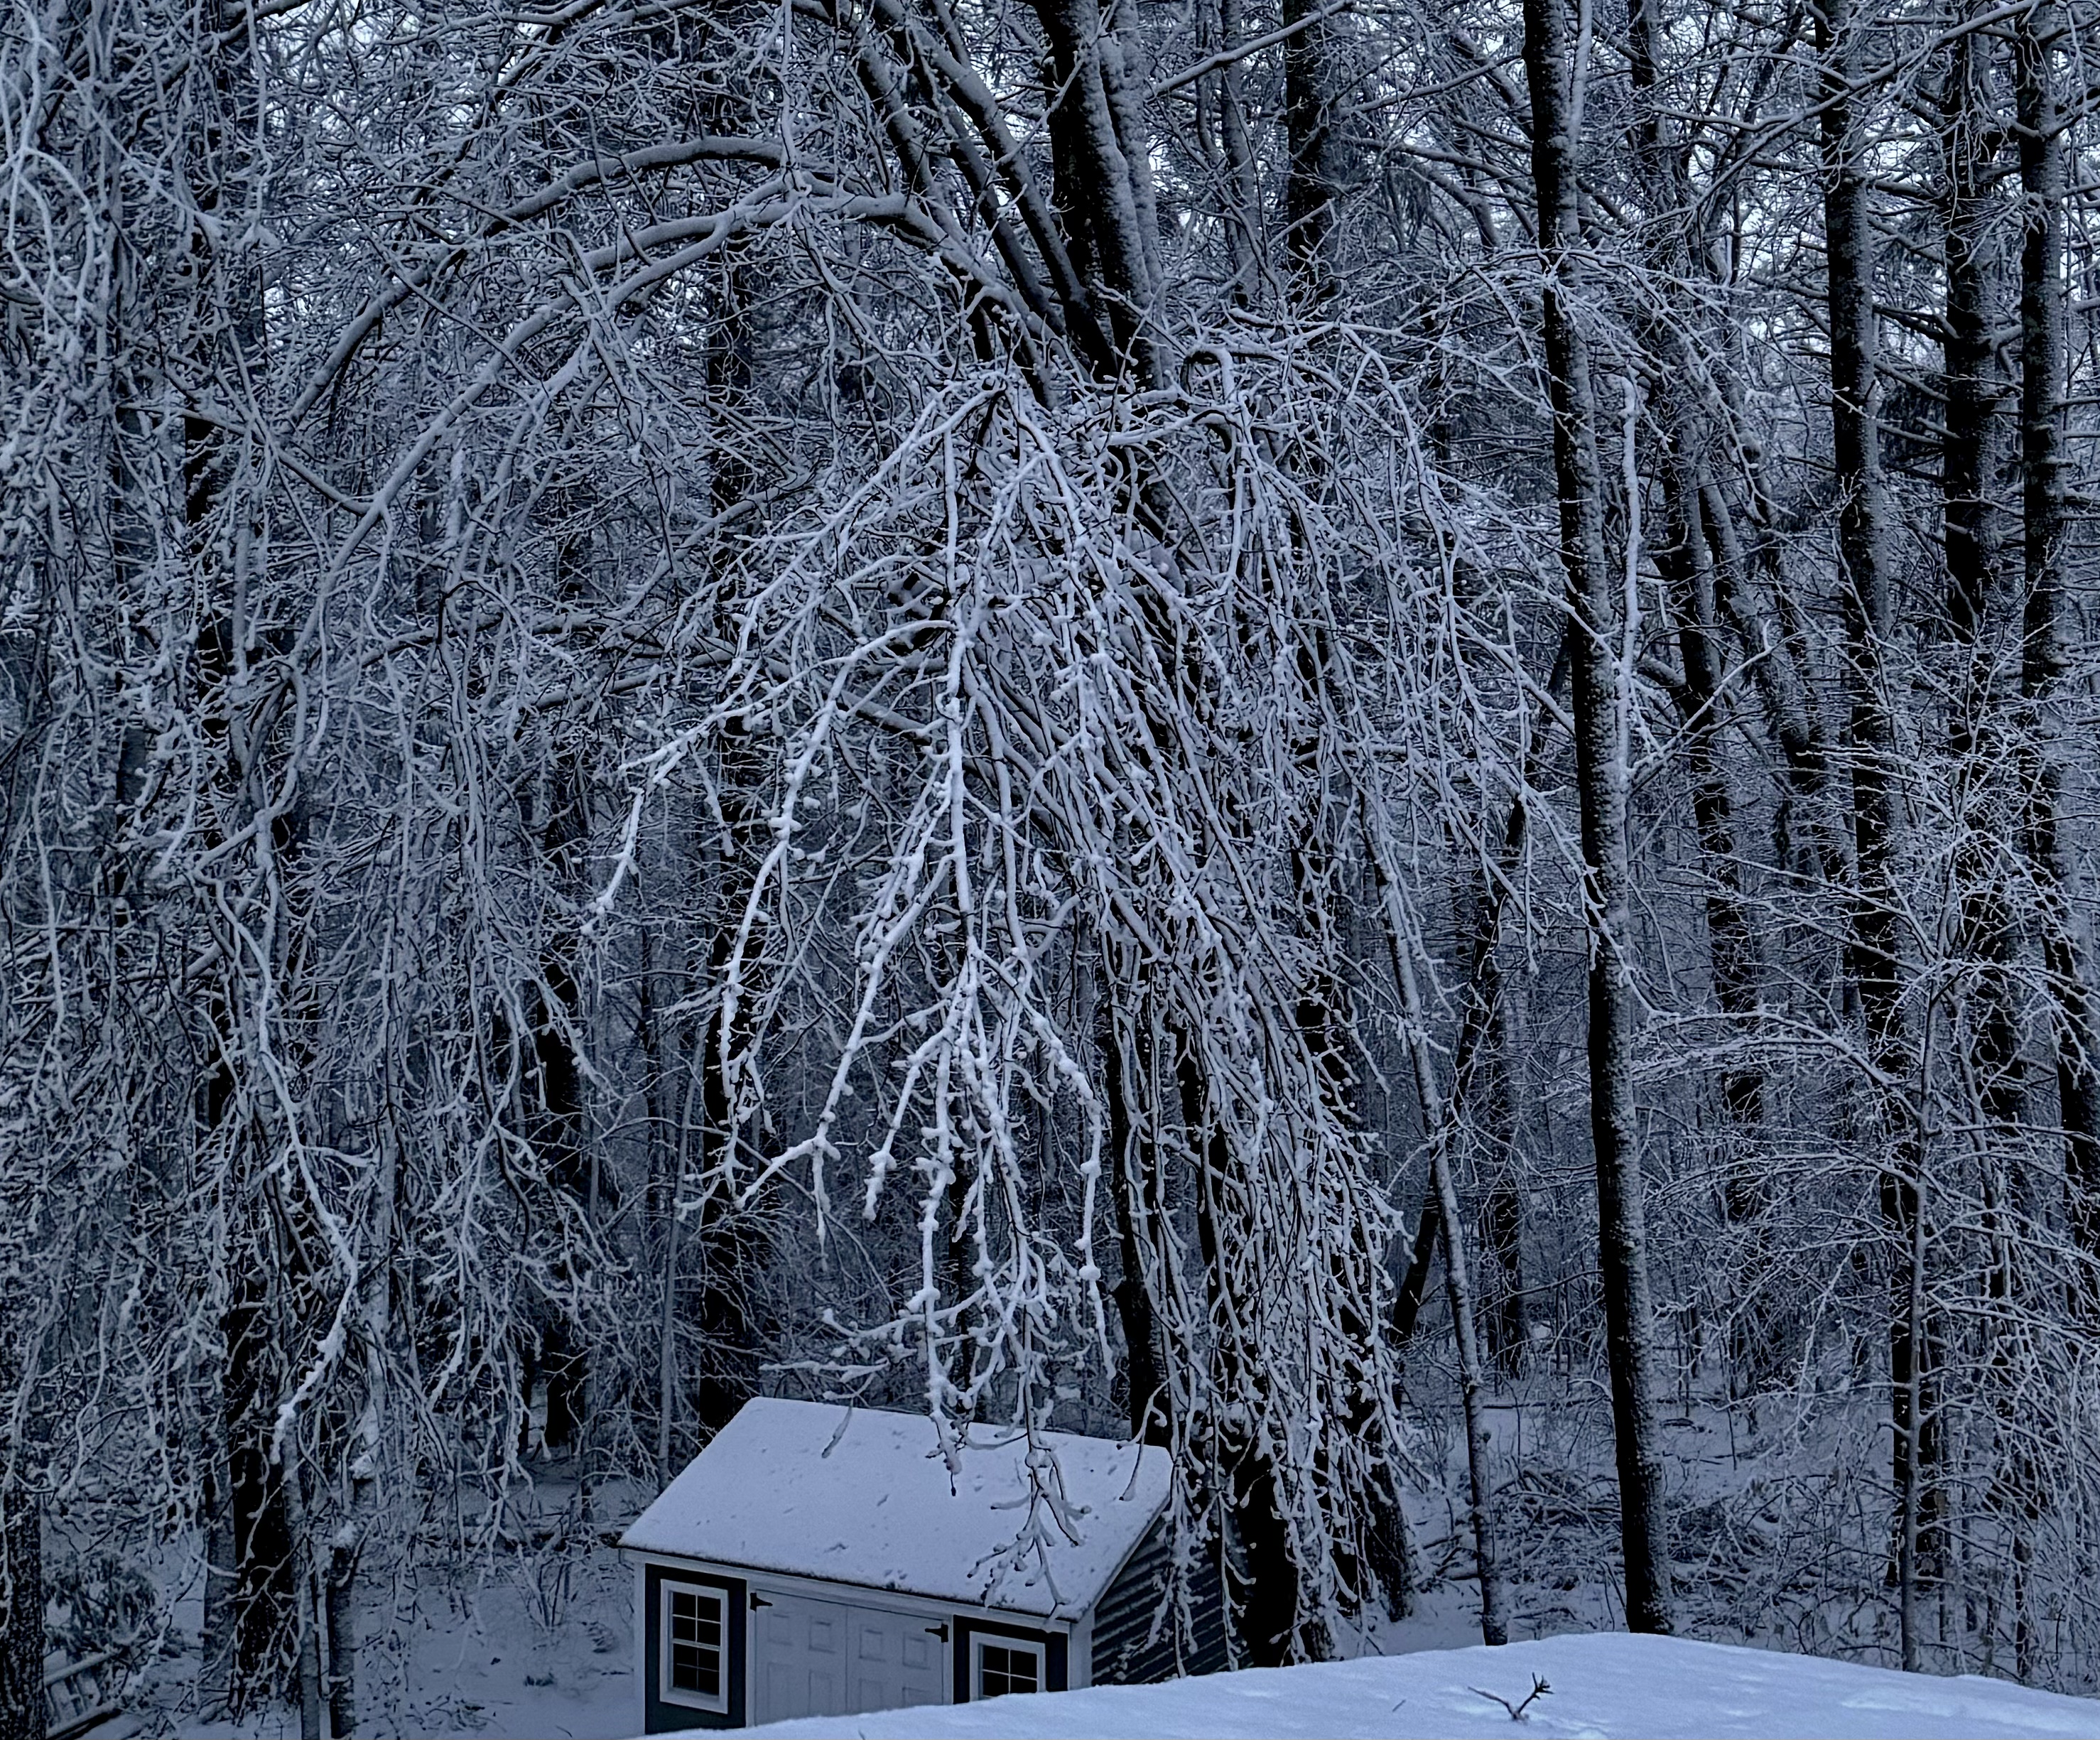
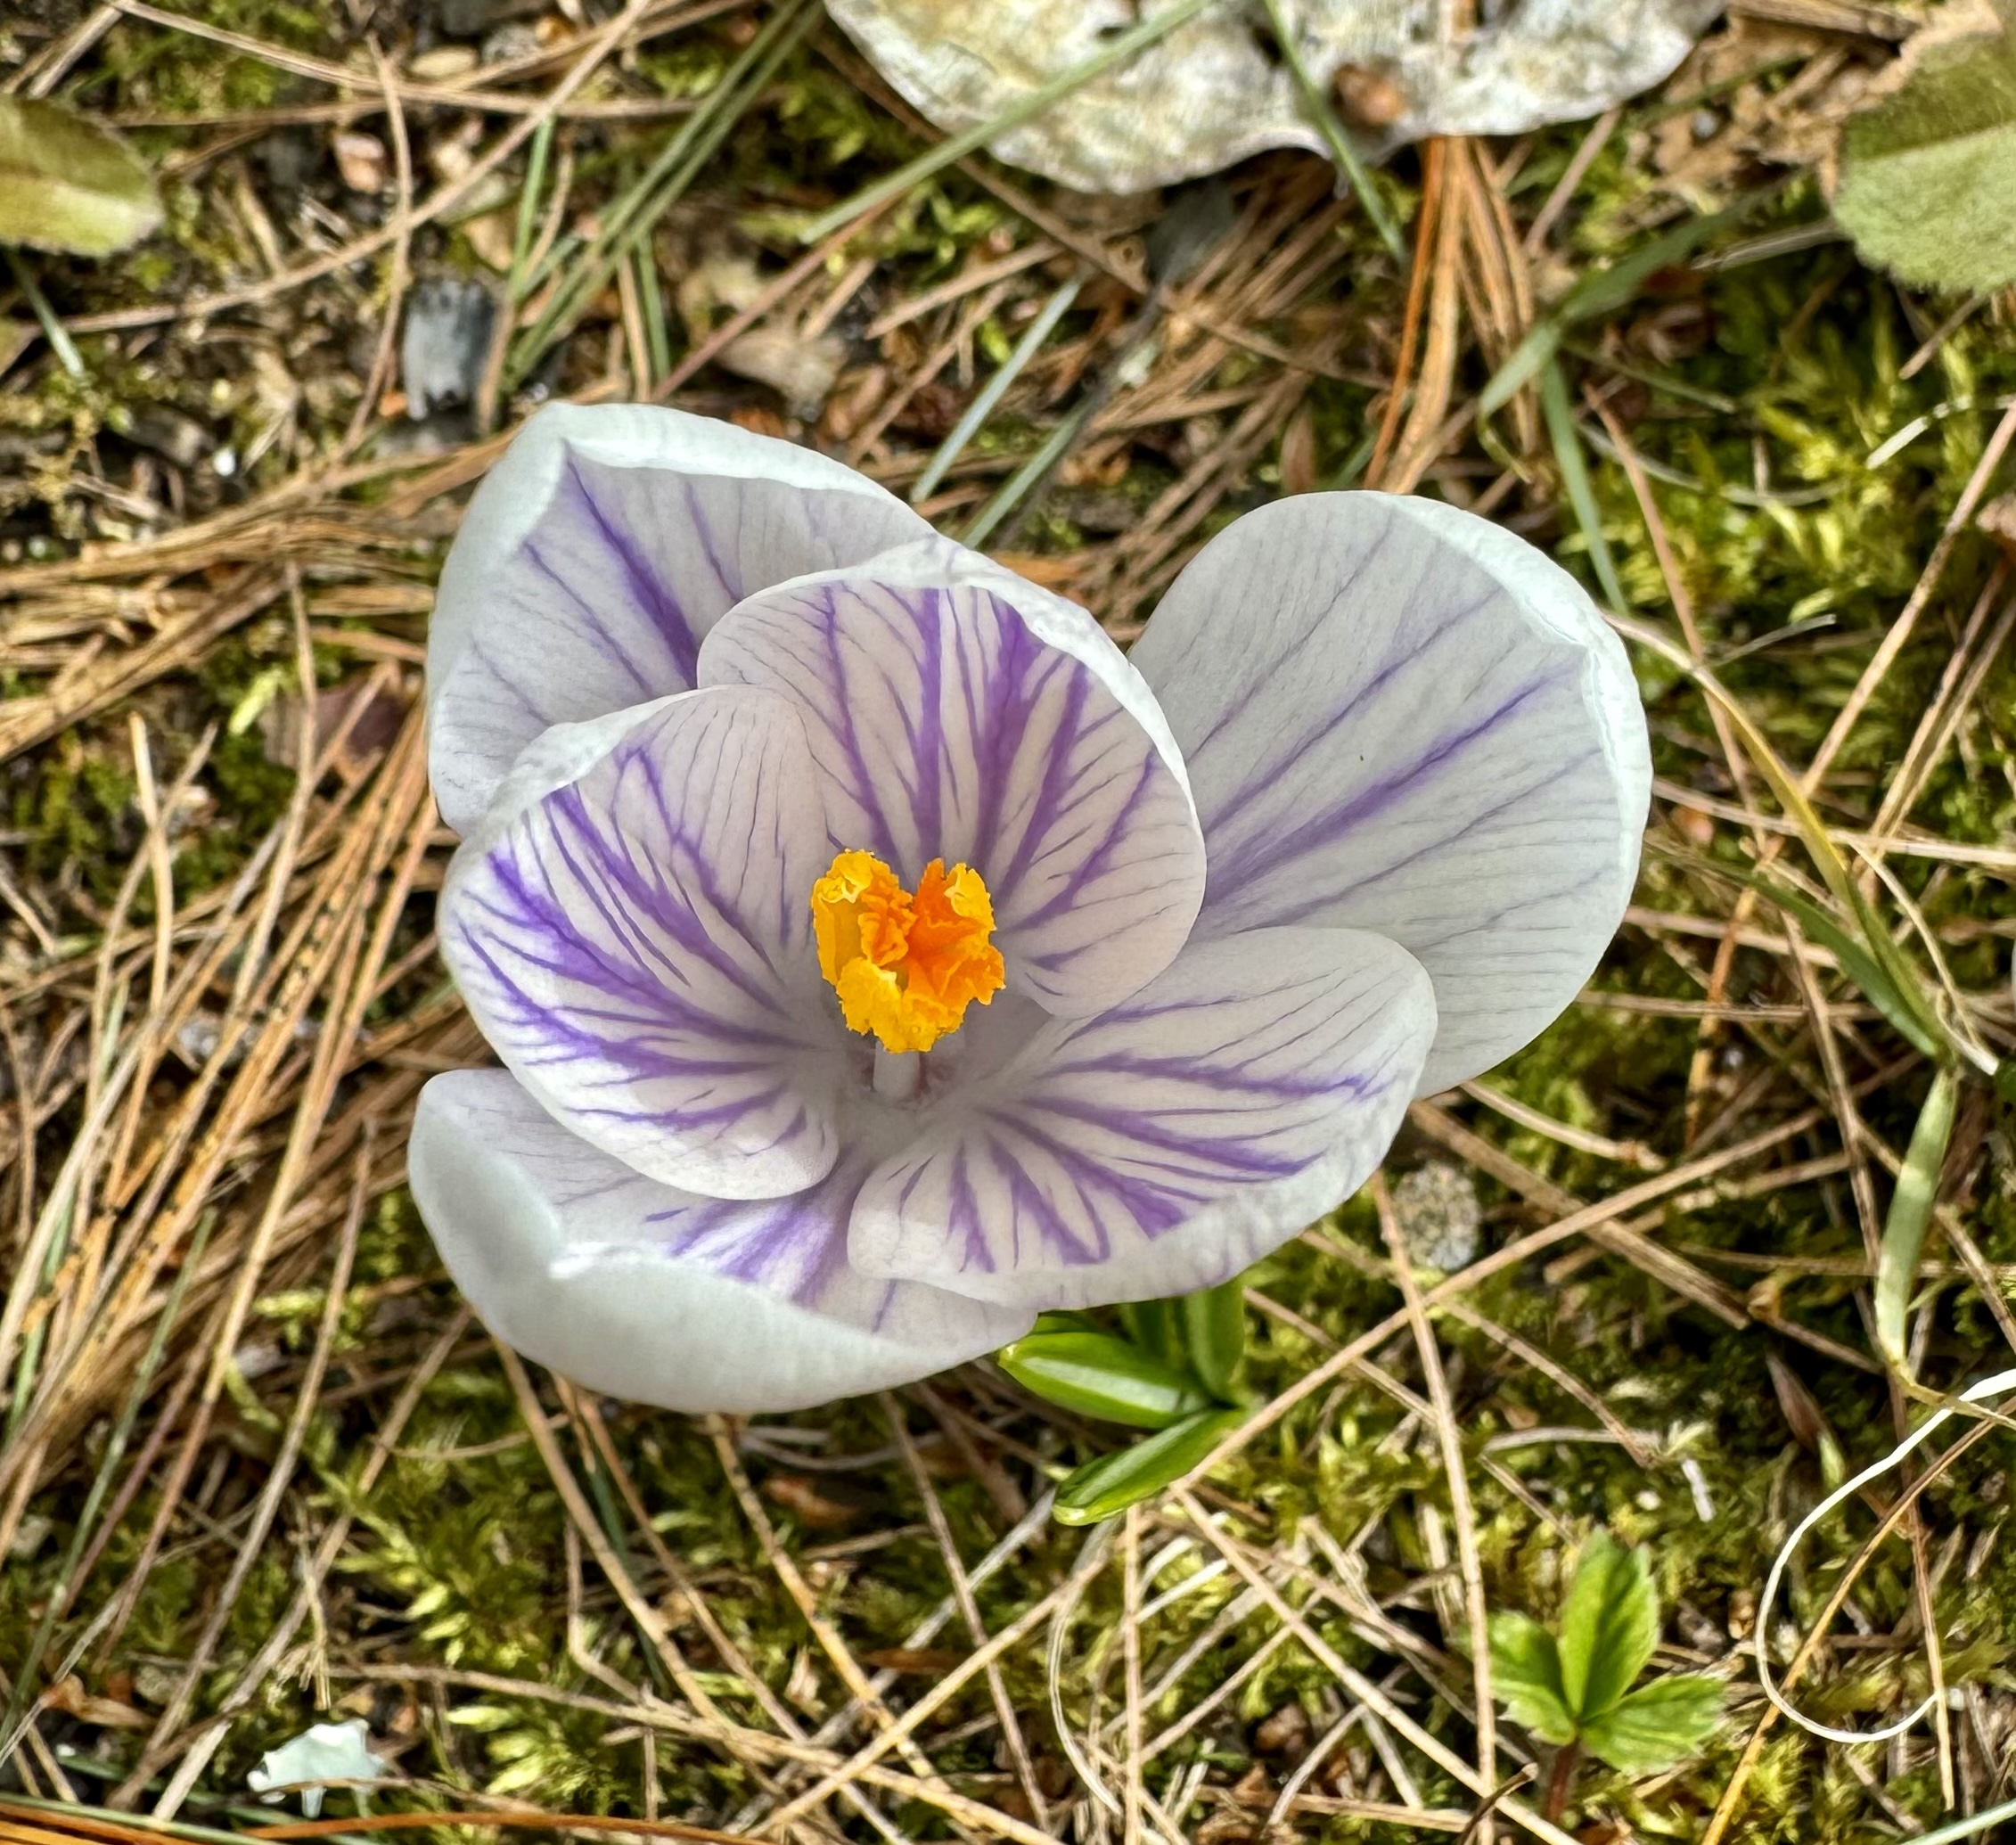
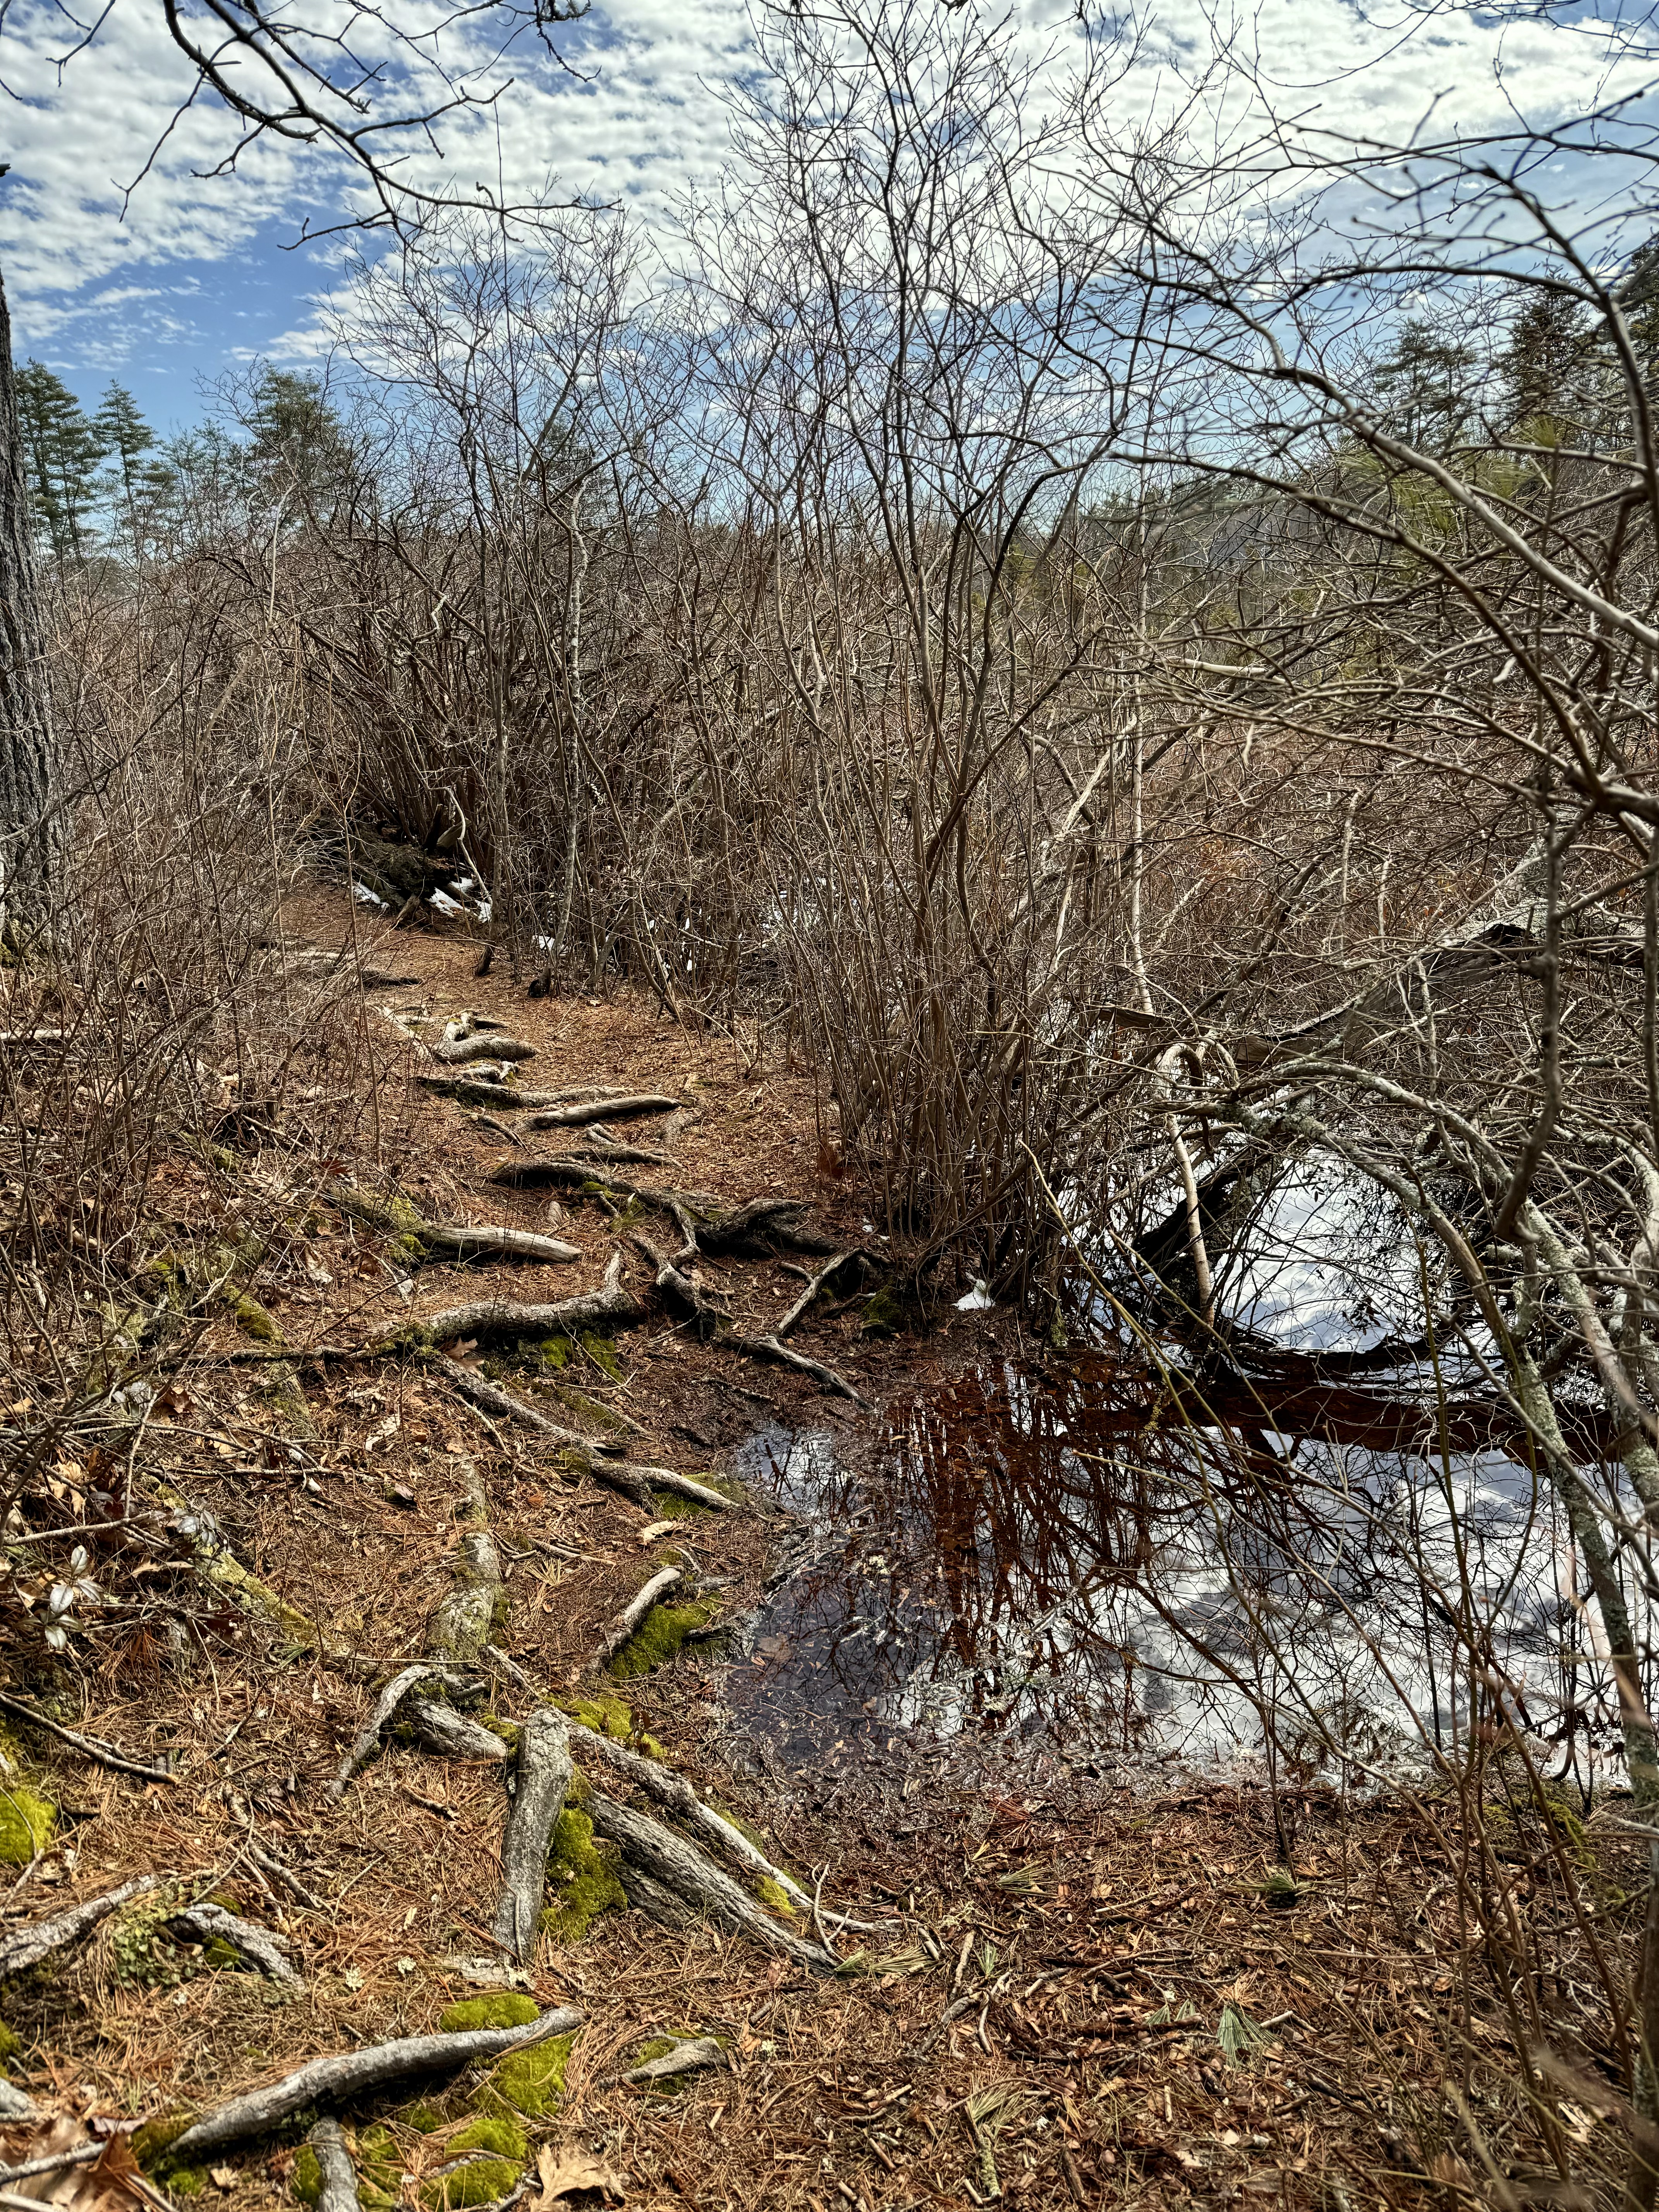
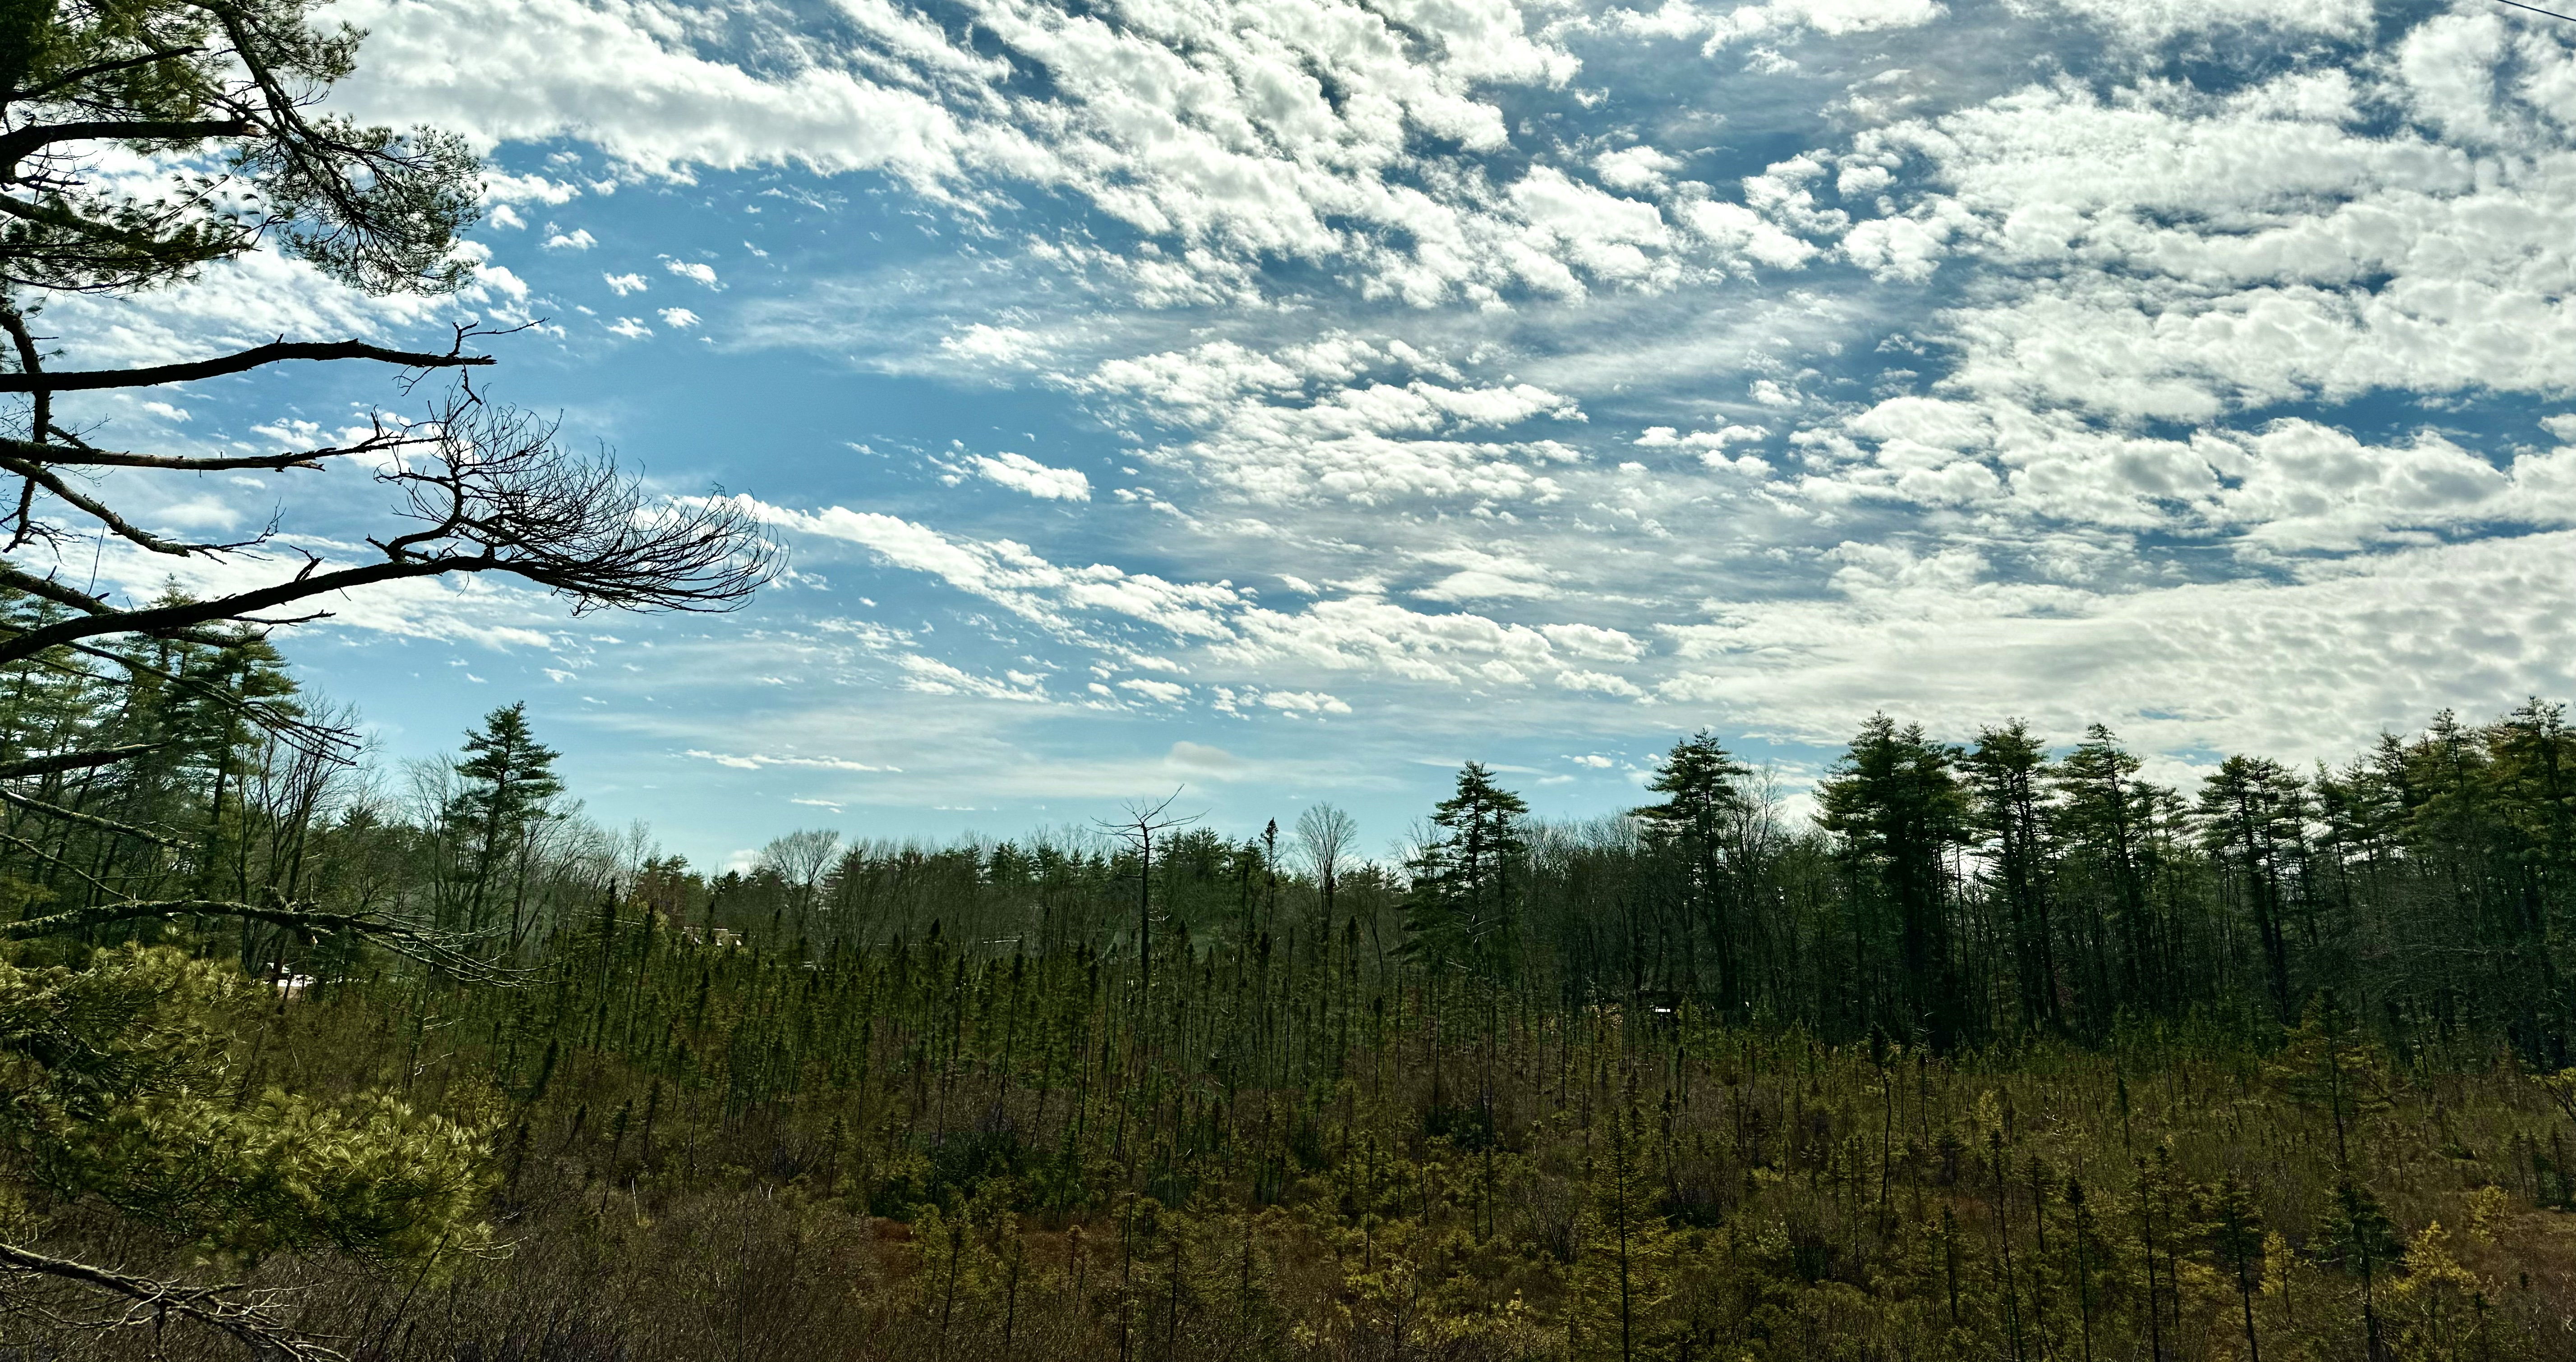
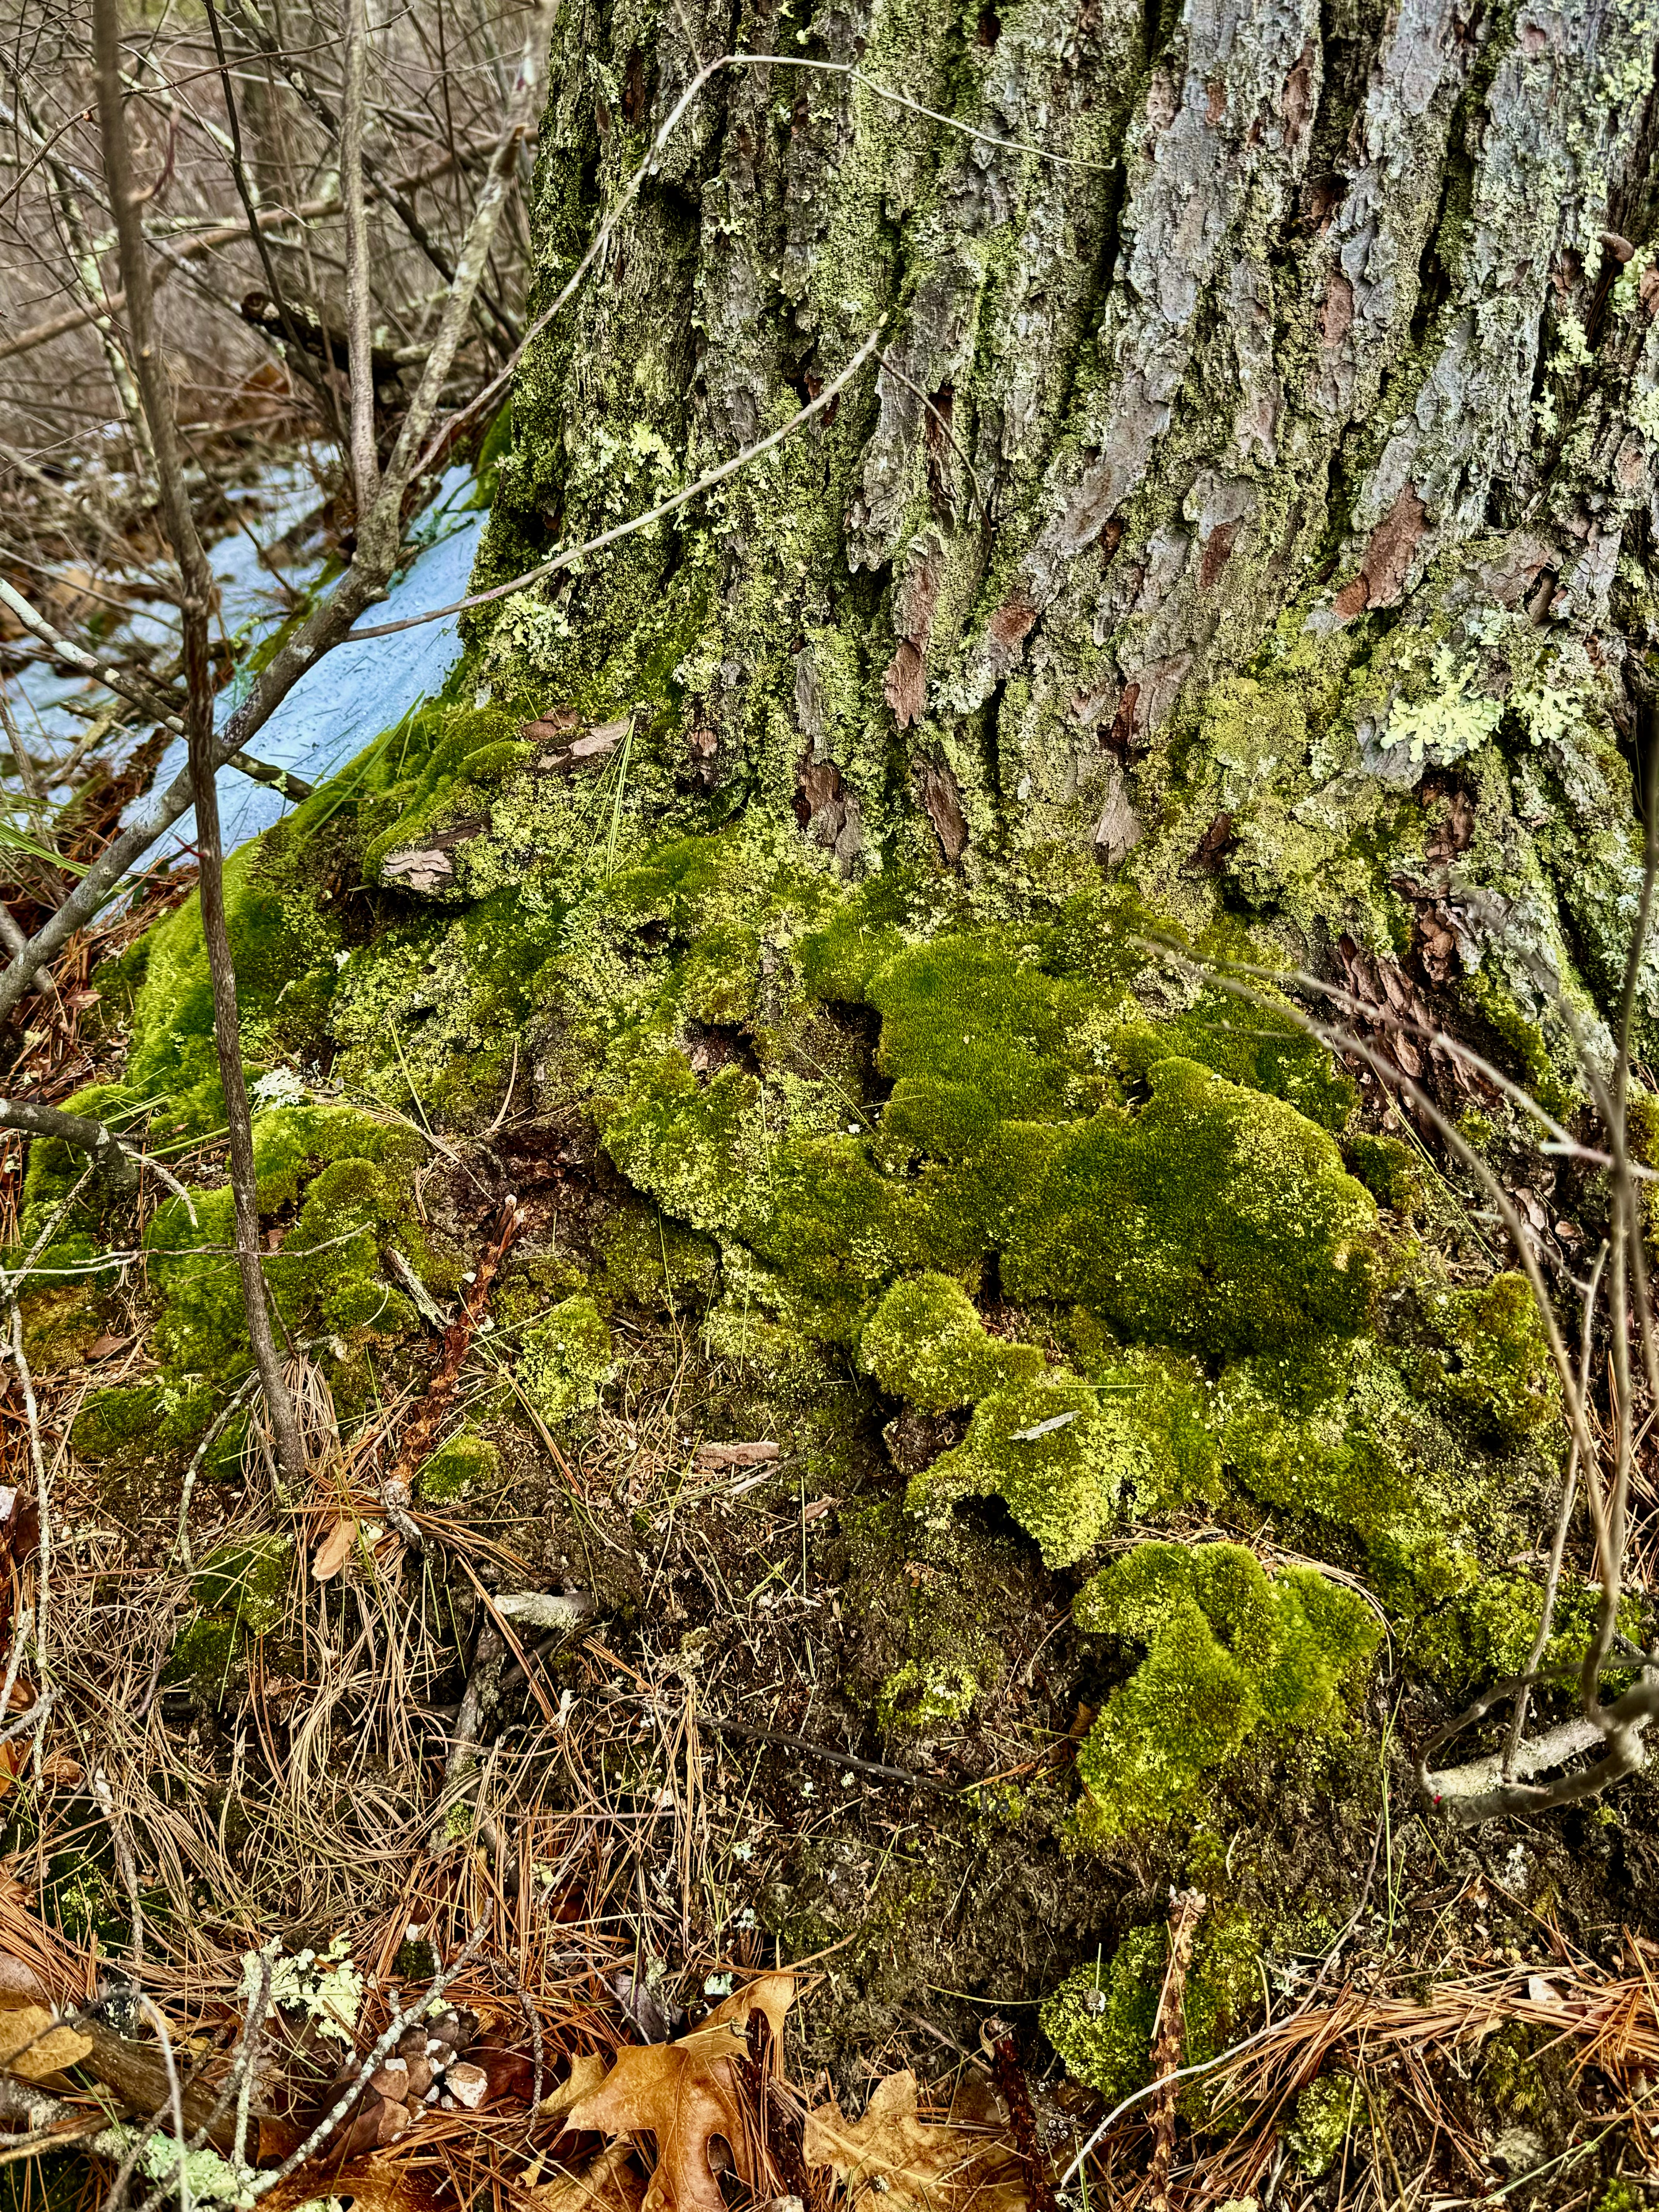
I’ll be back soon with part 2 of the trip. Things are finally turning green here in New Hampshire – yay! I’m so ready for color and warmer weather!! Hope you are all enjoying the seasonal changes and some happy stitching.
Be kind, be grateful, and cherish each day, Gladi